
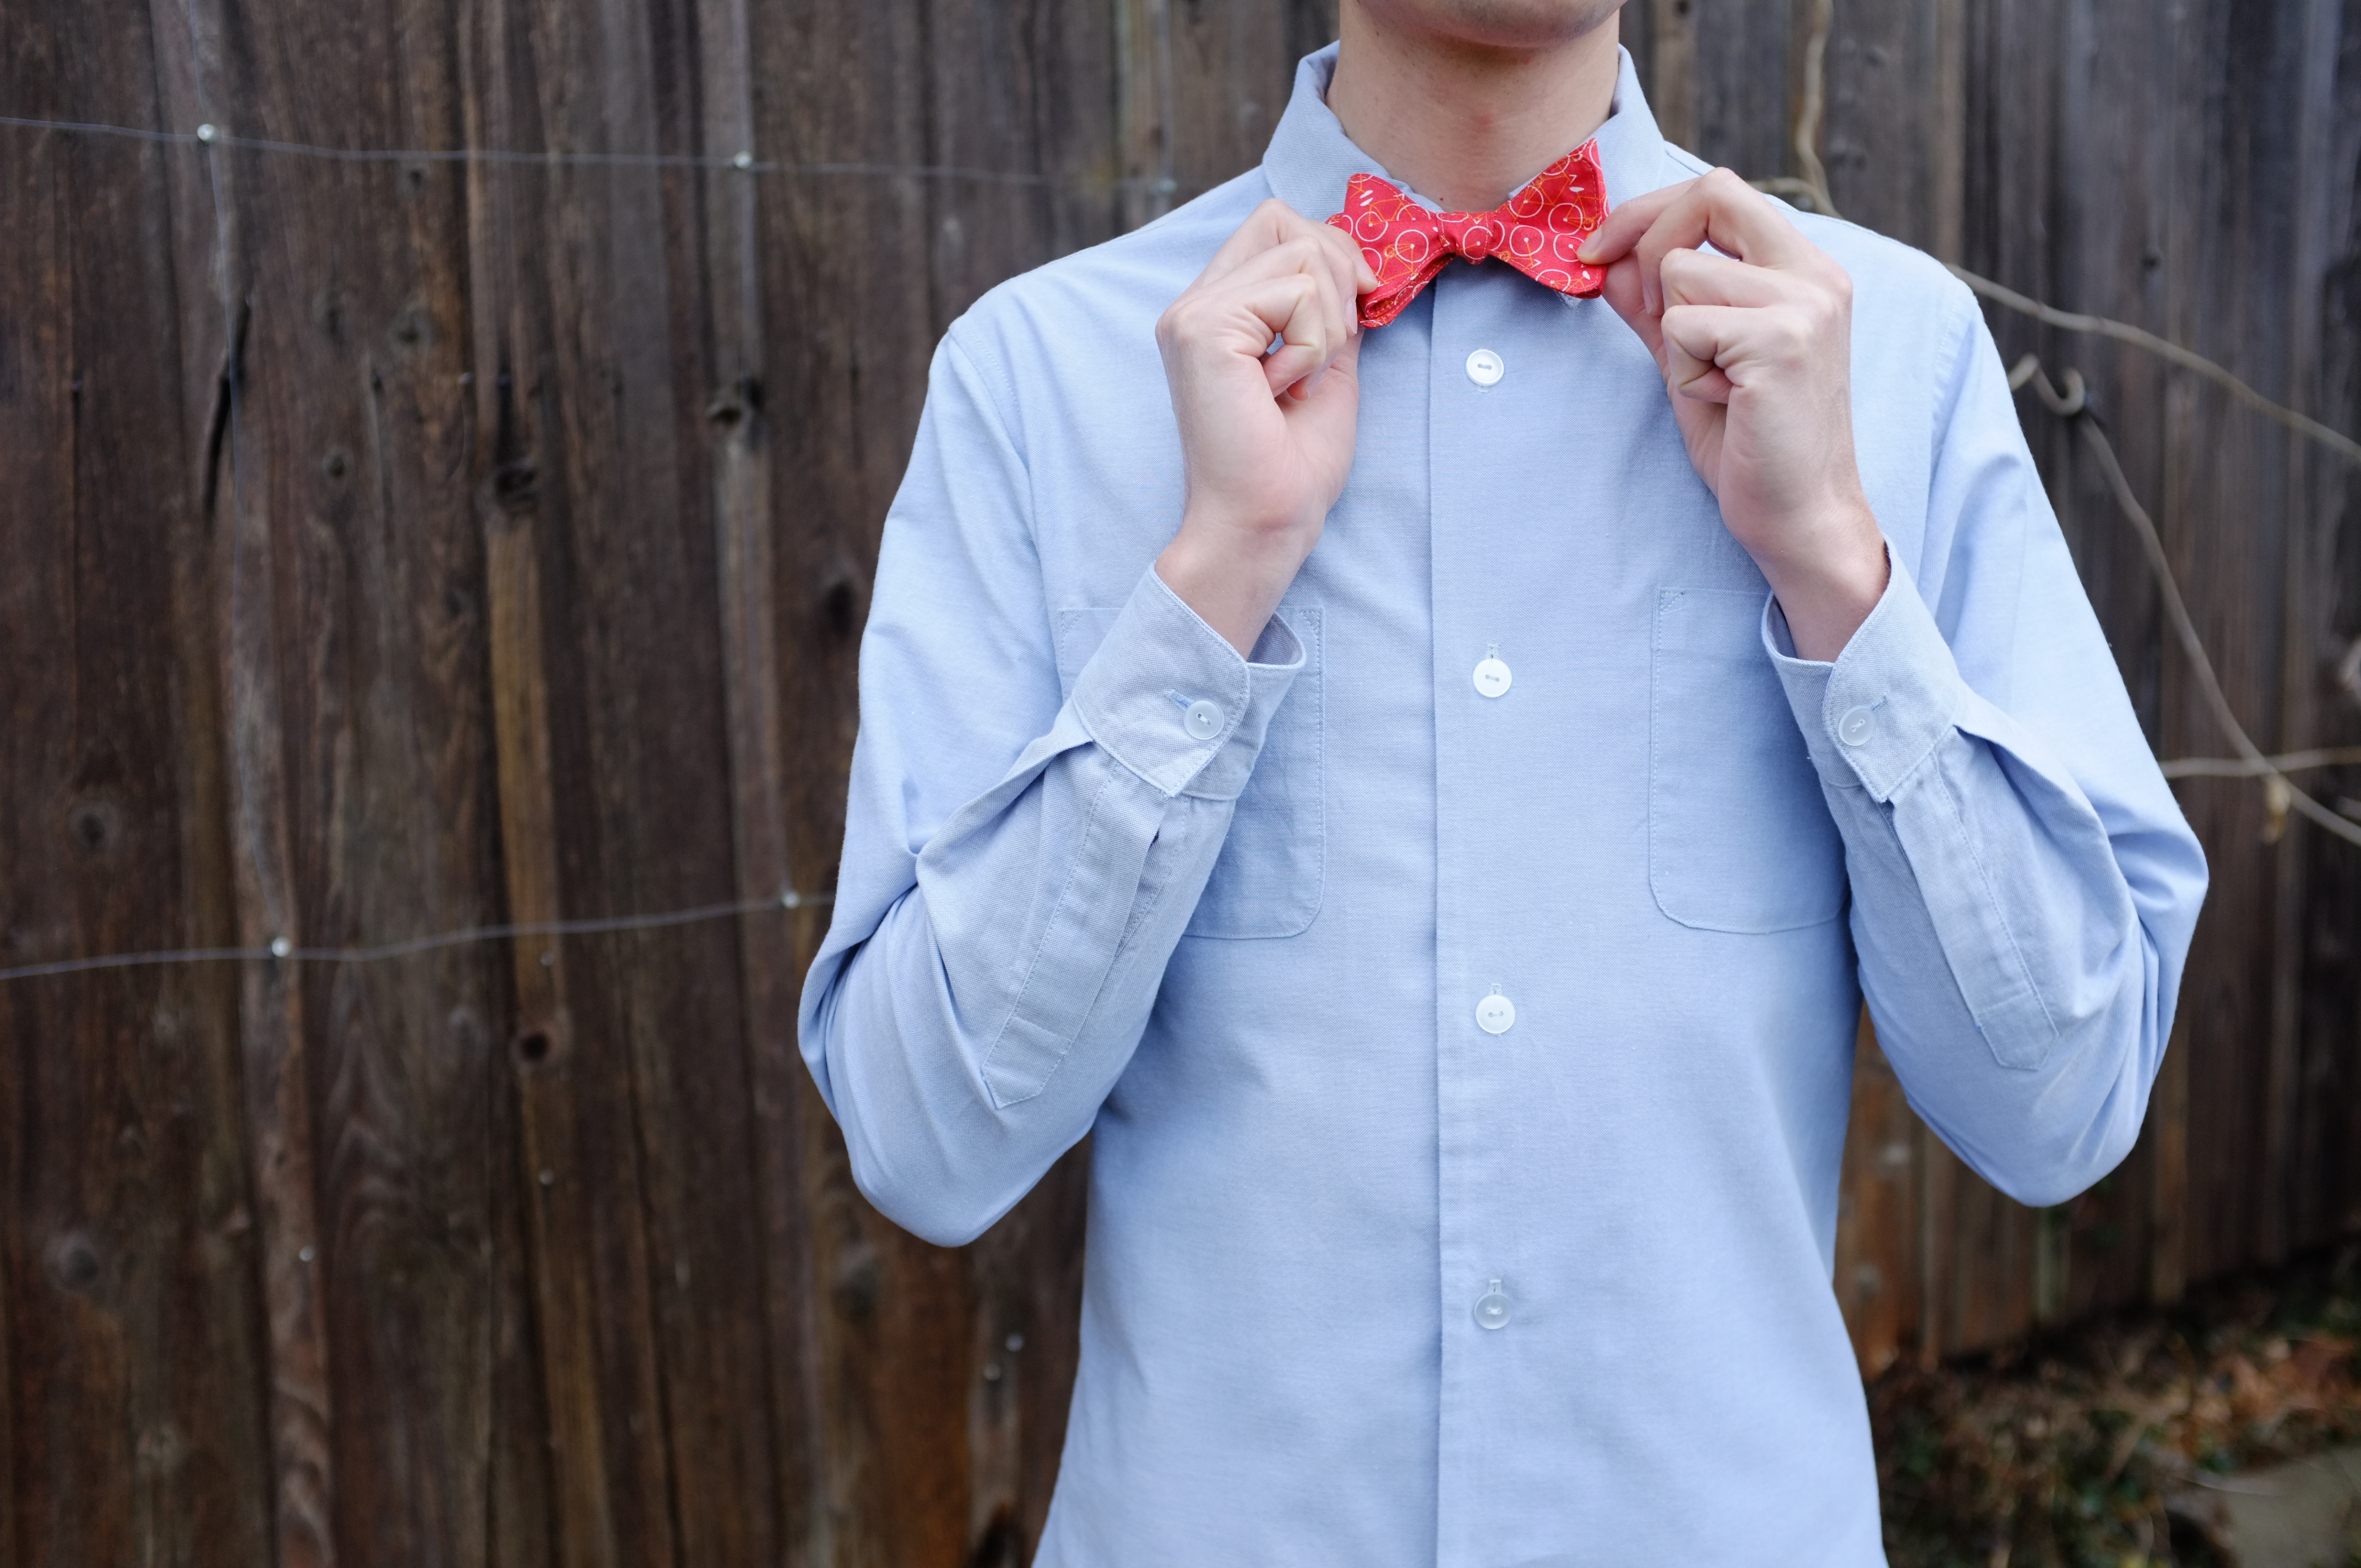
My brother turned 30 this year. For this big occasion I decided to sew him something. And what could be more classic than a shirt?
As always with these ideas I decided on it just before his birthday and there was no time to sew it beforehand, also I first had to take the measurements and decide the design with him. So a voucher it was, given to him in April. It took another 8 months to finish it. First we had to decide on the pattern. I suggested the Colette Patterns Negroni shirt, as it was the only indie pattern for a men’s shirt that I was aware of. As I couldn’t see my brother for his birthday we took the measurements when he visited me in the UK a couple of months later. Then I had to find a fabric. Originally I wanted to make it from plaid fabric but I couldn’t find a fabric that I liked so in the end I opted for a simple light blue chambray. Since my brother lives in Germany I had to wait for my visit in August to show him the fabric in person. He approved it and finally I could start sewing. In theory… In reality life was incredibly busy last autumn, and I only managed to fit in an hour here and there. To make sure it would get done I had to set myself a deadline for Christmas and I just about managed to finish it. The last stitches were done on the way home for Christmas.
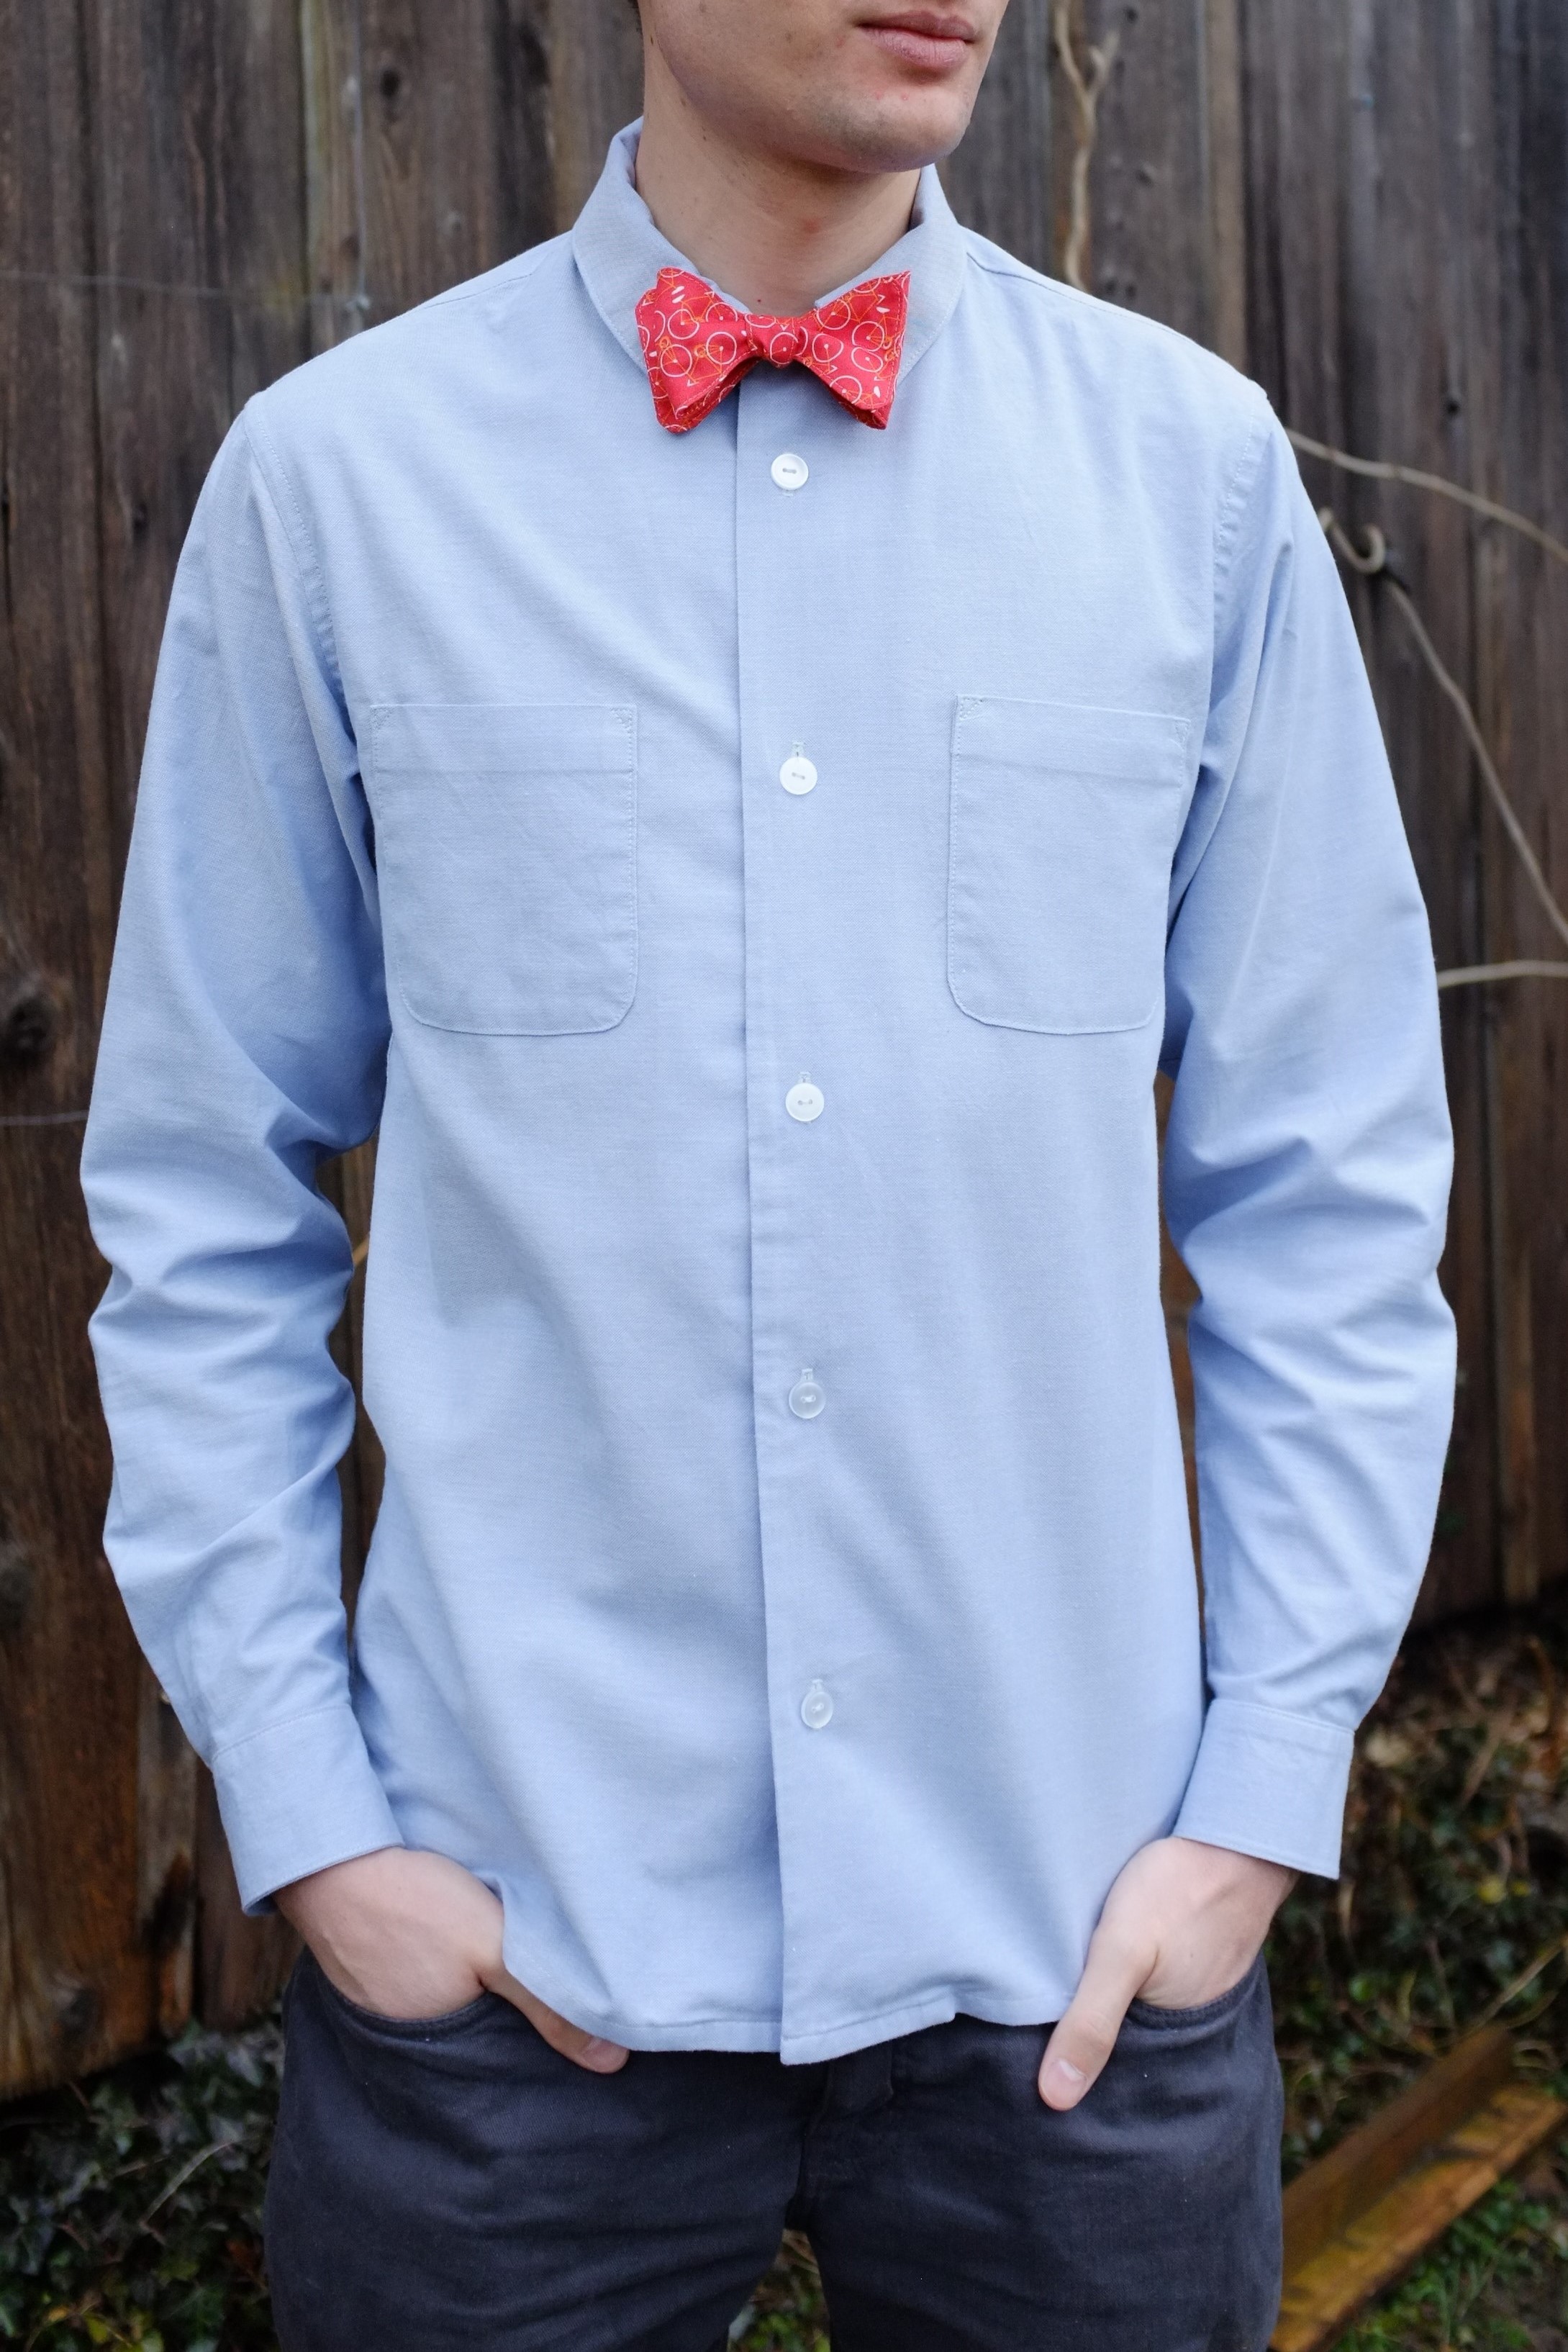
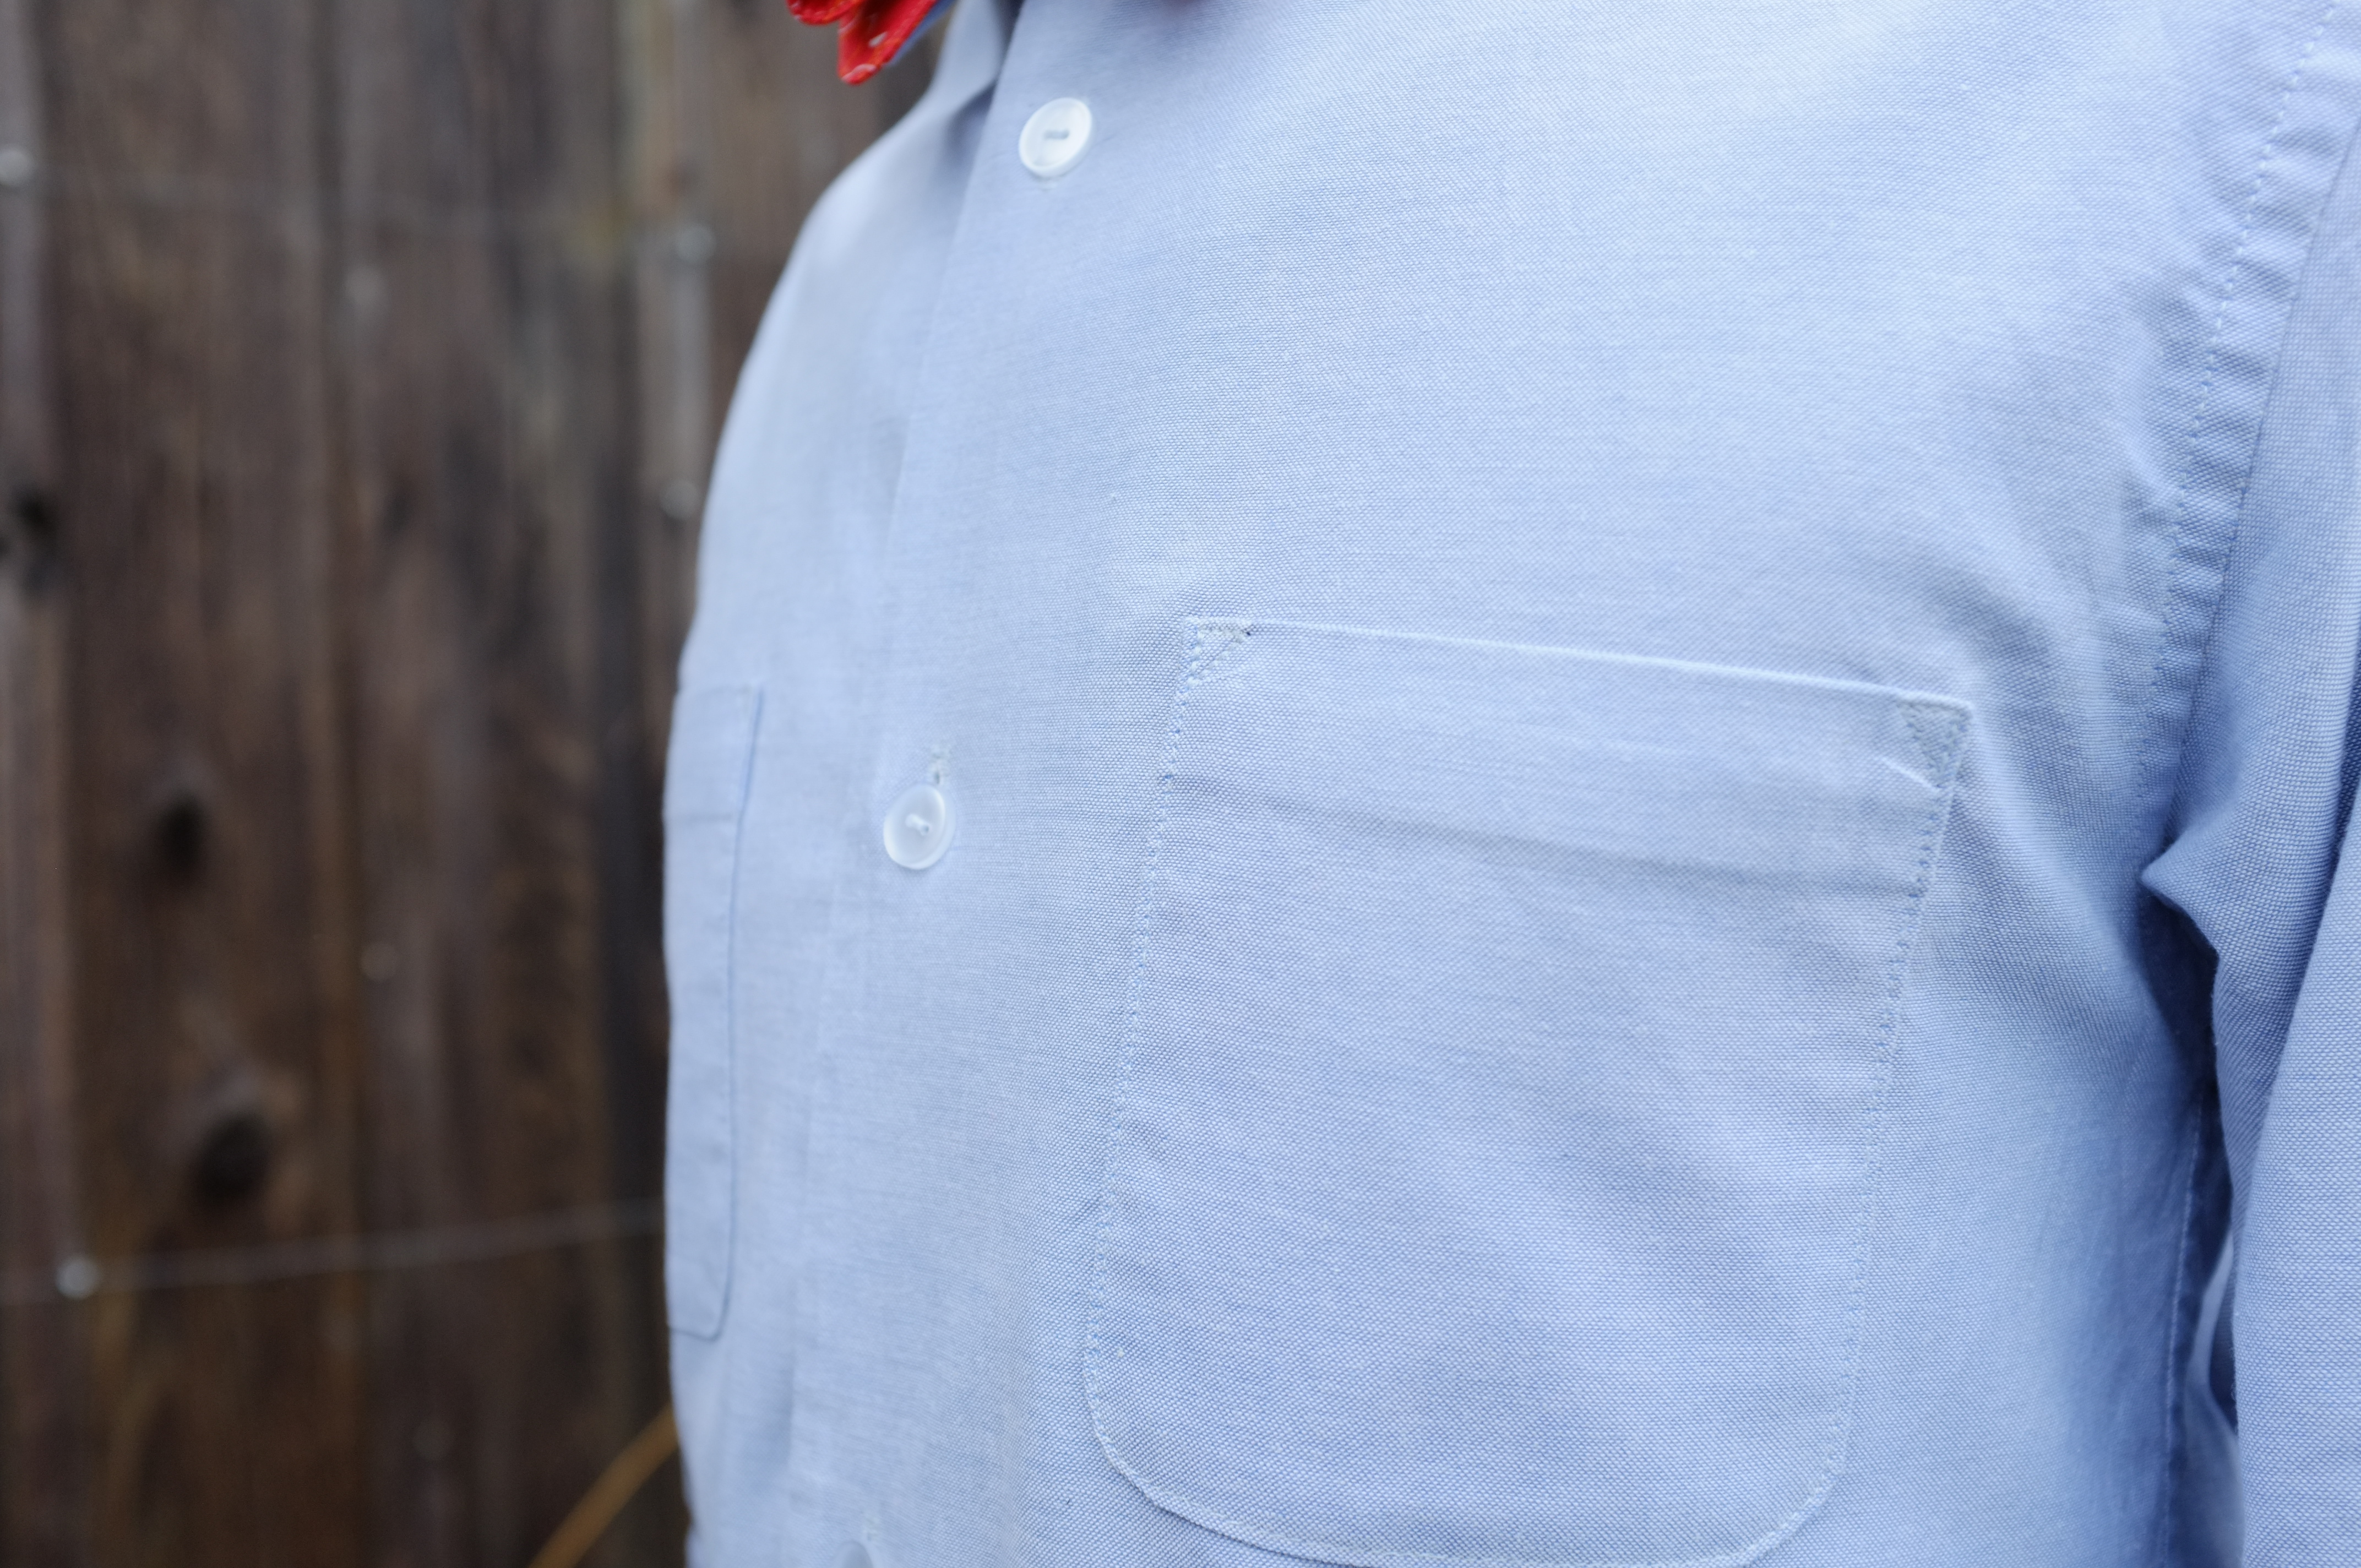
My brother is tall and slim and I expected to have to make some adjustments to the pattern. Surprisingly his measurements fell straight into size S. When I checked his arm measurements against the flat pattern I realised that I didn’t even have to lengthen the sleeves. After reading some pattern reviews it became clear that the sleeves are more on the long side, which was ideal for my brother. Design-wise I only omitted the pocket flaps to give it a cleaner look.
When I finished it up the shirt looked very slim and I was afraid that it would be too small. With the flat felled seams I also didn’t have the possibility to let it out to make it bigger. It was therefore quite nerve-wracking when he put it on on Christmas Eve. Luckily it actually fits really nicely on the body and the sleeves are just long enough.
The construction was quite straight forward. The instructions are very thorough and clear and I didn’t have to unpick even once. The only thing that I didn’t understand was how the button loop at the collar could work when facing upwards so in the end I decided to move it to the side. The vintage collar looks a little bit strange when closed but my brother will wear the collar open anyways, so that shouldn’t be an issue. I struggled to find nice buttons for the shirt, in the end I settled on clear plastic ones as they looked most neutral. Their size together with the wide spacing from the pattern, however, make the shirt look a little bit like pyjamas (my sister’s words). I might change them if I can find nicer ones. Overall I think the shirt turned out nicely.


As a fun little present for Christmas this year I made bow ties from novelty print fabric for the men in my family. My brother’s bow tie has little bicycles on it and it goes really well with the shirt. However, I doubt the bow tie will get a lot of wear in real life…

I really enjoyed learning new techniques such as the “burrito” method for attaching the yoke to the shirt or flat felled seams (which are not as difficult as expected). It definitely helped to break up the project into little chunks to be able to focus on one detail at a time. One thing I am particularly happy with is my first sleeve placket ever.


As the fabric is rather boring I new that I wanted to personalise the shirt a little bit. I decided to embroider my brother’s initials on the inside of the cuffs and added a little message to the inner back yoke. It was my first time to do embroidered lettering and I had to try a couple of different techniques to find one that worked well. I finally settled on a chain stitch which might not look 100% professional but at least the embroidery is readable. As I didn’t know if I would have time to actually do the embroidery I added it last minute to the finished shirt which made it quite fiddly. It also didn’t help that I didn’t have embroidery thread and had to use 6 strings of normal sewing thread. On top of that I finished it off on the bus and at the airport, which is definitely not the best place for crafting. In the end it turned out allright and I love that it is on the inside of the shirt, a secret message for the wearer.


All in all this was a really nice project. The collar without a collar stand and the simple botton band make the Negroni a great pattern to try out shirt making. I’m sure I will make more men’s shirts in the future. Next I would like to try a more classic shirt pattern. I already ordered this Burda pattern and might make my boyfriend a shirt for work. First I will have to hunt for some nice fabric though… Happy sewing!
3 thoughts on “Negroni Birthday Shirt”