 New year, new hair, new shirt. This sleeveless blouse is my first make in 2016, and the first thing that I can tick off my 2016 sewing list.
This project started with a fabric I had sitting in my stash for a while. I bought this Liberty lawn back in November at Shaukat in London, a place I’ve been wanting to visit after reading about it on Katie’s blog. As expected the shop was overwhelming and it took me about an hour to settle on a fabric. While I love the quality of Liberty fabric I am not very drawn to cute florals so I was looking for something more abstract. In the end I chose these two pieces. I was drawn to this Liberty lawn because of its colours and the geometric pattern. I knew I wanted to make a top and first thought of keeping the shape simple to let the fabric stand in the focus. But for some reason I couldn’t really picture it and I let the fabric sit in my stash untouched. Then one day I had an epiphany and knew I wanted to pair the fabric with a structured, sleeveless blouse. Isn’t it weird how ideas sometimes come out of the blue?
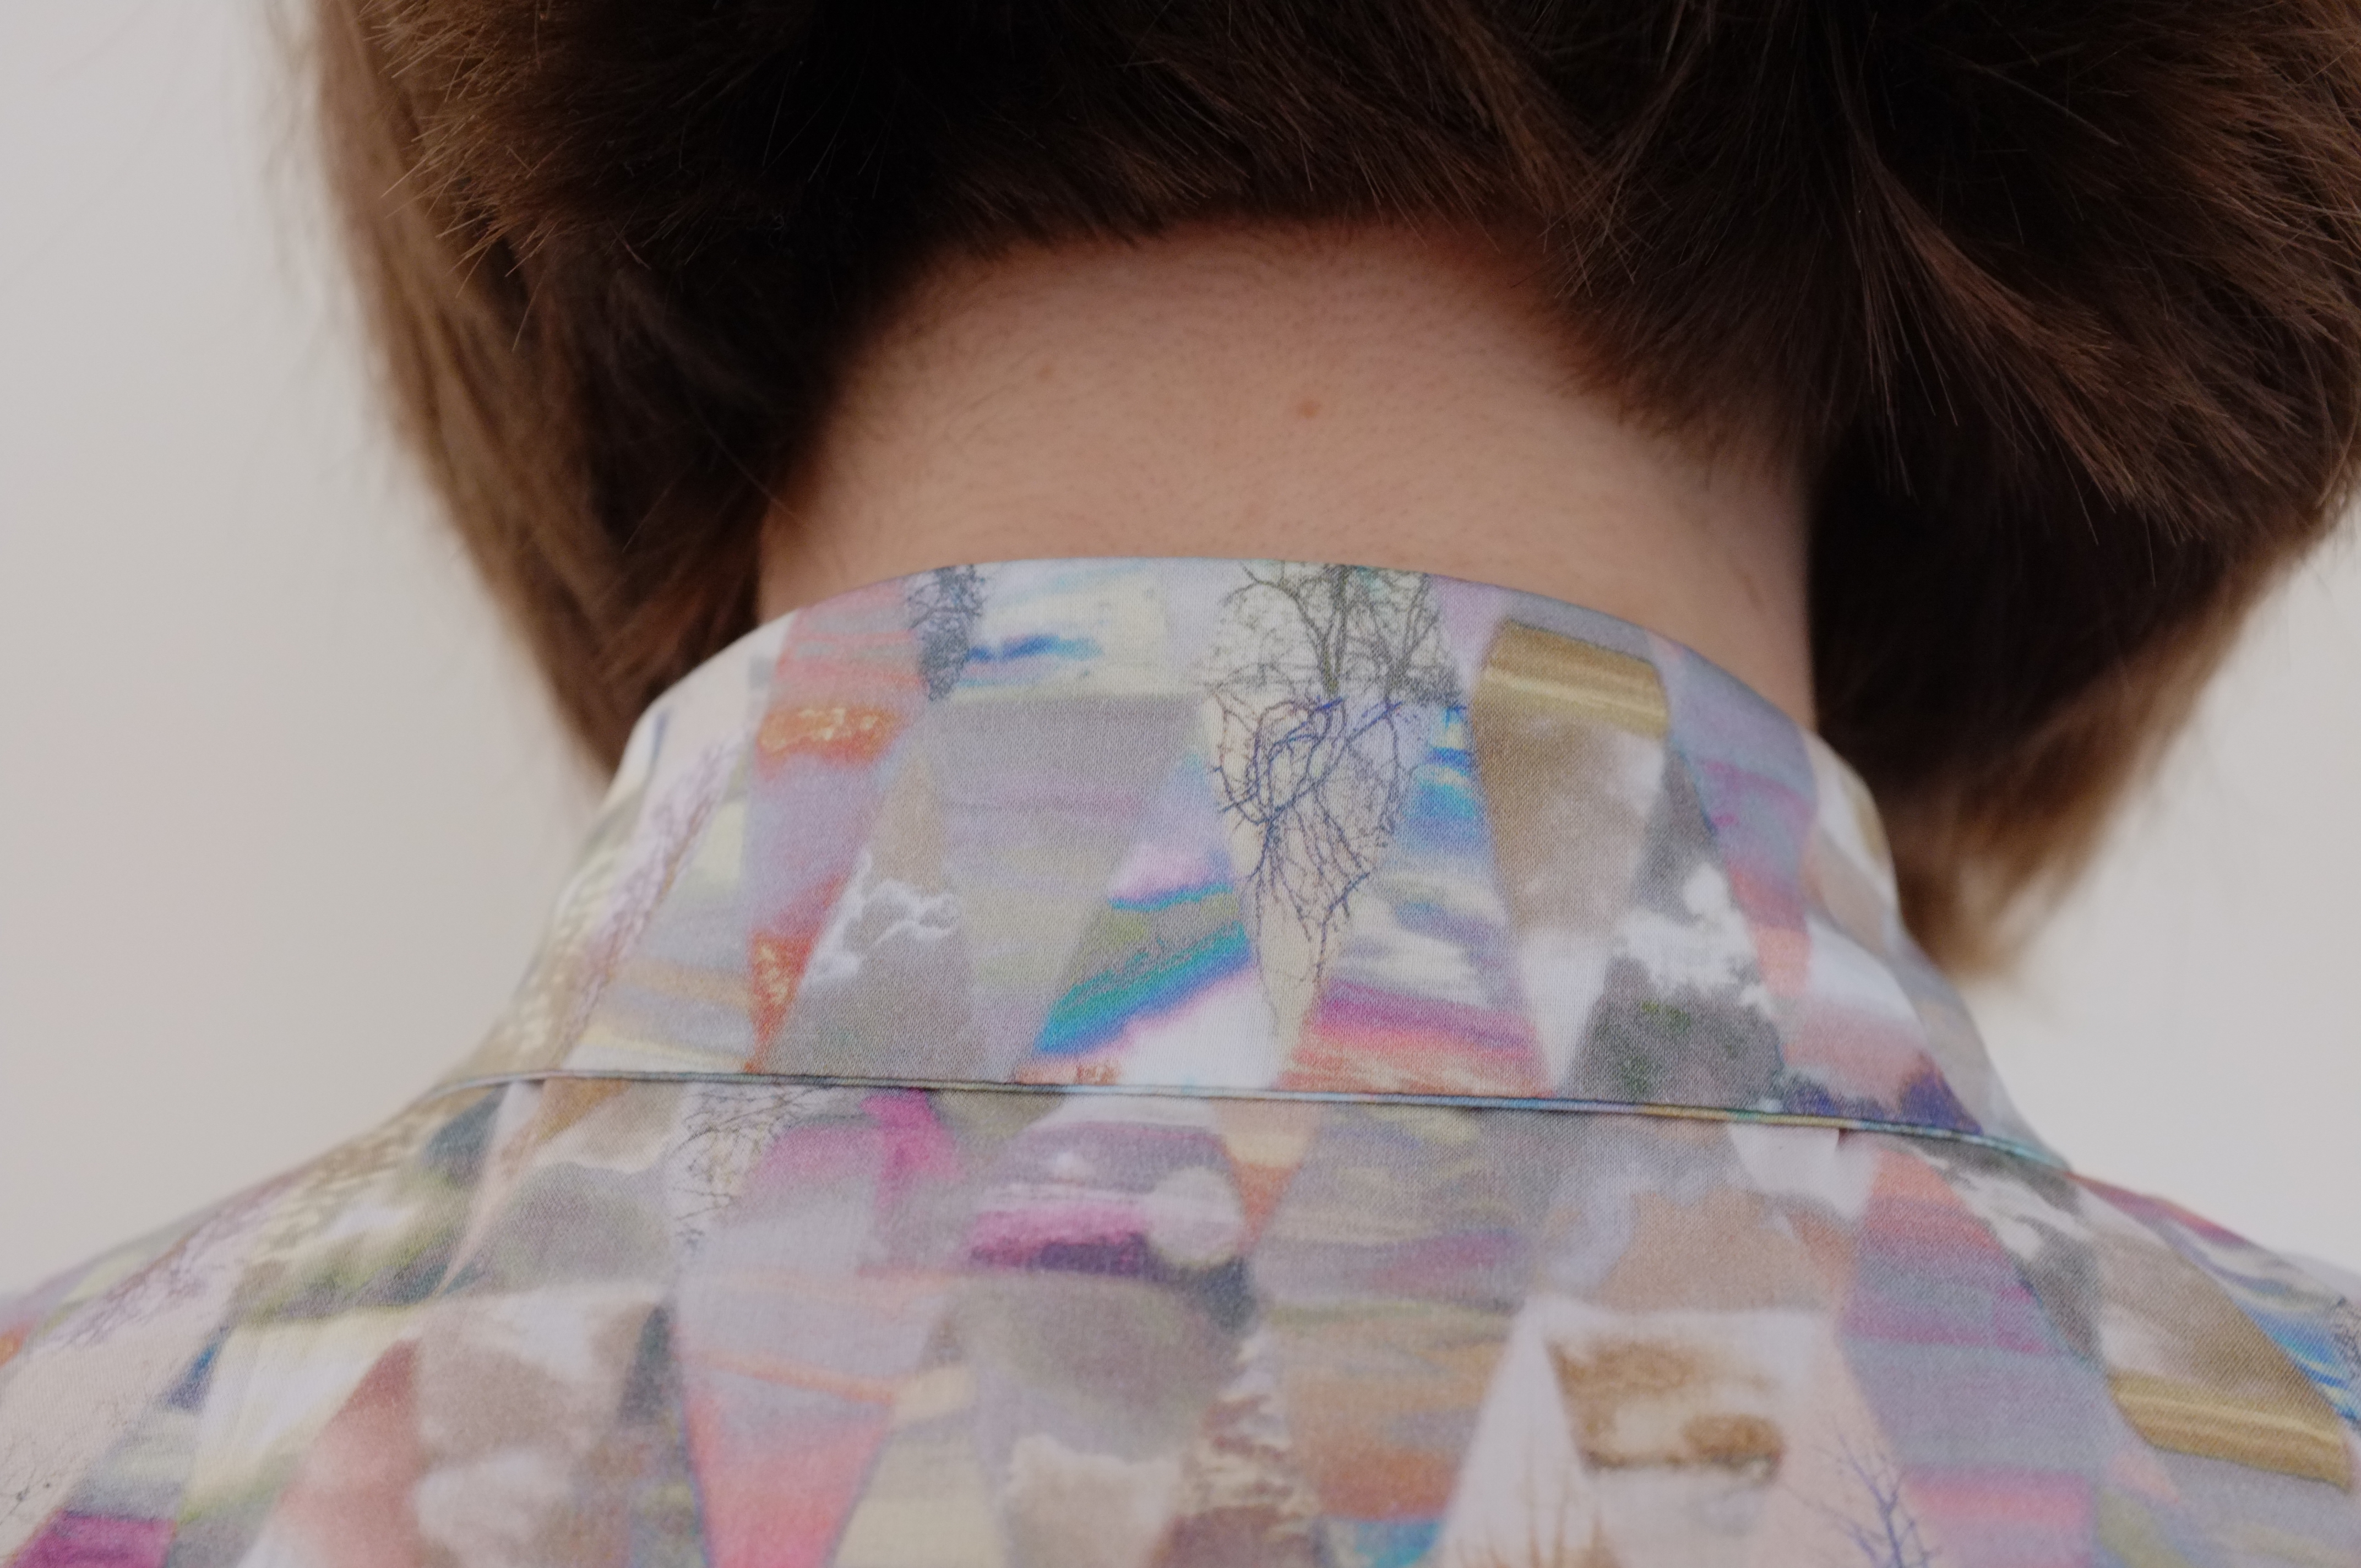
Now that I was settled on what I wanted to sew I was looking for a good pattern. In the end instead of buying one I decided to give myself a challenge and copy a shirt from my closet. While I love how indie patterns guide you through each step of constructing a garment, it’s sometimes nice to figure out on your own how to put a garment together. I traced the pieces off the shirt with some tissue paper. This process can be quite tricky off an intact garment but I took my time and it worked out allright. As I liked the fit and the style of the original shirt the only change I made to the pattern was to draft a less pointy collar. The construction was pretty straight forward, it helped that I recently had made a shirt, and for the collar construction I used the instructions of another blouse. I serged the seams instead of doing French seams, for one because I need to practice with my new overlock and second to be able to construct the split hem. The button band on the one side is just folded over, on the other side a separate button band is attached. This is a feature of the original shirt and I quite like it. The only thing that went slightly wrong was the angle at which the collar stand is attached to the button band. It should be at a right angle but it obviously isn’t. I’m not quite sure what happened there, but I’ll just call it a design feature. It does get lost in the busy print anyways. The armholes are finished with a white satin bias tape, which was quick and simple but looks nice.
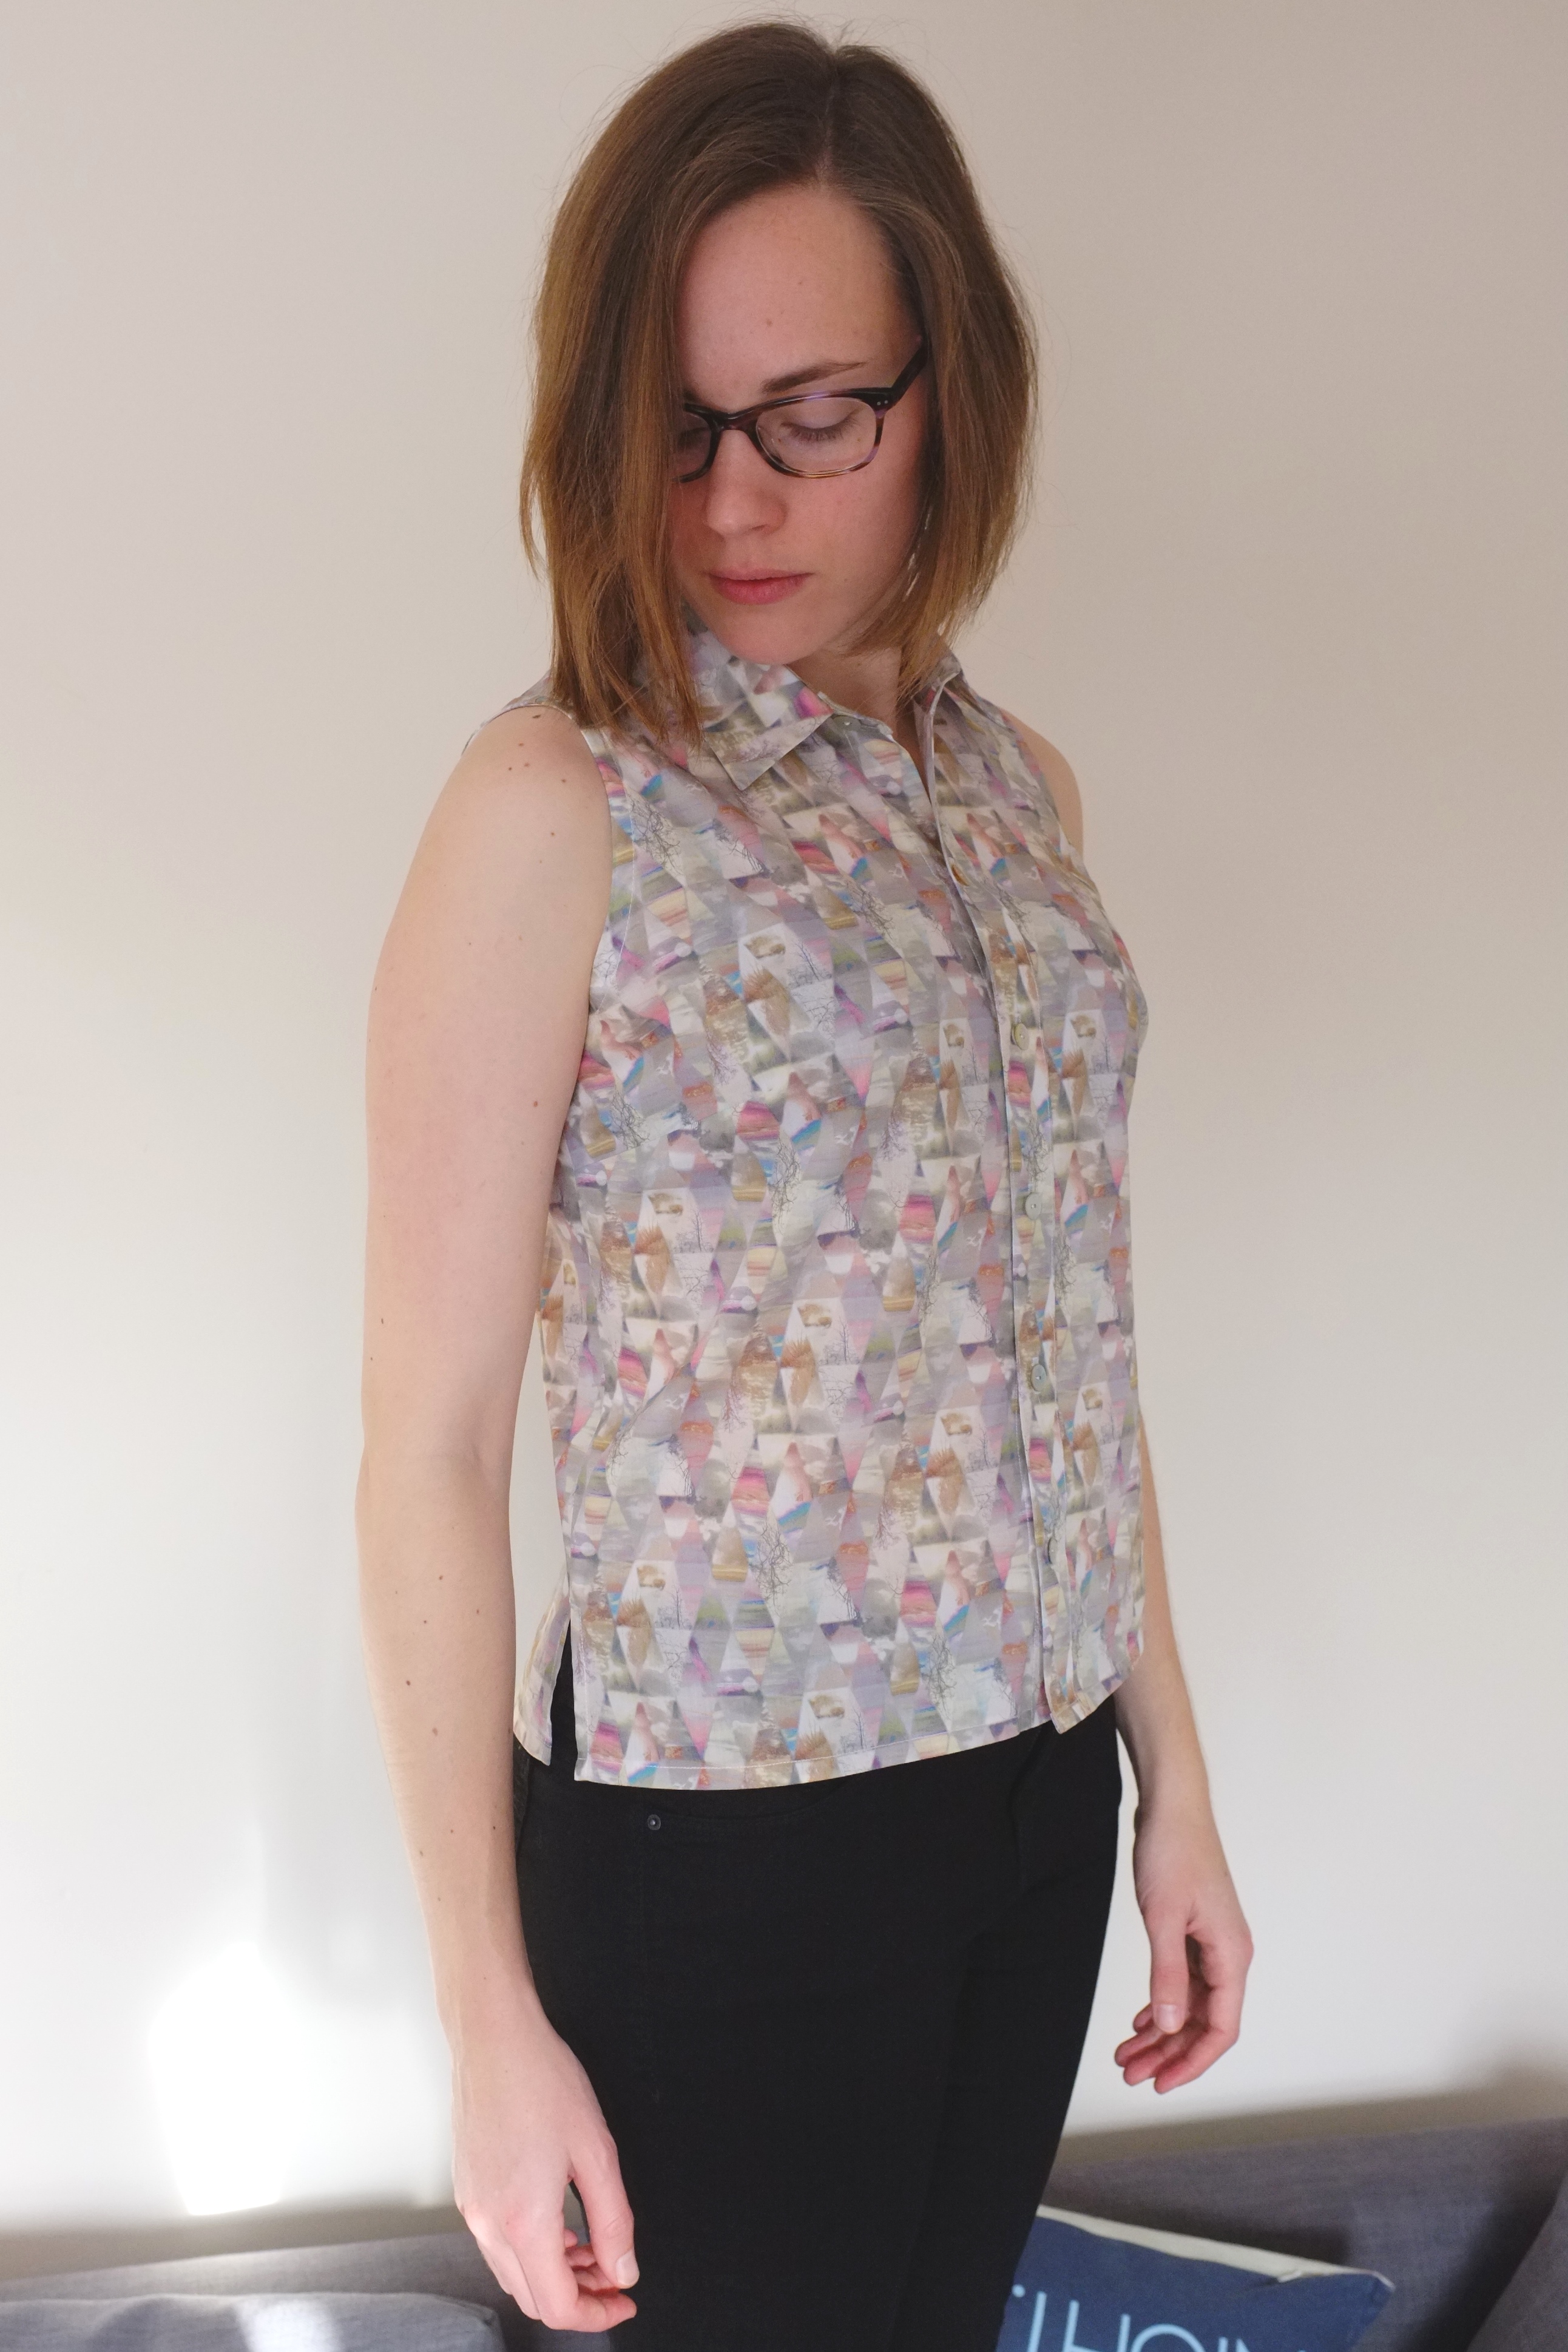

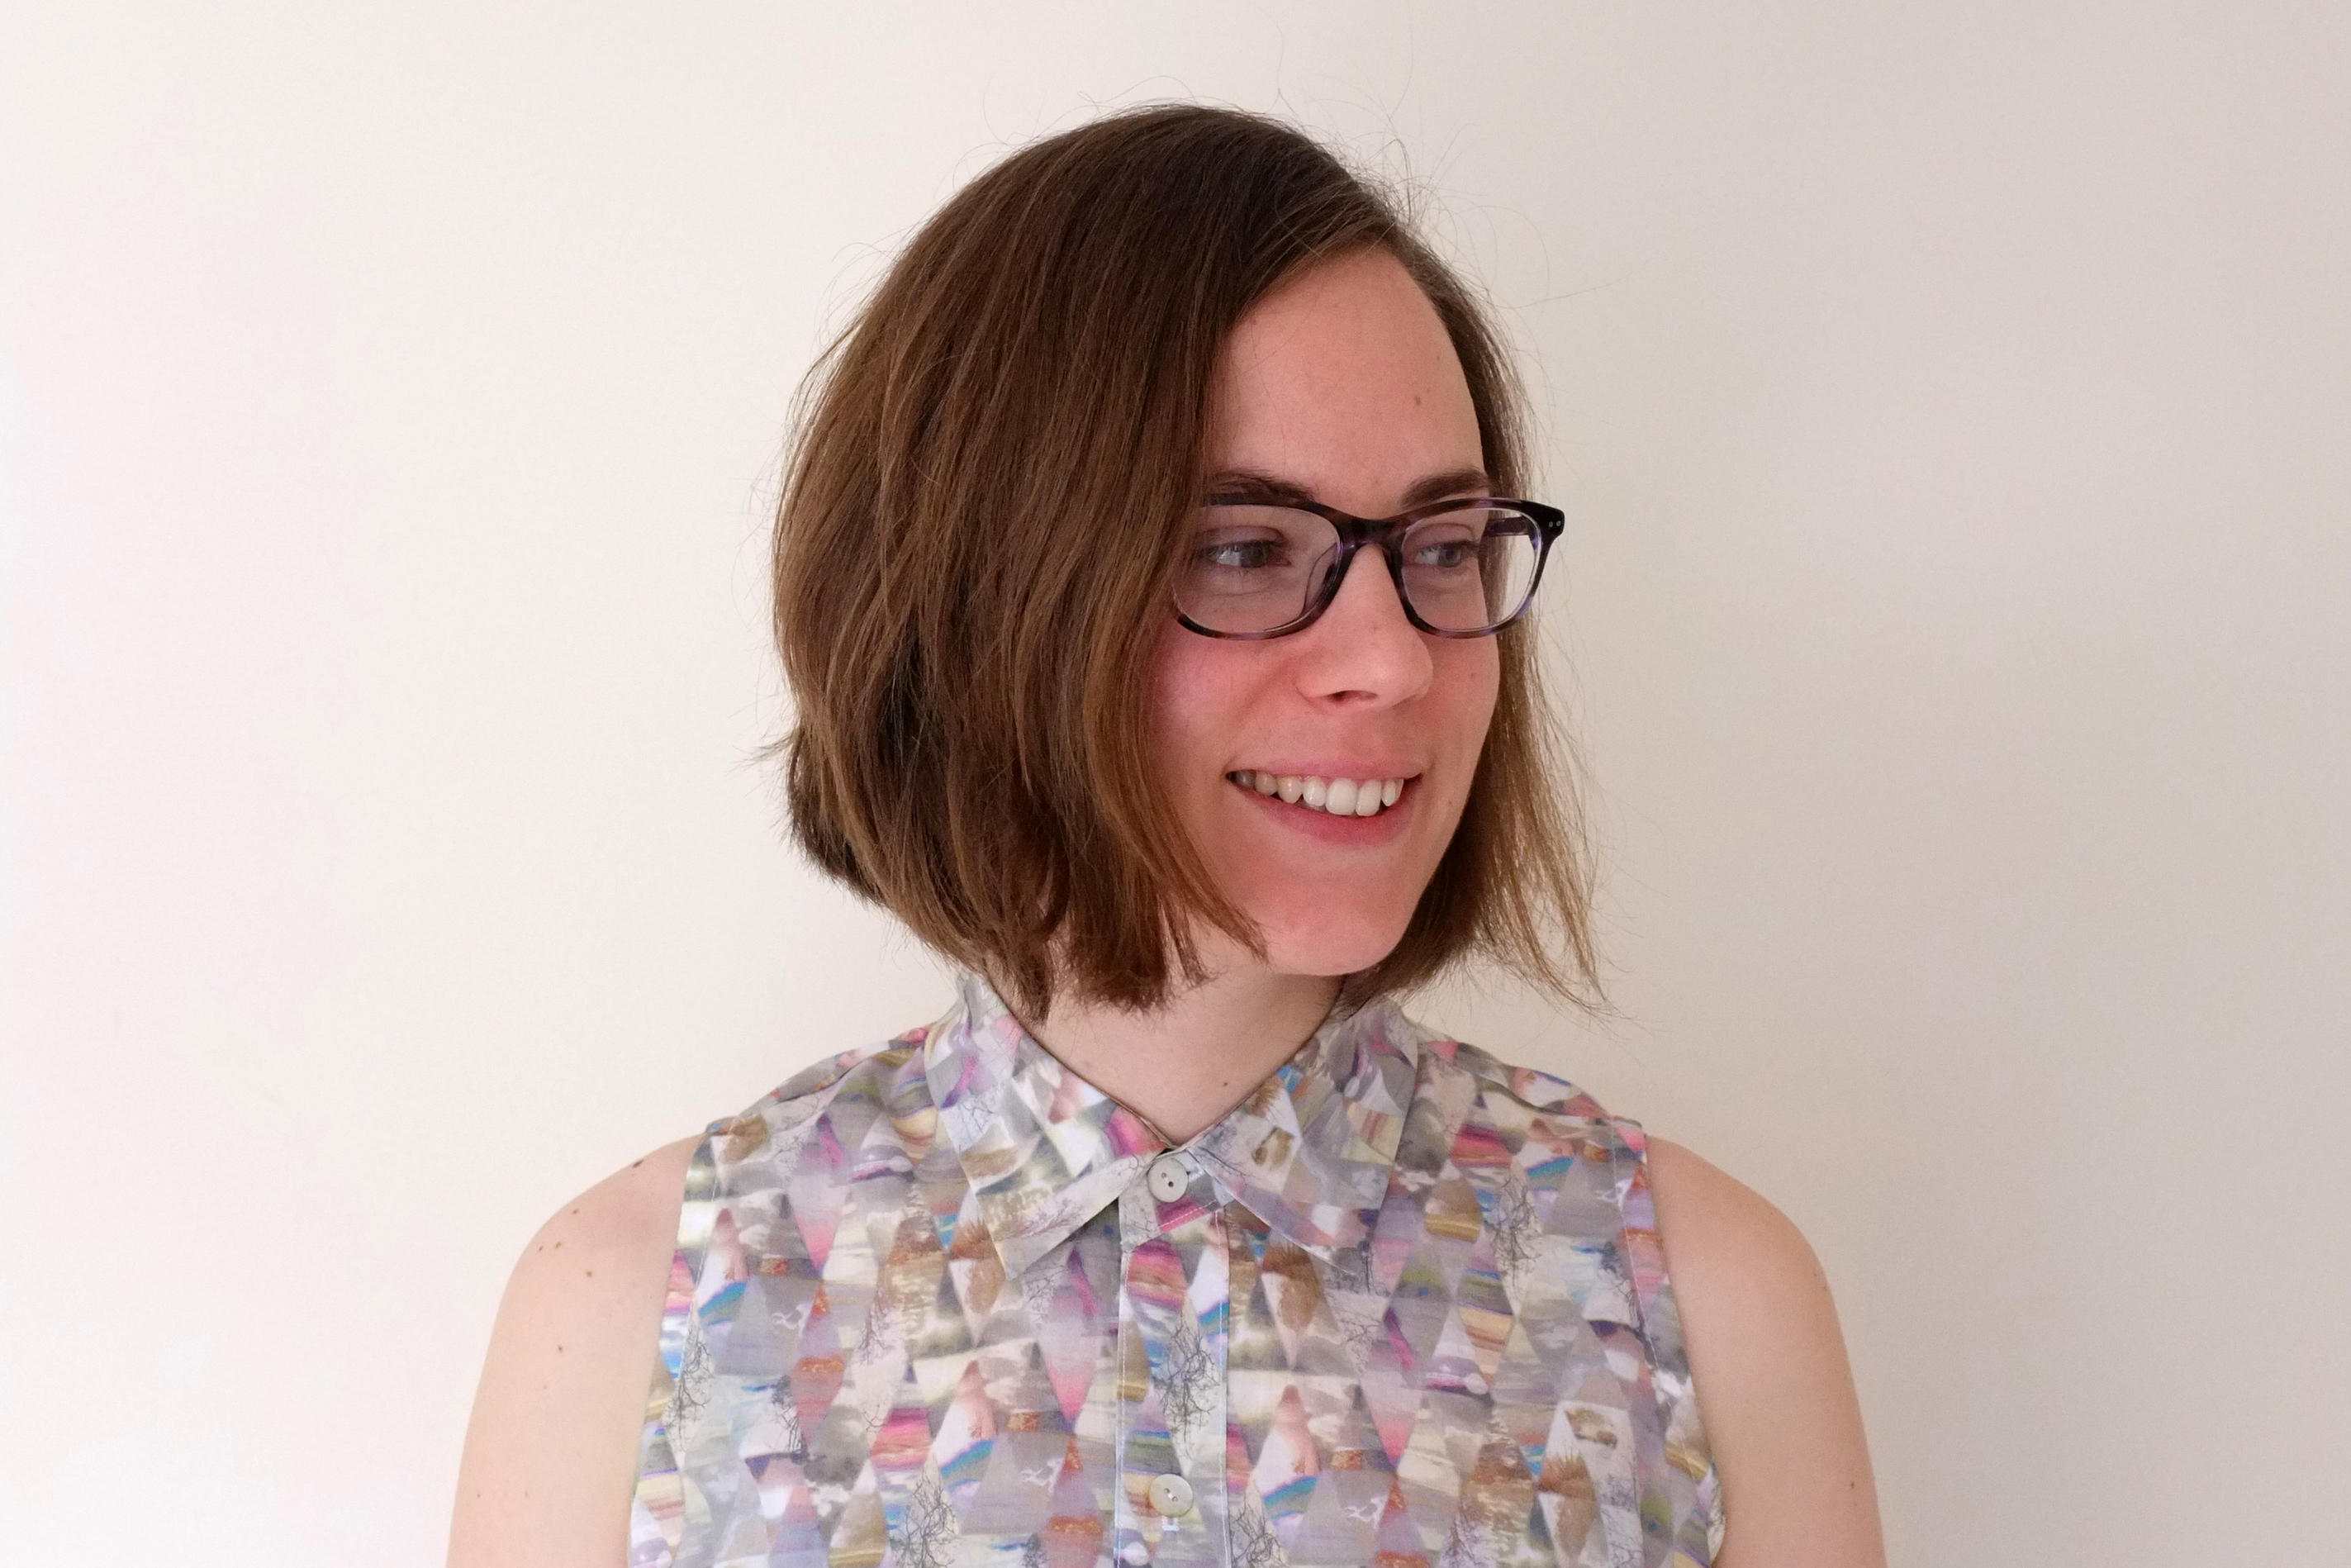
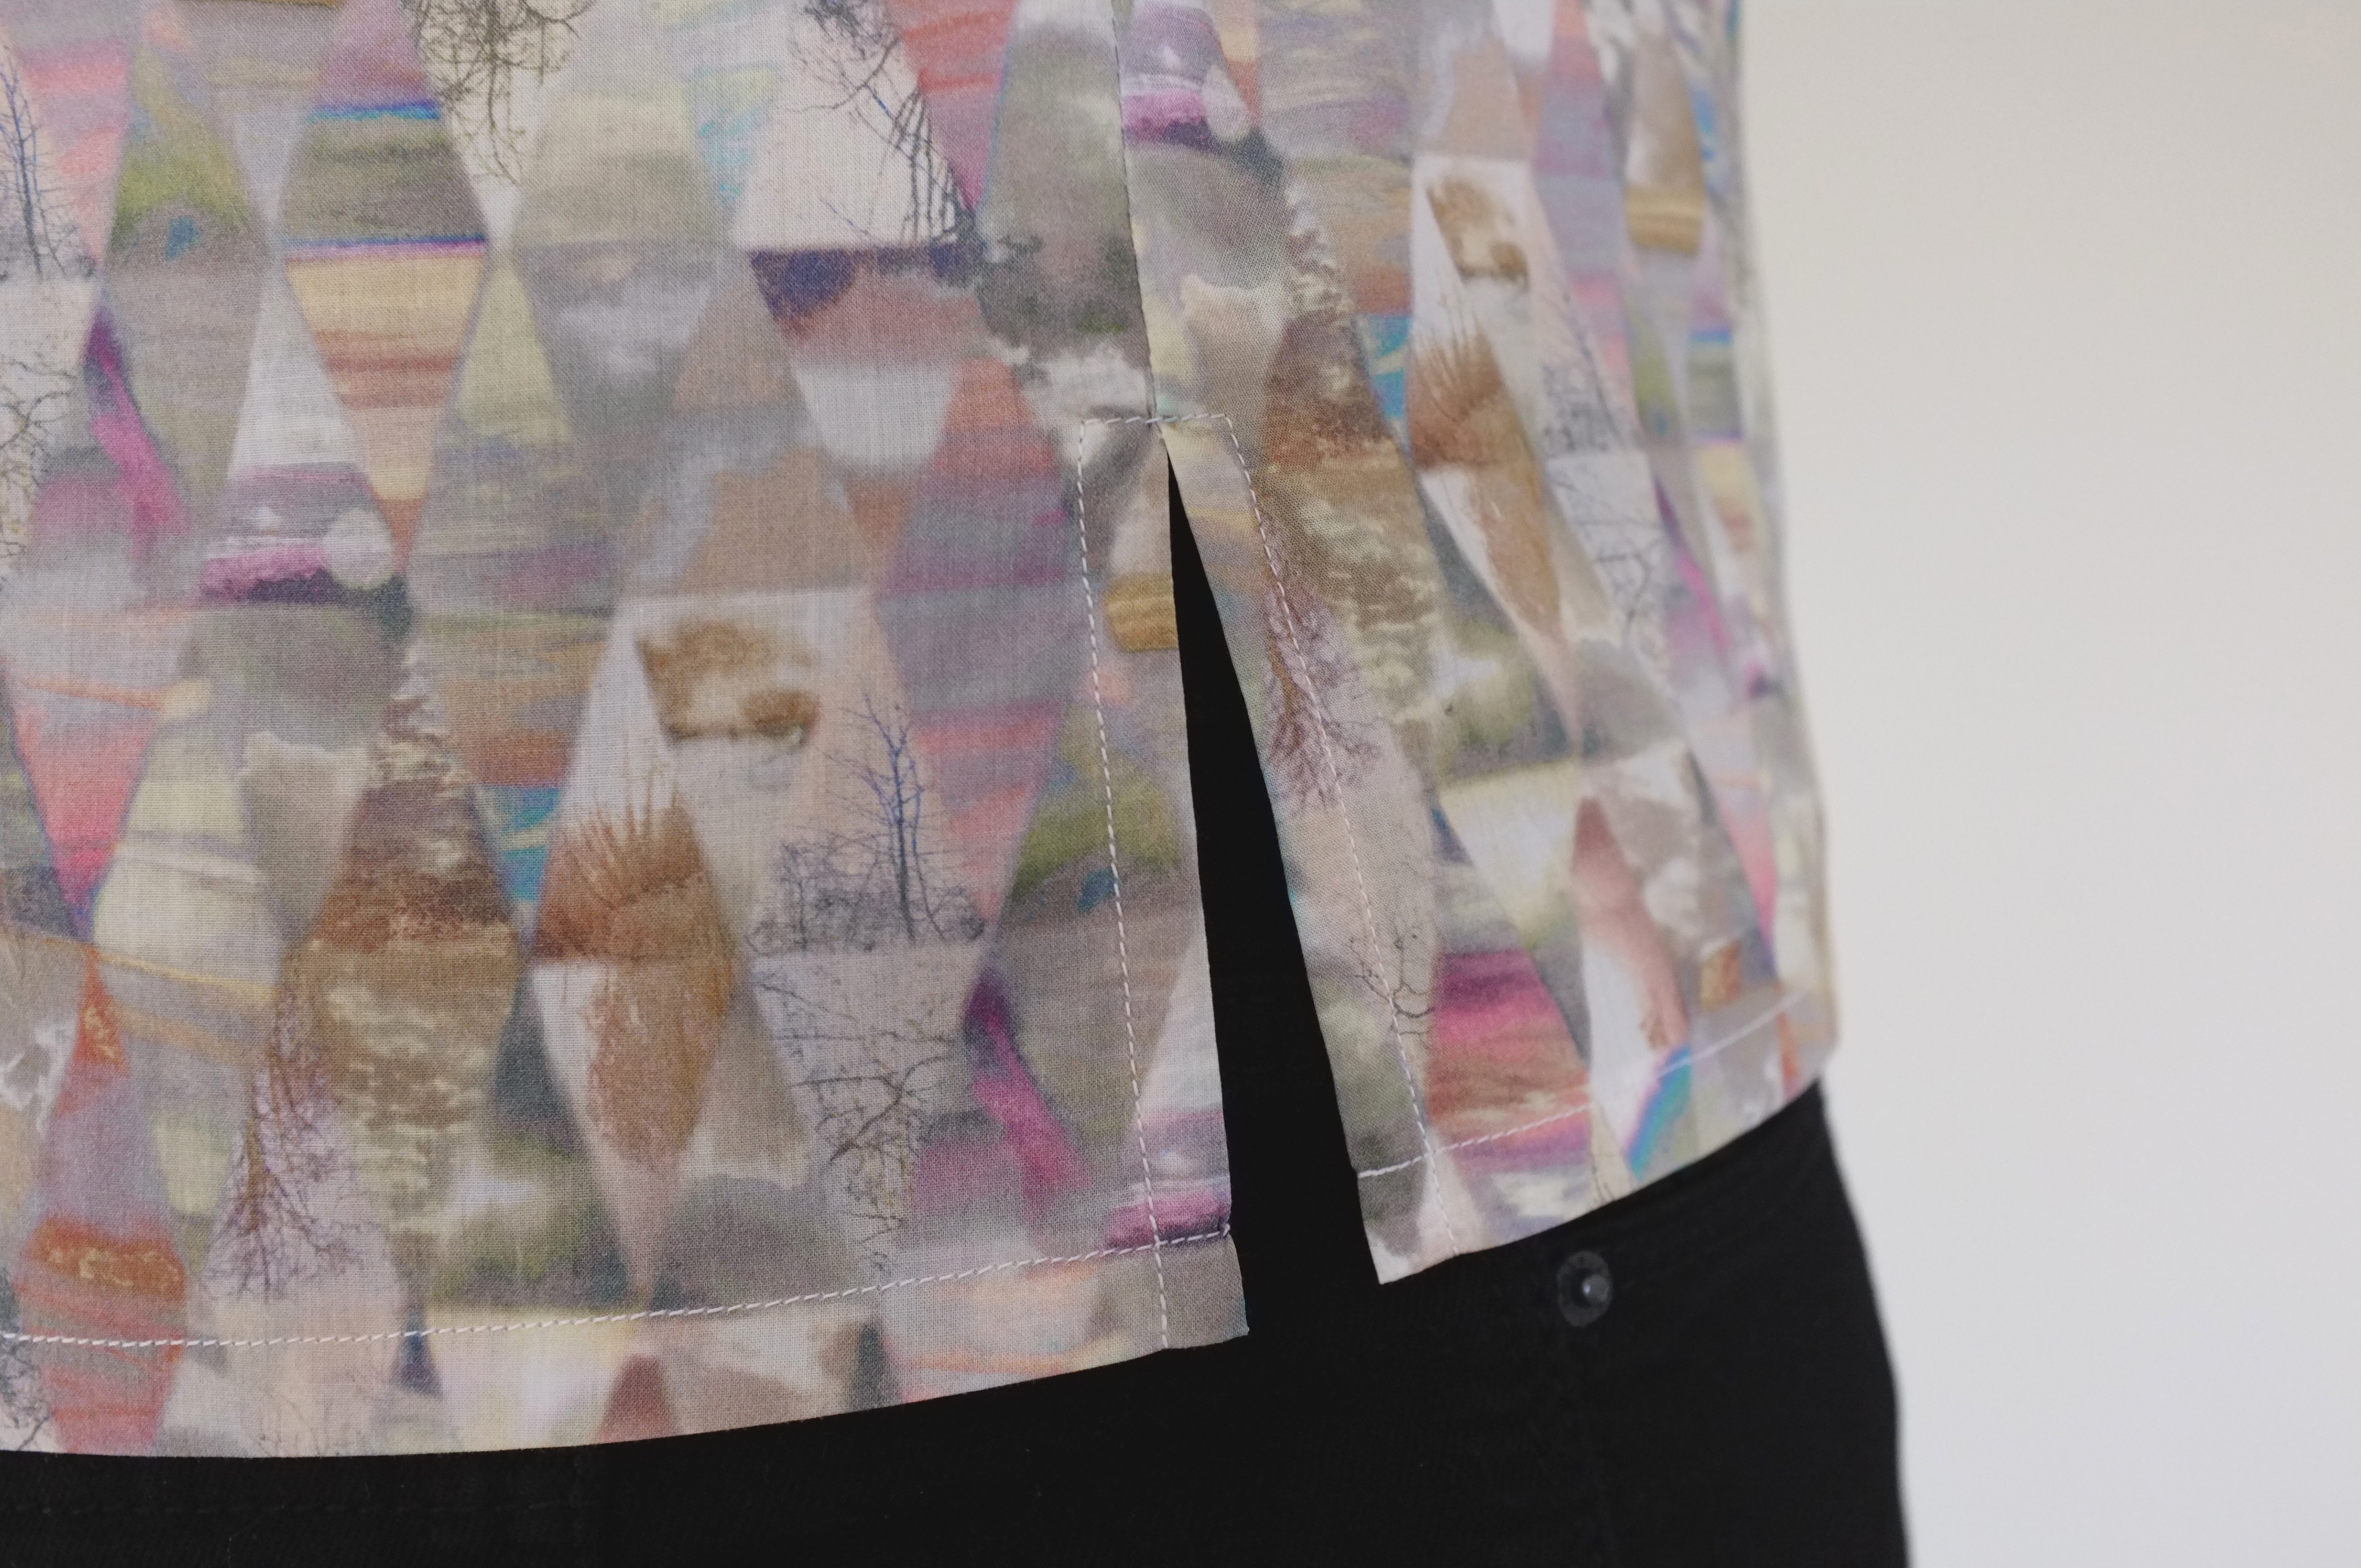


 The finished shirt looks pretty much how I envisioned it. I especially love the crisp collar. I am a little bit unsure if I really like the look of sleeveless shirts on me. My boyfriend tells me I look like a cleaning lady or a wrestler and I have to admit there is some truth to it. In the end it’s not a big issue though as I am planning to wear it to work layered under a blazer or a jumper. In a future version I might play with the shape of the armholes a little bit to give it a more modern look. The overall fit is actually pretty good. There are some issues with wrinkles at the shoulder seams and I might lower the armholes slightly in the future but these are just minor issues. The bust darts and fisheye darts in the back give it a slightly fitted shape. Thanks to the split hem there is enough room around the hips, which is great. I love the look of a split hem, so I might add this detail to more tops in the future.
Overall this project was a great start into the sewing year 2016. My next project will probably be something made from the Japanese fabric that arrived today. It was my first time ordering from Miss Matatabi and I am in love with the pieces. Beautiful fabric is alway the best inspiration!

I absolutely adore this fabric! I’m a big fan of geometric prints but really like that it’s still feminine. Excellent shirtmaking too! I’m currently trying my first shirt; the Sewaholic Granville and am really enjoyed the process.
Thanks Jen! How is your Granville shirt going? I’ve had the pattern in my stash for a while now but never got around sewing it up. But I now have some pretty Japanese fabric that would make the perfect blouse, maybe soon.