The Named Inari Tee Dress

Inari_1

This is the long story of the Inari Tee Dress and how I made it work for me.

I guess we all have these pattern crushes that are mainly fuelled by very cool people wearing them, not necessarily because they are our style. This was exactly what happened to me with the Named Inari Tee Dress. When it came out I really liked the crop top version, but the dress? Not really my thing, which could have also had something to do with the pattern styling which just reminds me of a tennis outfit. Then the Inaris started popping up on the sewing blogs, and the more often I saw it the better I liked it, even though I never wear cocoon shaped dresses. The coolest ones I’ve seen so far are this one, this one, and this one. To be fair, there are so many cool ones out there, this list could be endless. So in the end I caved and bought it, planning to make a dress for the many weddings I will be attending this year out of some gorgeous floral Nani Iro (the idea is totally stolen from here and here). Of course I couldn’t cut into the precious fabric without making a muslin first. I decided to use some medium weight striped knit from Miss Matatabi which had less stretch and recovery than expected (looking at the description now, that was actually highlighted explicitly). I hoped the fabric would show off the cocoon shape nicely so that I could decide if I liked it or not.

After reading a couple of reviews I decided to go grade up around the hips, choosing a size 38 for the top and and something between a size 40 and 42 for the bottom. While the fabric has some stretch after all I wanted to avoid any tightness around the hips.

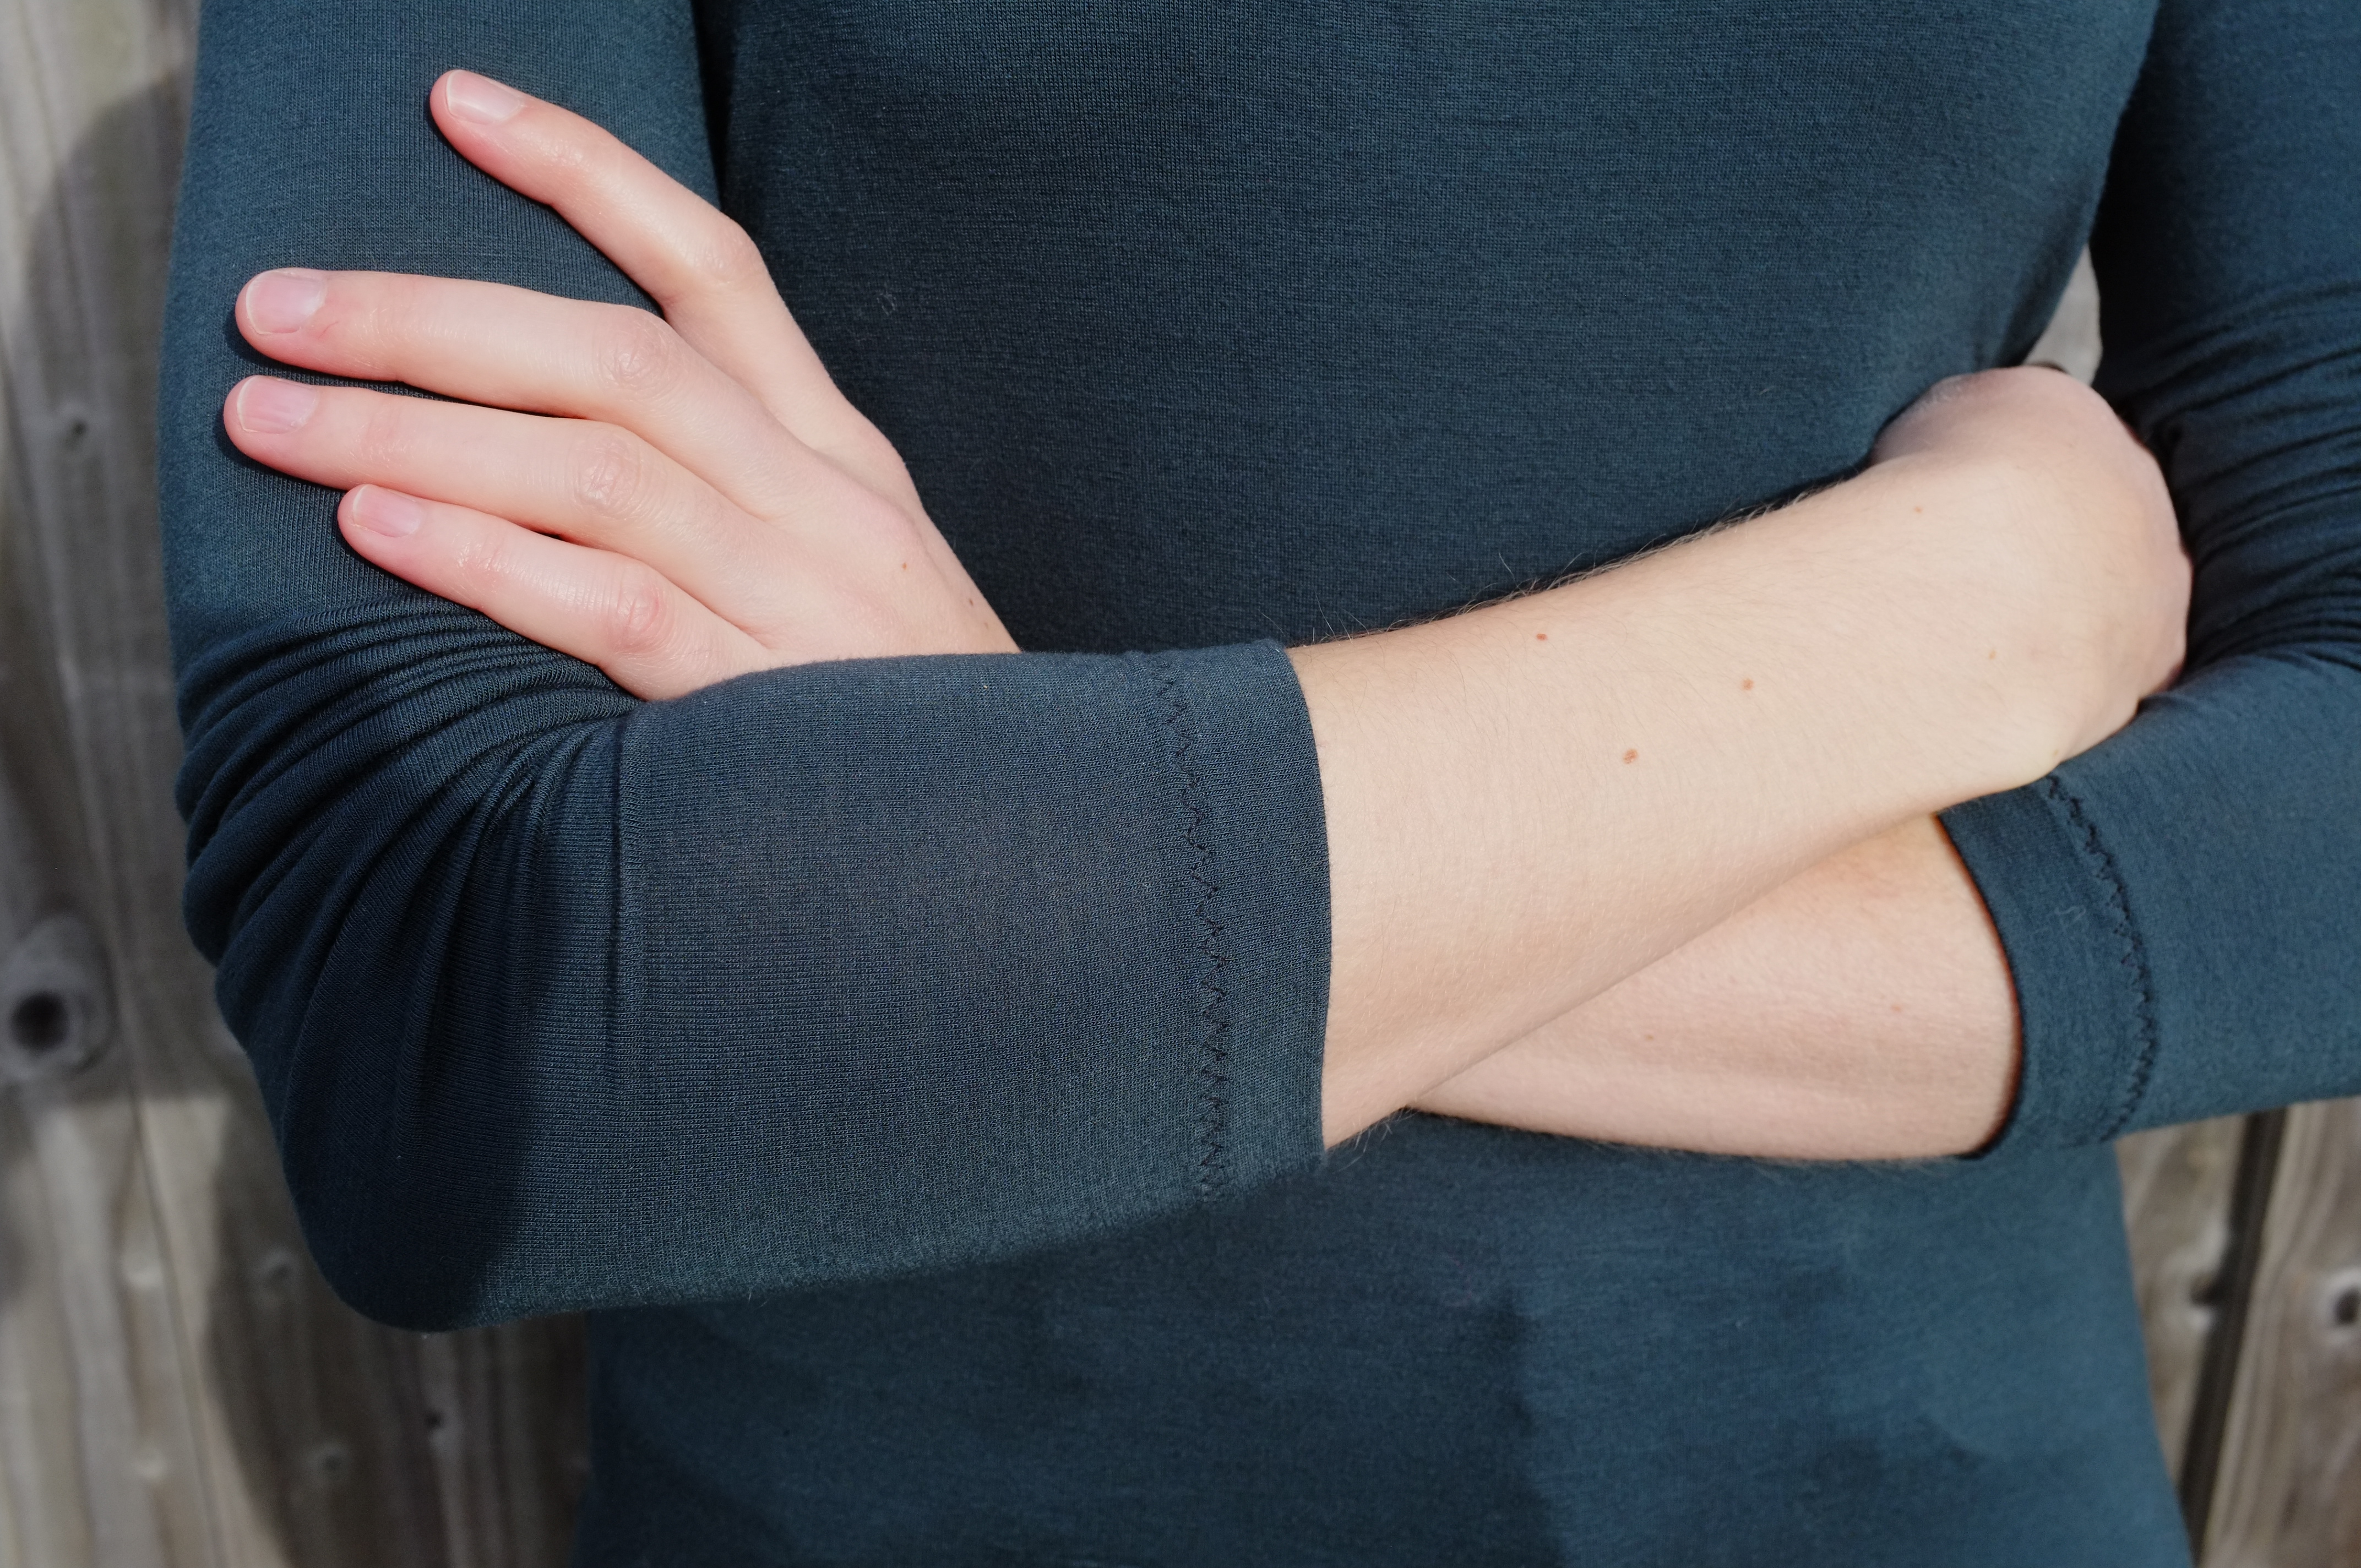
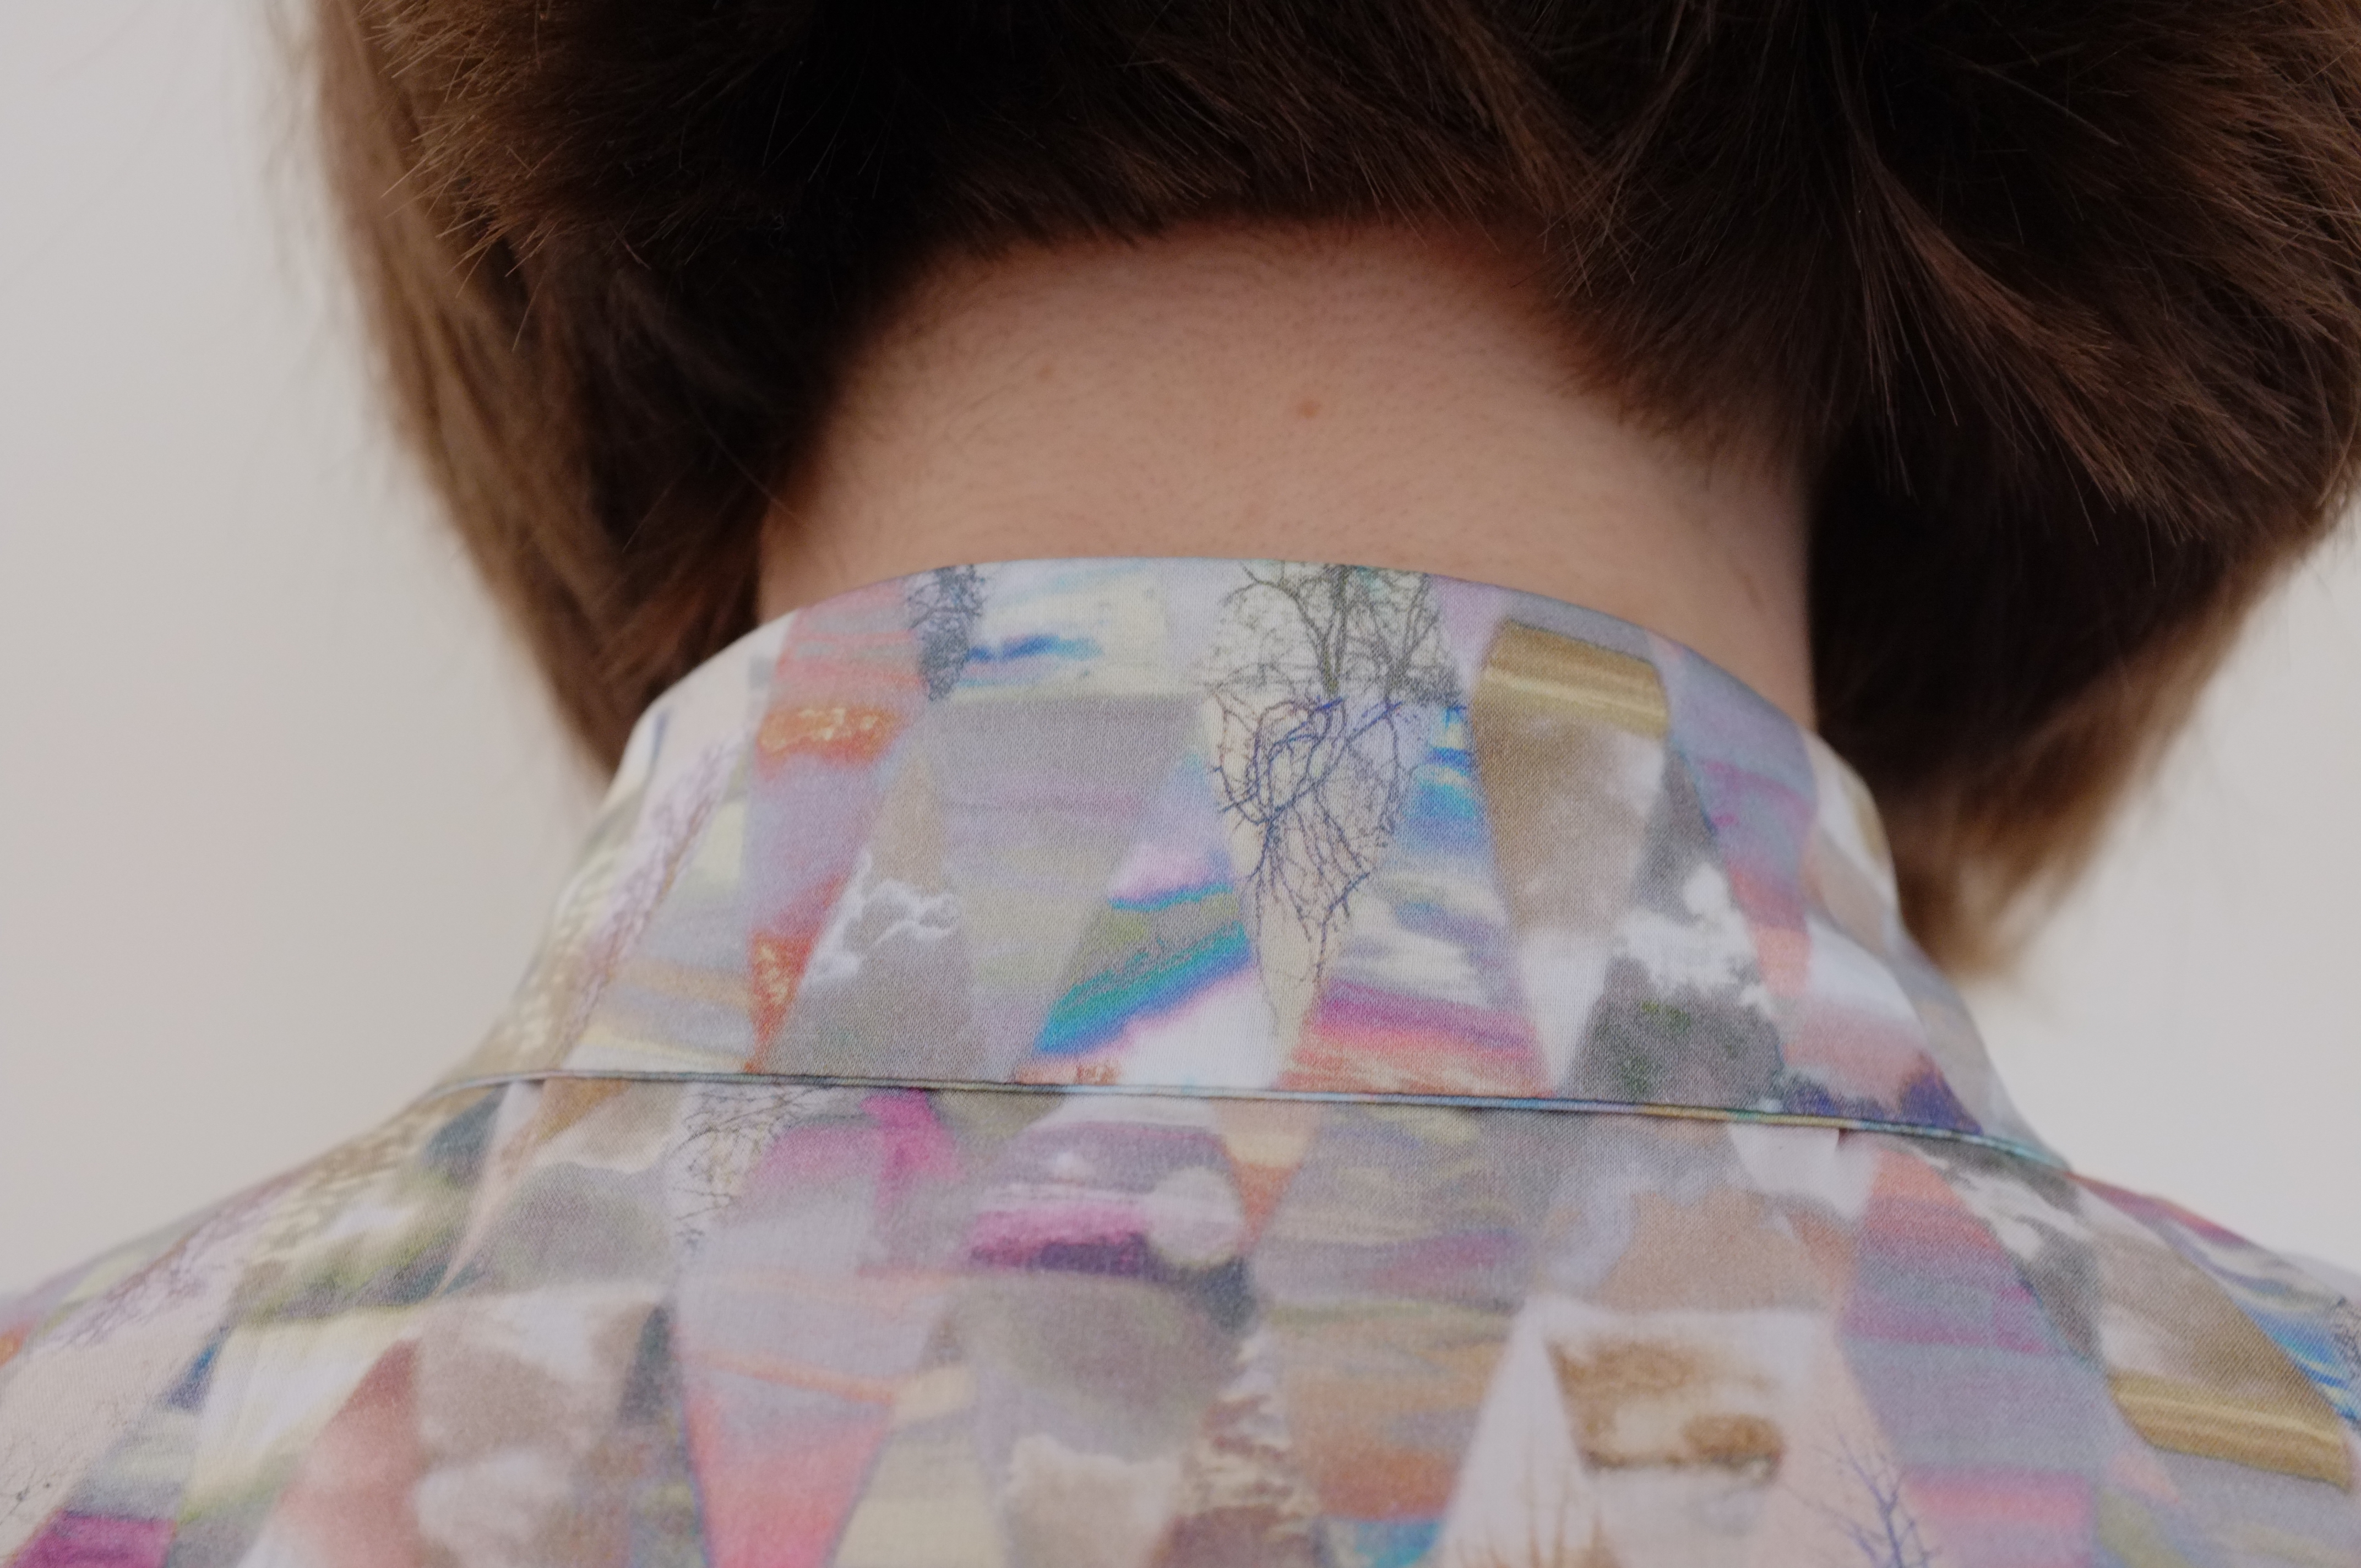
The construction was very quick. All seams were assembled on my normal machine and finished with my overlock. The neck was finished with a facing.

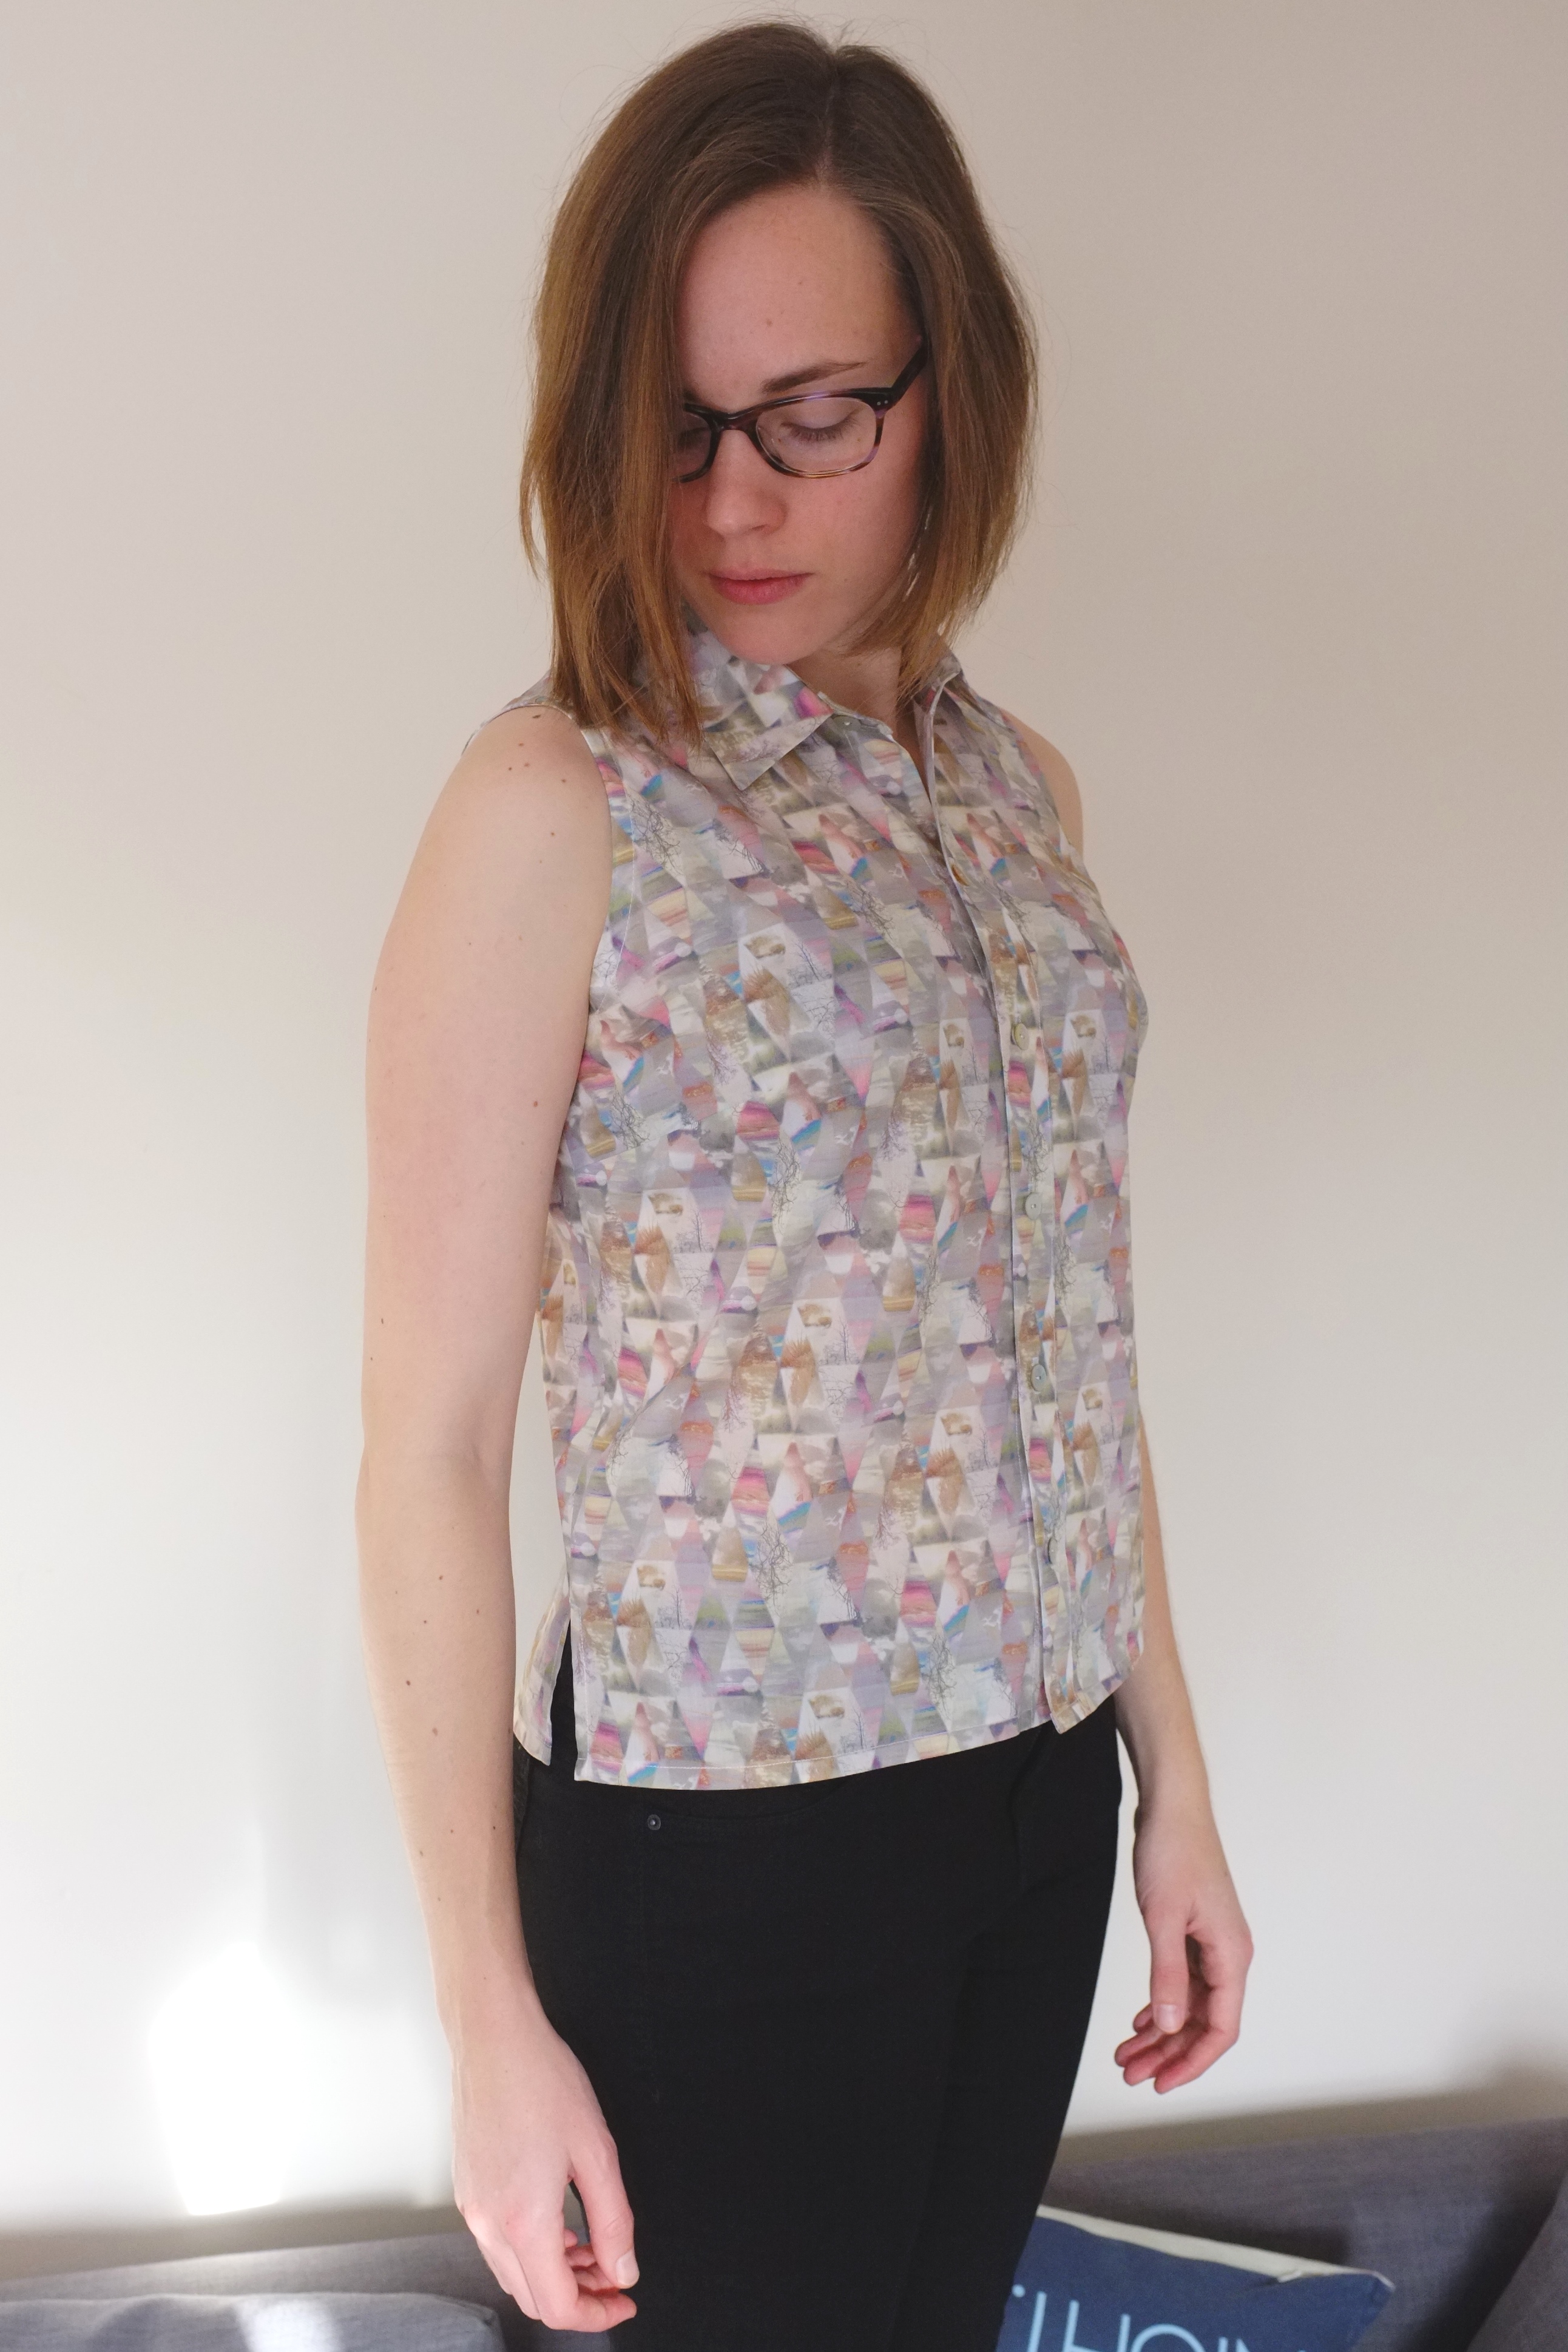
When I put it together I really liked the look, in particular the neckline and the sleeves but when I put it on the bottom was huge! My boyfriend wasn’t impressed either and said it looked like a night gown. Unsure if this was how it was supposed to be, I went back to consult the online sewing community, realising that in most cases the dresses were as roomy, however, most used more drapey fabric which made the dresses look less voluminous. The amount of fabric around the waist led to fabric pooling at my lower back, which I had to do something about. I unpicked the side seams and let the dress hang on my dress form for a couple of weeks. Then I made another attempt, taking in the sides slightly. This however made the fabric pooling issue worse. Without darts and a centre back seam to work with, the only option really was to add two darts in the back. While that doesn’t really fit the style of the dress, it was the only way I could make the back fit. Then I took in the sides at the waist to give it slightly more shape, trying to keep the volume around the hips to keep some of the original character of the dress.

Inari_2

Inari_3

Inari_4

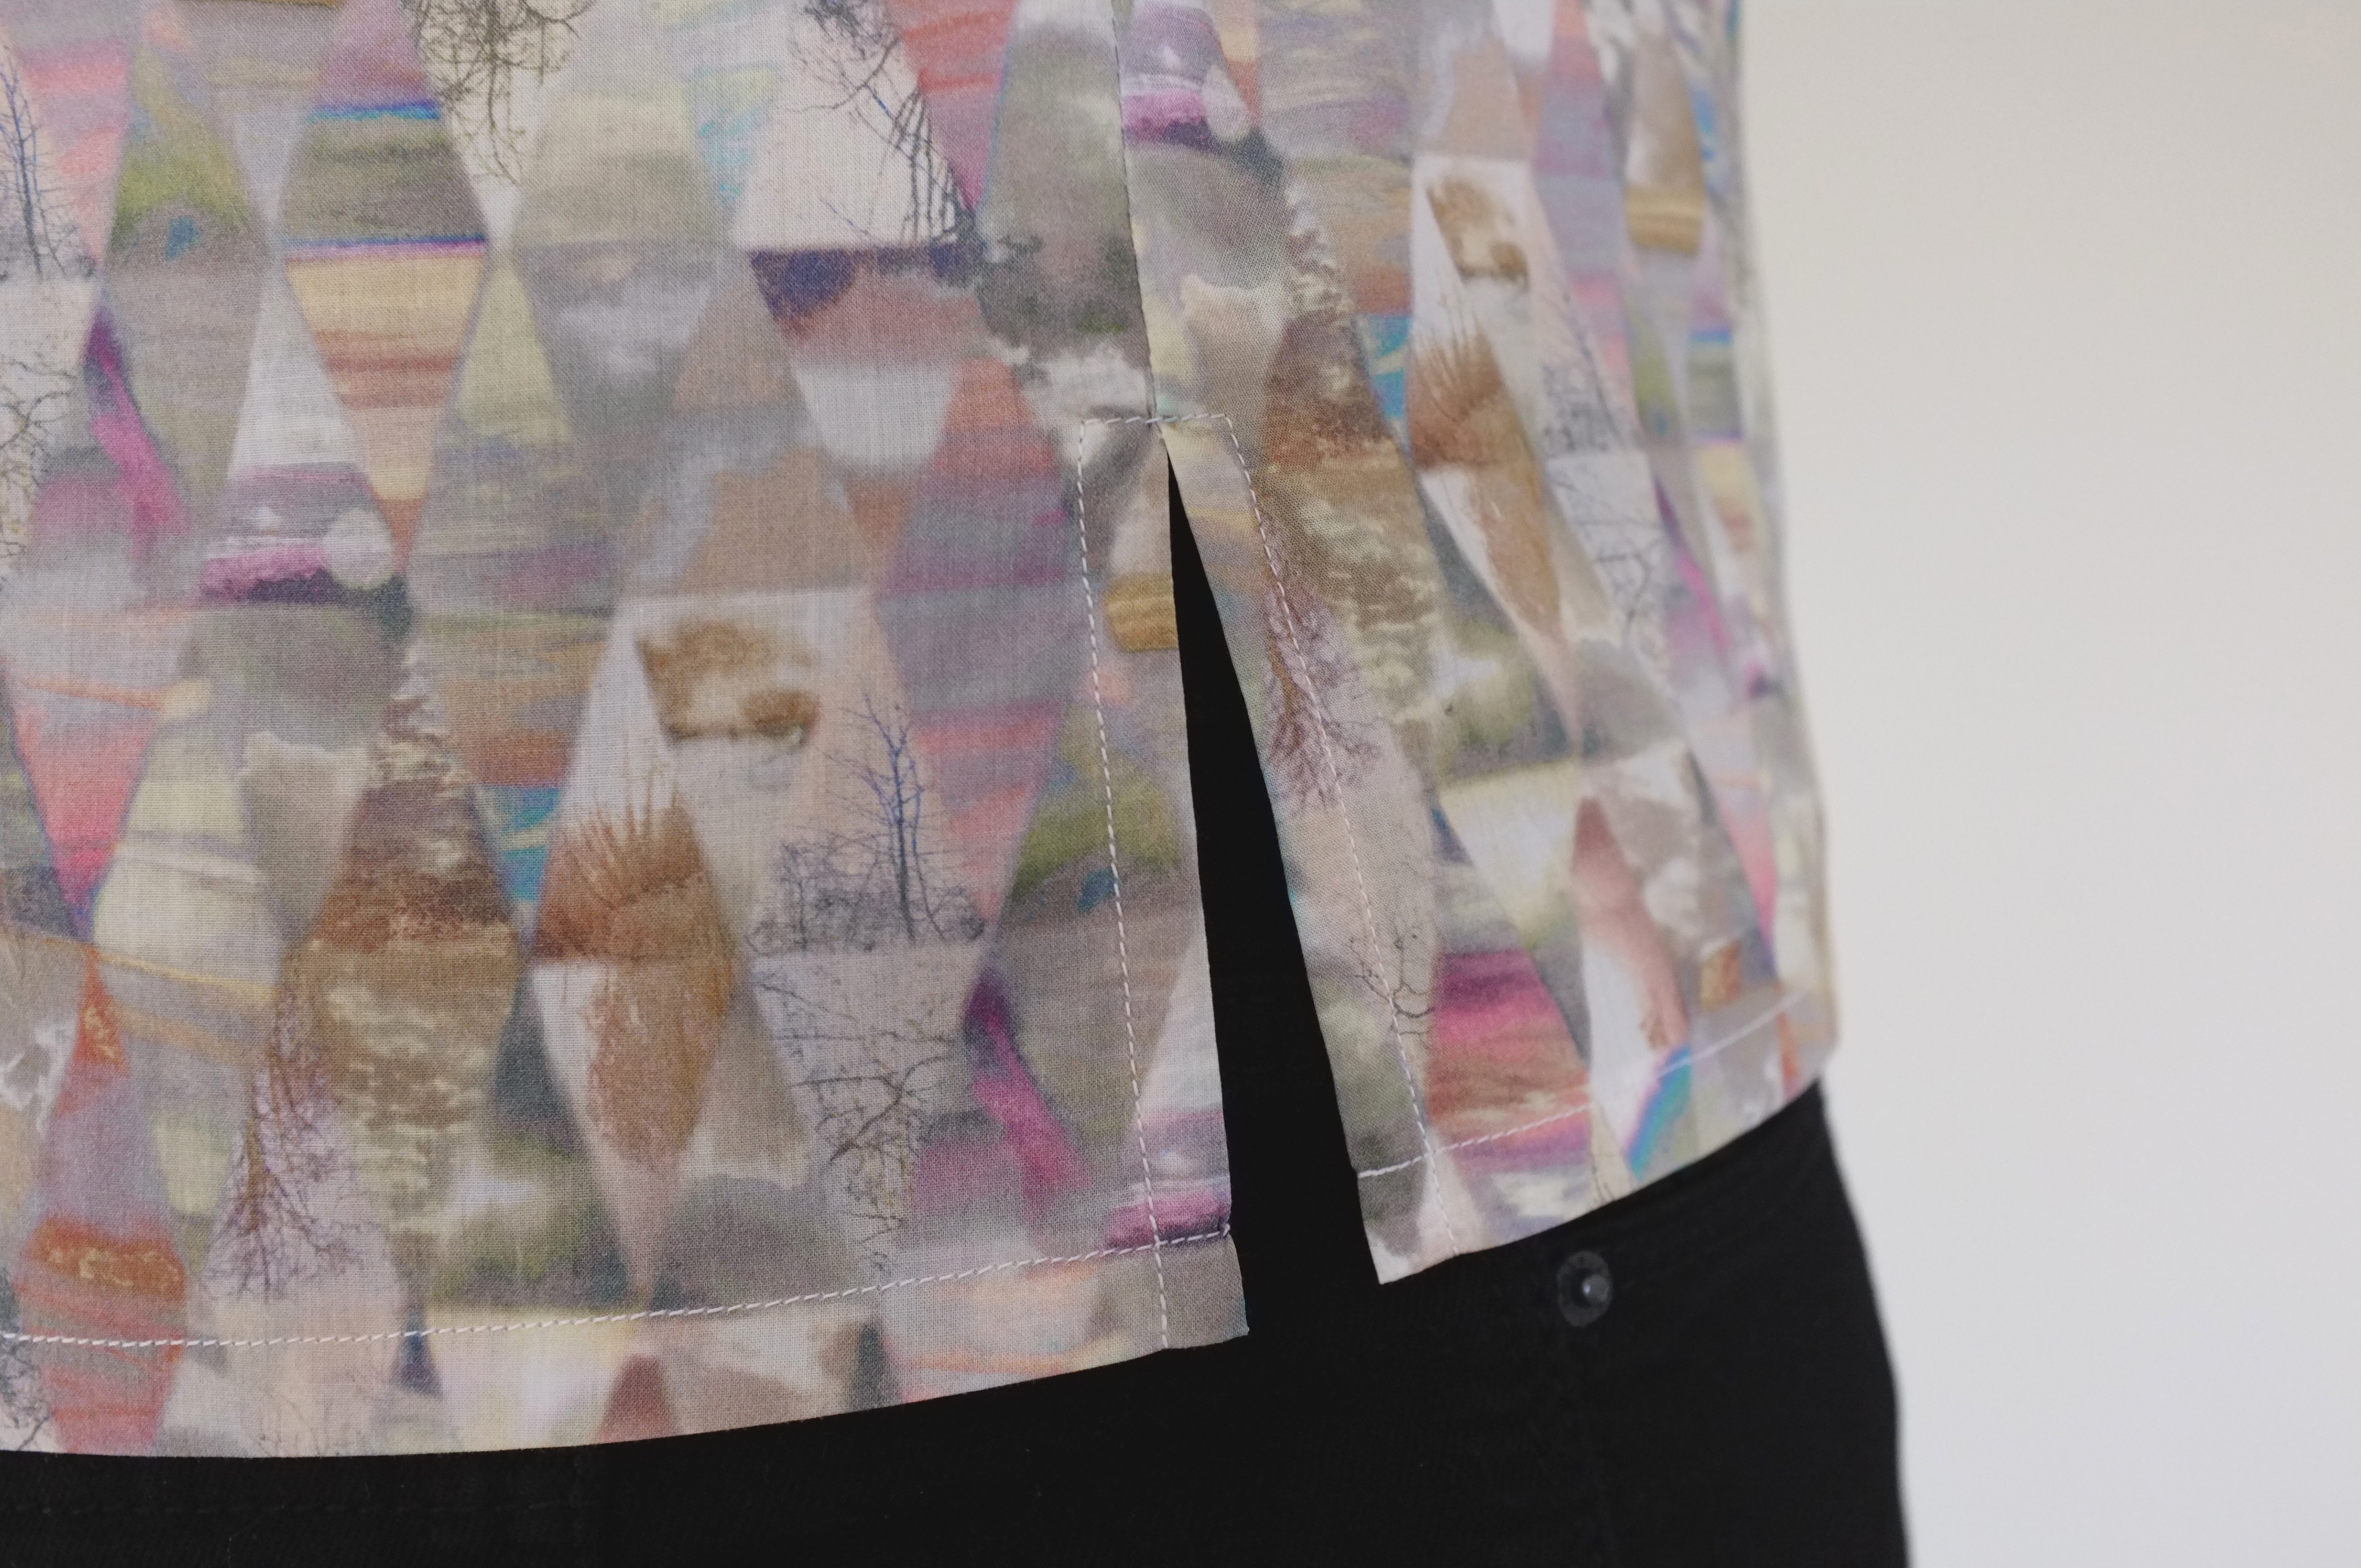
I’m still on the fence about the overall style of the dress and after wearing it for a whole day I’ve decided that it is still too wide around the hips. On the other hand it has such cute details, like the split hem and the turned up sleeves that I’m determined to wear it. Who knows maybe I just need to get used to wearing looser styles and can finally start looking as cool as everyone else out there.

Inari_5

Inari_6

As long as the weather here in the UK stays as frosty, I will have to wear it layered. After trying every possible combination in my closet I settled on this blush linen blazer from the charity shop. I love the slouchiness of both garments together, the blazer however giving the outfit enough structure to wear it to work. Inari_8

Oh and I love how well this dark green scarf goes with the blush blazer. I had an epiphany after seeing an image on Pinterest and now it’s my absolute favourite colour combination.

Inari_7

In the end I am not sure if I will make an Inari out of my Nani Iro fabric. I still think the combination looks really cool, but I now have a vision of a Kimono style dress for the fabric. First draping experiments just looked so cool. Now I just need to find the right pattern. Or I stick with draping and develop something myself…

Inari_9

Back to Basics

Turtleneck_1After a long and dark winter if finally felt like spring this weekend. But don’t be fooled by the pictures it is still freezing cold. Which is why I decided to add some layering pieces to my wardrobe. I am one of these people that constantly feel cold and only survive winter with lots of layering. While I have a wide range of tanks that I wear under my clothes, I was basically wearing the same ready-to-wear longsleeve every single day. Something needed to change and since I am the proud owner of an overlock since last October I decided to make something myself. I got some grey marl jersey from Fabric Godmother and some dark teal jersey from Goldhawk Road.

From the grey fabric I made the Papercut Patterns Fall Turtleneck. I’ve always had a thing for turtlenecks. Actually one of my first shopping experiences that I remember, was when I bought an orange turtleneck and black trousers with my grandmother. I had this exact combo in mind before we got to the shops and for some reason thought it would be a cool outfit (I must have been around 13 at the time, don’t ask me where I got my fashion ideas from). I’ve had a couple more turtlenecks throughout high school but at some point they disappeared from my wardrobe and it wasn’t until recently that I felt the need to add one to my wardrobe again. This need was definitely fuelled by seeing them pop up everywhere in the shops and in the online sewing community. When I first saw the pattern for the Rise and Fall Turtleneck I registered it, but wasn’t really drawn to the loose silhouette and the dropped shoulders of the version on the cover. But after seeing cool versions online I decided to go for it. The pattern does actually include a more fitted version but in the end I decided to try the looser shape to see if I liked it. I am currently trying out shapes that I would not normally gravitate towards, so far with limited success (I’m looking at you Inari Tee Dress!). I cut a size S and assembled it quickly on my overlock (how I love the speediness of working with such a machine!).

Turtleneck_2Turtleneck_3Overall I am quite happy with the fit, especially around the shoulders. It is quite roomy overall but that was to be expected. The main issue however is the length of the sleeves and the body. I already suspected that when I cut out the pieces but wanted to see how the slightly cropped length looked. In the end I decided to leave the hems unfinished as the length is just about enough. I contemplated adding cuffs but in the end I am ok with leaving them as they are. While I do feel slightly like an old man with this turtleneck (I think it’s the grey together with the looseness) it feels nice to wear and is perfect for wearing at home when I don’t want to wear a scarf all the time but need some protection from the cold drafts.

And here a picture of me attempting the obligatory turtleneck modelling pose, which looks more like I have to protect myself from being strangled by my own shirt. I clearly need to work on my modelling skills!

Turtleneck_4The second garment is a simple longsleeve which I made by copying the ready-to-wear version I have already. The construction was simple on my overlock. I added a narrow neckband and finished off the hems with a three-step-zigzag stitch. While it might not be the most exciting piece that I own, I’ve been wearing it a lot since I finished it (I am actually wearing it right now) and I am sure it will become a wardrobe staple.

Longsleeve_1Longsleeve_2Longsleeve_3And here paired it with my new scarf that I got through the 2016 Secret Valentine’s Exchange, a perfect match!

Longsleeve_4

Liberty print blouse

Liberty Blouse_5New year, new hair, new shirt. This sleeveless blouse is my first make in 2016, and the first thing that I can tick off my 2016 sewing list.

This project started with a fabric I had sitting in my stash for a while. I bought this Liberty lawn back in November at Shaukat in London, a place I’ve been wanting to visit after reading about it on Katie’s blog. As expected the shop was overwhelming and it took me about an hour to settle on a fabric. While I love the quality of Liberty fabric I am not very drawn to cute florals so I was looking for something more abstract. In the end I chose these two pieces. I was drawn to this Liberty lawn because of its colours and the geometric pattern. I knew I wanted to make a top and first thought of keeping the shape simple to let the fabric stand in the focus. But for some reason I couldn’t really picture it and I let the fabric sit in my stash untouched. Then one day I had an epiphany and knew I wanted to pair the fabric with a structured, sleeveless blouse. Isn’t it weird how ideas sometimes come out of the blue?

Now that I was settled on what I wanted to sew I was looking for a good pattern. In the end instead of buying one I decided to give myself a challenge and copy a shirt from my closet. While I love how indie patterns guide you through each step of constructing a garment, it’s sometimes nice to figure out on your own how to put a garment together. I traced the pieces off the shirt with some tissue paper. This process can be quite tricky off an intact garment but I took my time and it worked out allright. As I liked the fit and the style of the original shirt the only change I made to the pattern was to draft a less pointy collar. The construction was pretty straight forward, it helped that I recently had made a shirt, and for the collar construction I used the instructions of another blouse. I serged the seams instead of doing French seams, for one because I need to practice with my new overlock and second to be able to construct the split hem. The button band on the one side is just folded over, on the other side a separate button band is attached. This is a feature of the original shirt and I quite like it. The only thing that went slightly wrong was the angle at which the collar stand is attached to the button band. It should be at a right angle but it obviously isn’t. I’m not quite sure what happened there, but I’ll just call it a design feature. It does get lost in the busy print anyways. The armholes are finished with a white satin bias tape, which was quick and simple but looks nice.

Liberty Blouse_2Liberty Blouse_3

Liberty Blouse_4Liberty Blouse_6Liberty Blouse_7Liberty Blouse_8Liberty Blouse_10Liberty Blouse_11The finished shirt looks pretty much how I envisioned it. I especially love the crisp collar. I am a little bit unsure if I really like the look of sleeveless shirts on me. My boyfriend tells me I look like a cleaning lady or a wrestler and I have to admit there is some truth to it.  In the end it’s not a big issue though as I am planning to wear it to work layered under a blazer or a jumper. In a future version I might play with the shape of the armholes a little bit to give it a more modern look. The overall fit is actually pretty good. There are some issues with wrinkles at the shoulder seams and I might lower the armholes slightly in the future but these are just minor issues. The bust darts and fisheye darts in the back give it a slightly fitted shape. Thanks to the split hem there is enough room around the hips, which is great. I love the look of a split hem, so I might add this detail to more tops in the future.

Overall this project was a great start into the sewing year 2016. My next project will probably be something made from the Japanese fabric that arrived today. It was my first time ordering from Miss Matatabi and I am in love with the pieces. Beautiful fabric is alway the best inspiration!

Liberty Blouse_12