Ginger Jeans – Version 3

ginger-dark_01

It’s been almost 2 years since I made my first two pairs of Ginger Jeans. They both are still going strong and are in heavy rotation. I’ve really enjoyed the jeans-making process and absolutely love the pattern, so I was just waiting for an excuse to make another pair. I didn’t really need another pair of blue jeans (the three pairs I own are more than enough) but I’ve been looking for a simple black pair of jeans for ages. I work in a business casual work environment, and can get away with wearing jeans if they are black. So far I’ve bought them in the shops, instead of making them, as black jeans seemed quite a boring project. Unfortunately, the quality of the rtw jeans was not great and  I’ve gone through two pairs in the last two years. It’s also difficult to find a high-waisted pair that fits me,  so I finally decided to make my own. This denim that I found in the free remnant bin is not really black but more a dark grey with a stripey texture, but it looks sleek enough to wear to work.

In terms of the pattern, I just worked off the amended pattern that I used for my high waisted version last time. Back then I worked off the low rise version (out of laziness and to save paper), adding 5 centimetres to the rise (3 cm at the lengthen/shorten line and 2 cm at the top). This results in a rise that is probably slightly lower than the high-rise version of the pattern, but for me it’s the perfect rise that hits at a comfortable spot.

One issue I had with my high-waisted pair last time was that I used the original pocket facing pieces which resulted in the pocket facings sitting so high that they would sometimes peak out. This time I made sure to add the 2 cm to the top of the pocket facing and lining pieces. The other problem I had for my last two pairs was the waistband. Even though the original pattern piece is curved, there was still a lot of gaping at the top. For the the low-rise pair, I drafted a waistband that was even more curved, which however, resulted in the front pieces being almost cut on the bias, which then stretched out too much. For the high-waisted pair I used the original piece again, as it was already cut (and nothing goes to waste here) and I just added darts to the final waistband. This obviously didn’t look very professional, so this time I decided to draft a proper darted waistband. I decided to add the darts slightly behind the side seam to avoid bulk. Since I decided to leave out the belt loops on this version the dart is visible, but at least the fit around the back is spot on this time.

For the leg I couldn’t decide between the stovepipe and the skinny leg. In general I find skinny leg jeans easier to style, then again the wider leg looks a little dressier. I went for the wider leg in the end, thinking that I could still narrow it at some point if I got tired of that leg shape.

In terms of finishings, I went with black topstitching to keep the look clean. The only pop of colour is the pocket lining and the binding of the fly shield. I’ve had this Japan inspired print in my stash for a while now and can’t decide if I want to make an Alder shirt dress or something else. So while I decide, it makes it’s first appearance on the blog as a lining fabric.

For the button I decided to forego the jeans button and go instead for a silver sew-on button that matches the zipper, which I rescued from a bag that had to go to the bin. I knew that it probably would not be the wisest idea to not use a jeans zipper (the one I used is plastic and might not hold up very well) but then again it matched the fabric so well in comparison to the one jeans-zipper I had at home. So far it’s behaving fine, so I’m hoping I can get away with it.

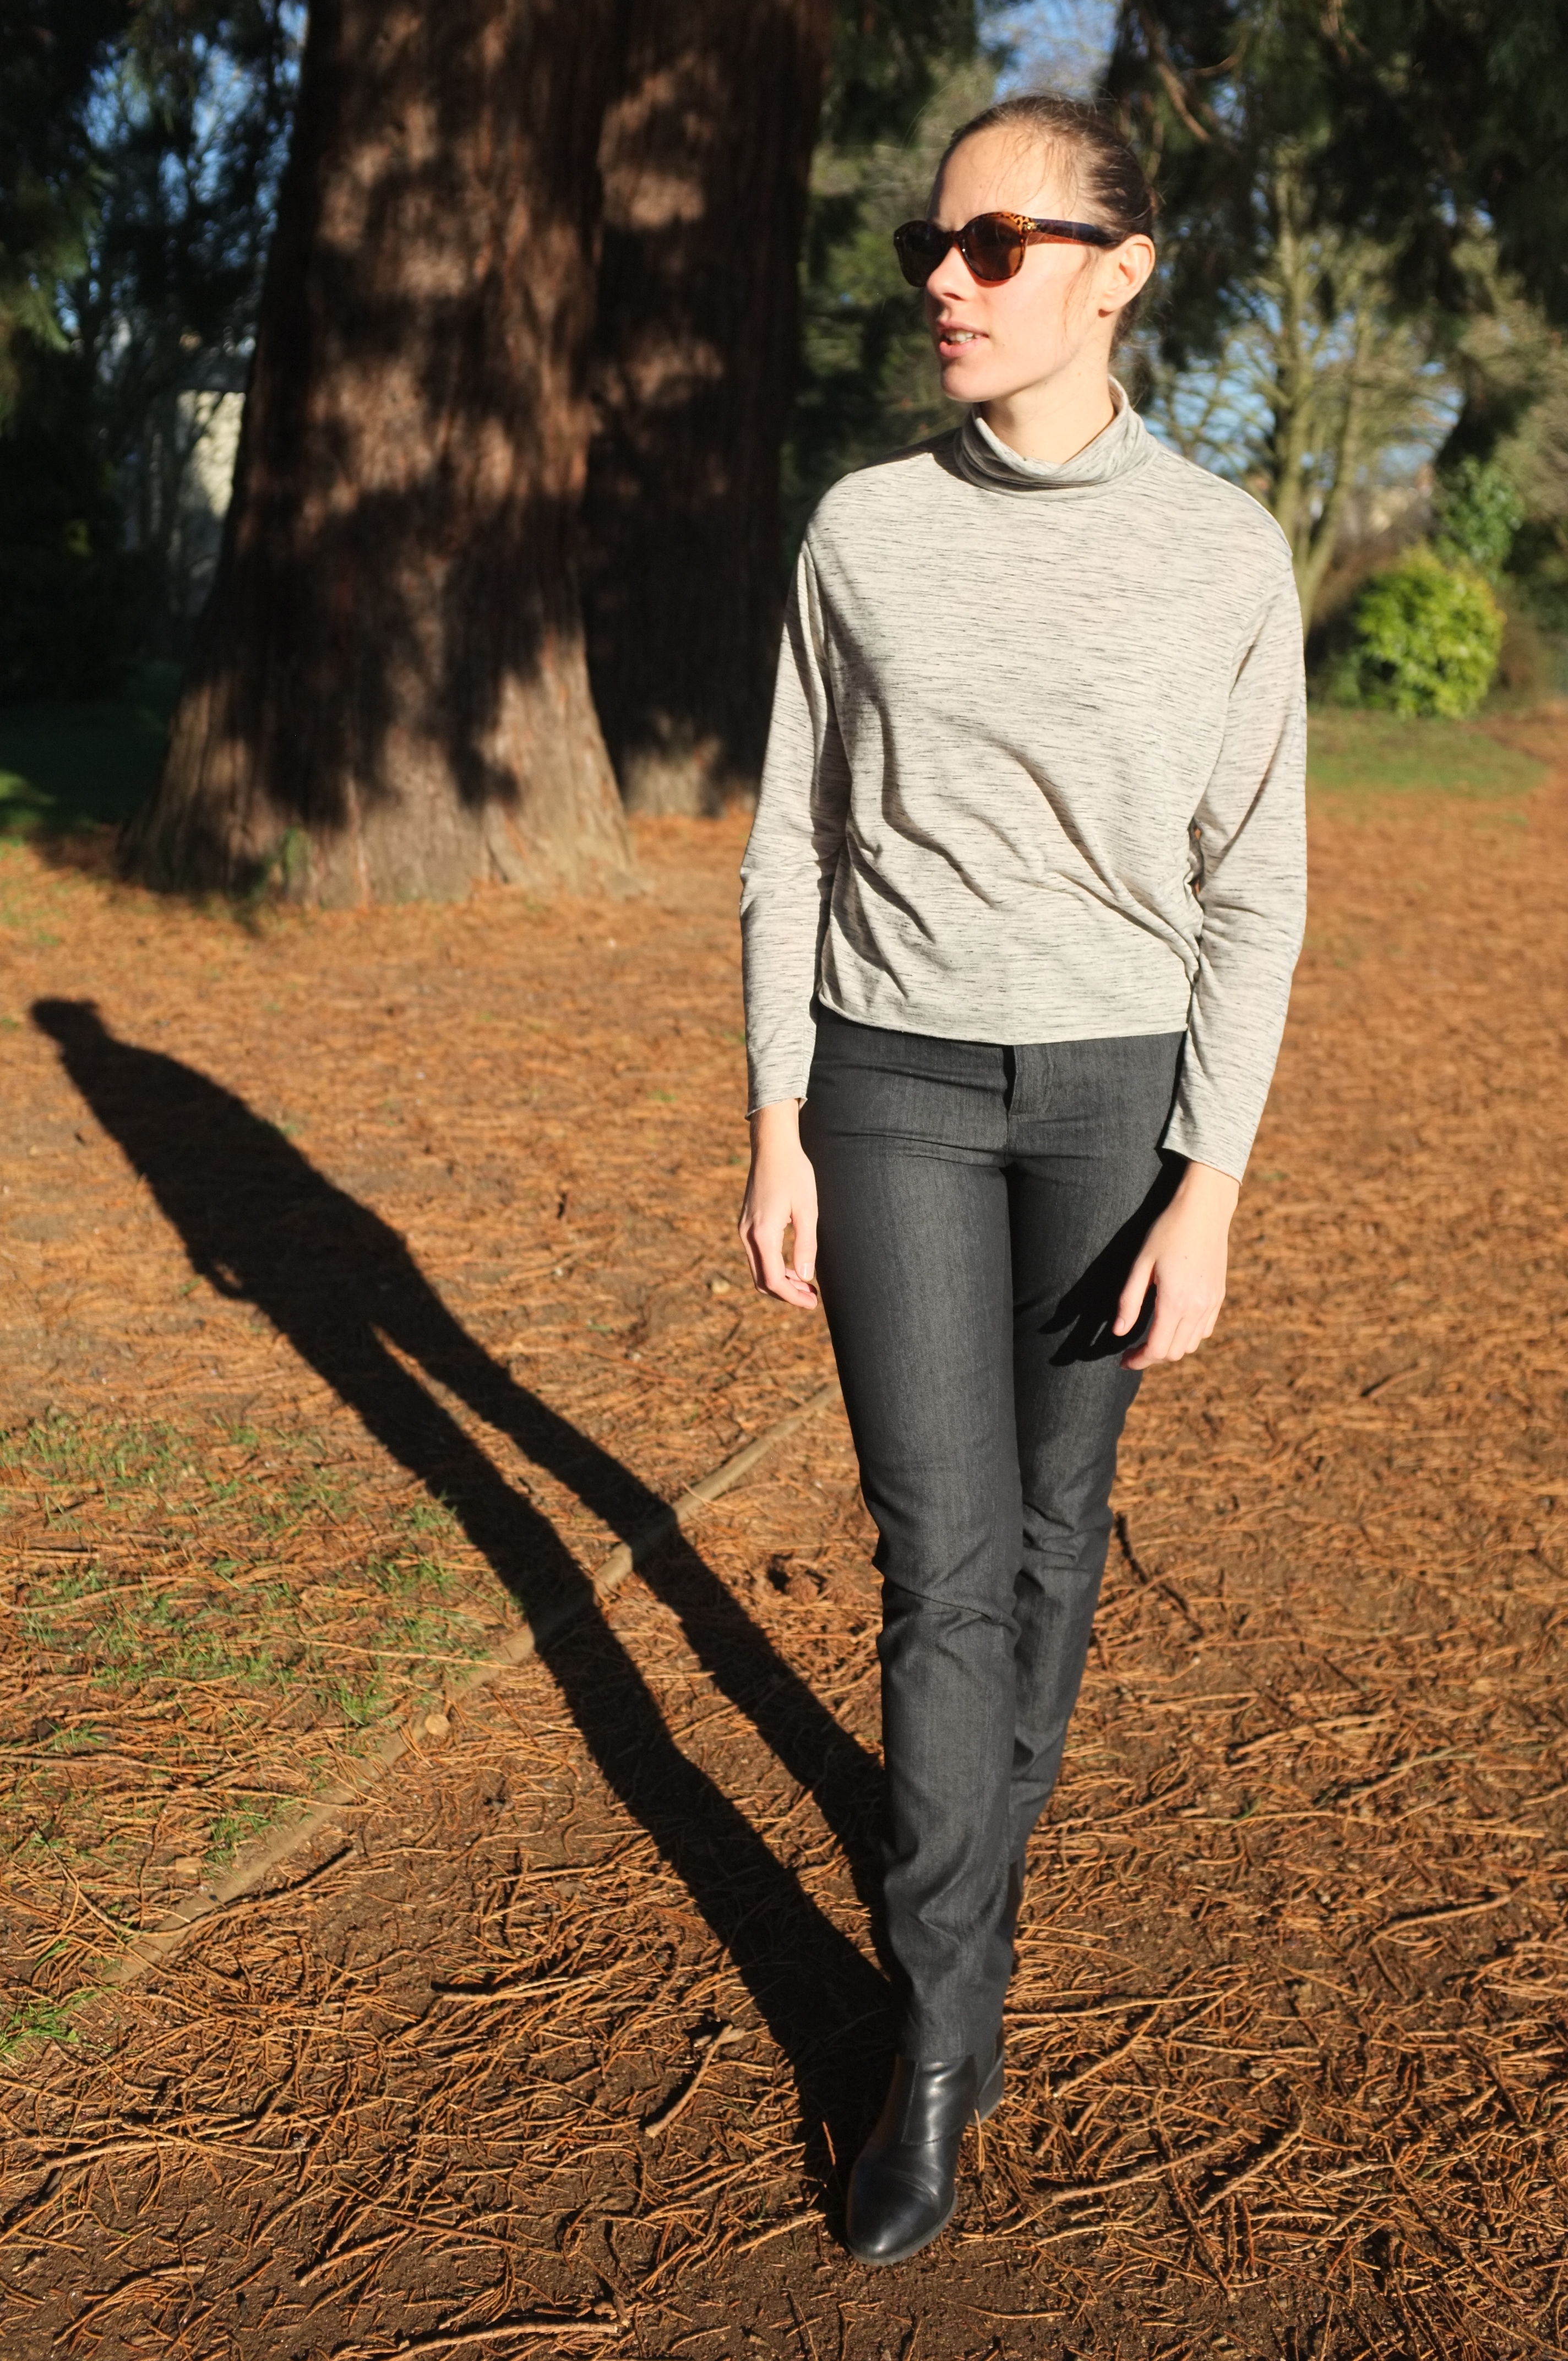
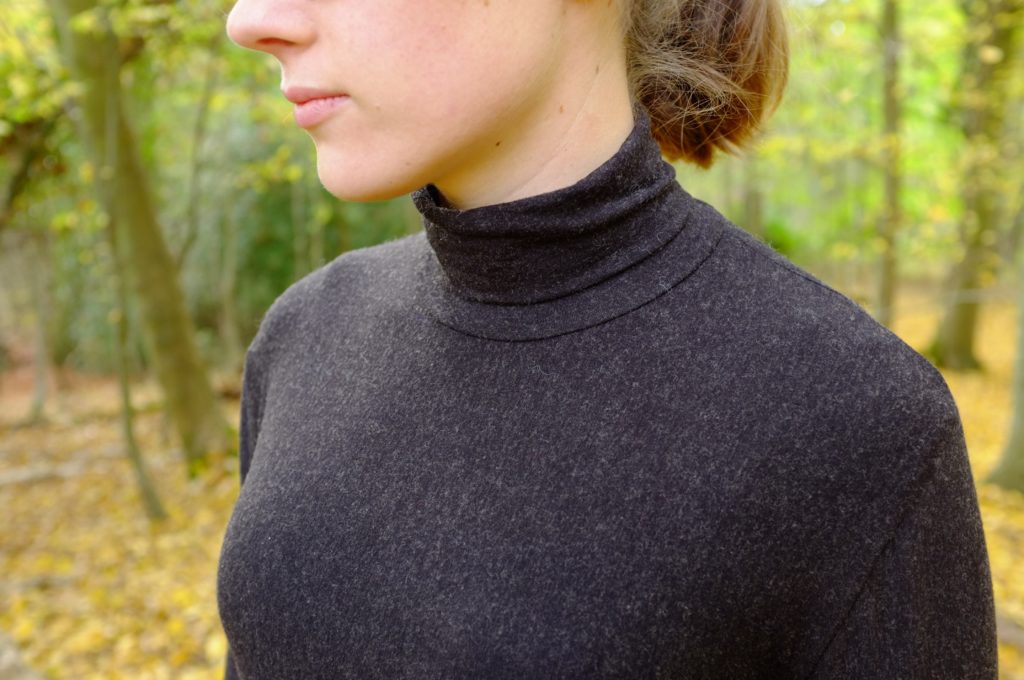
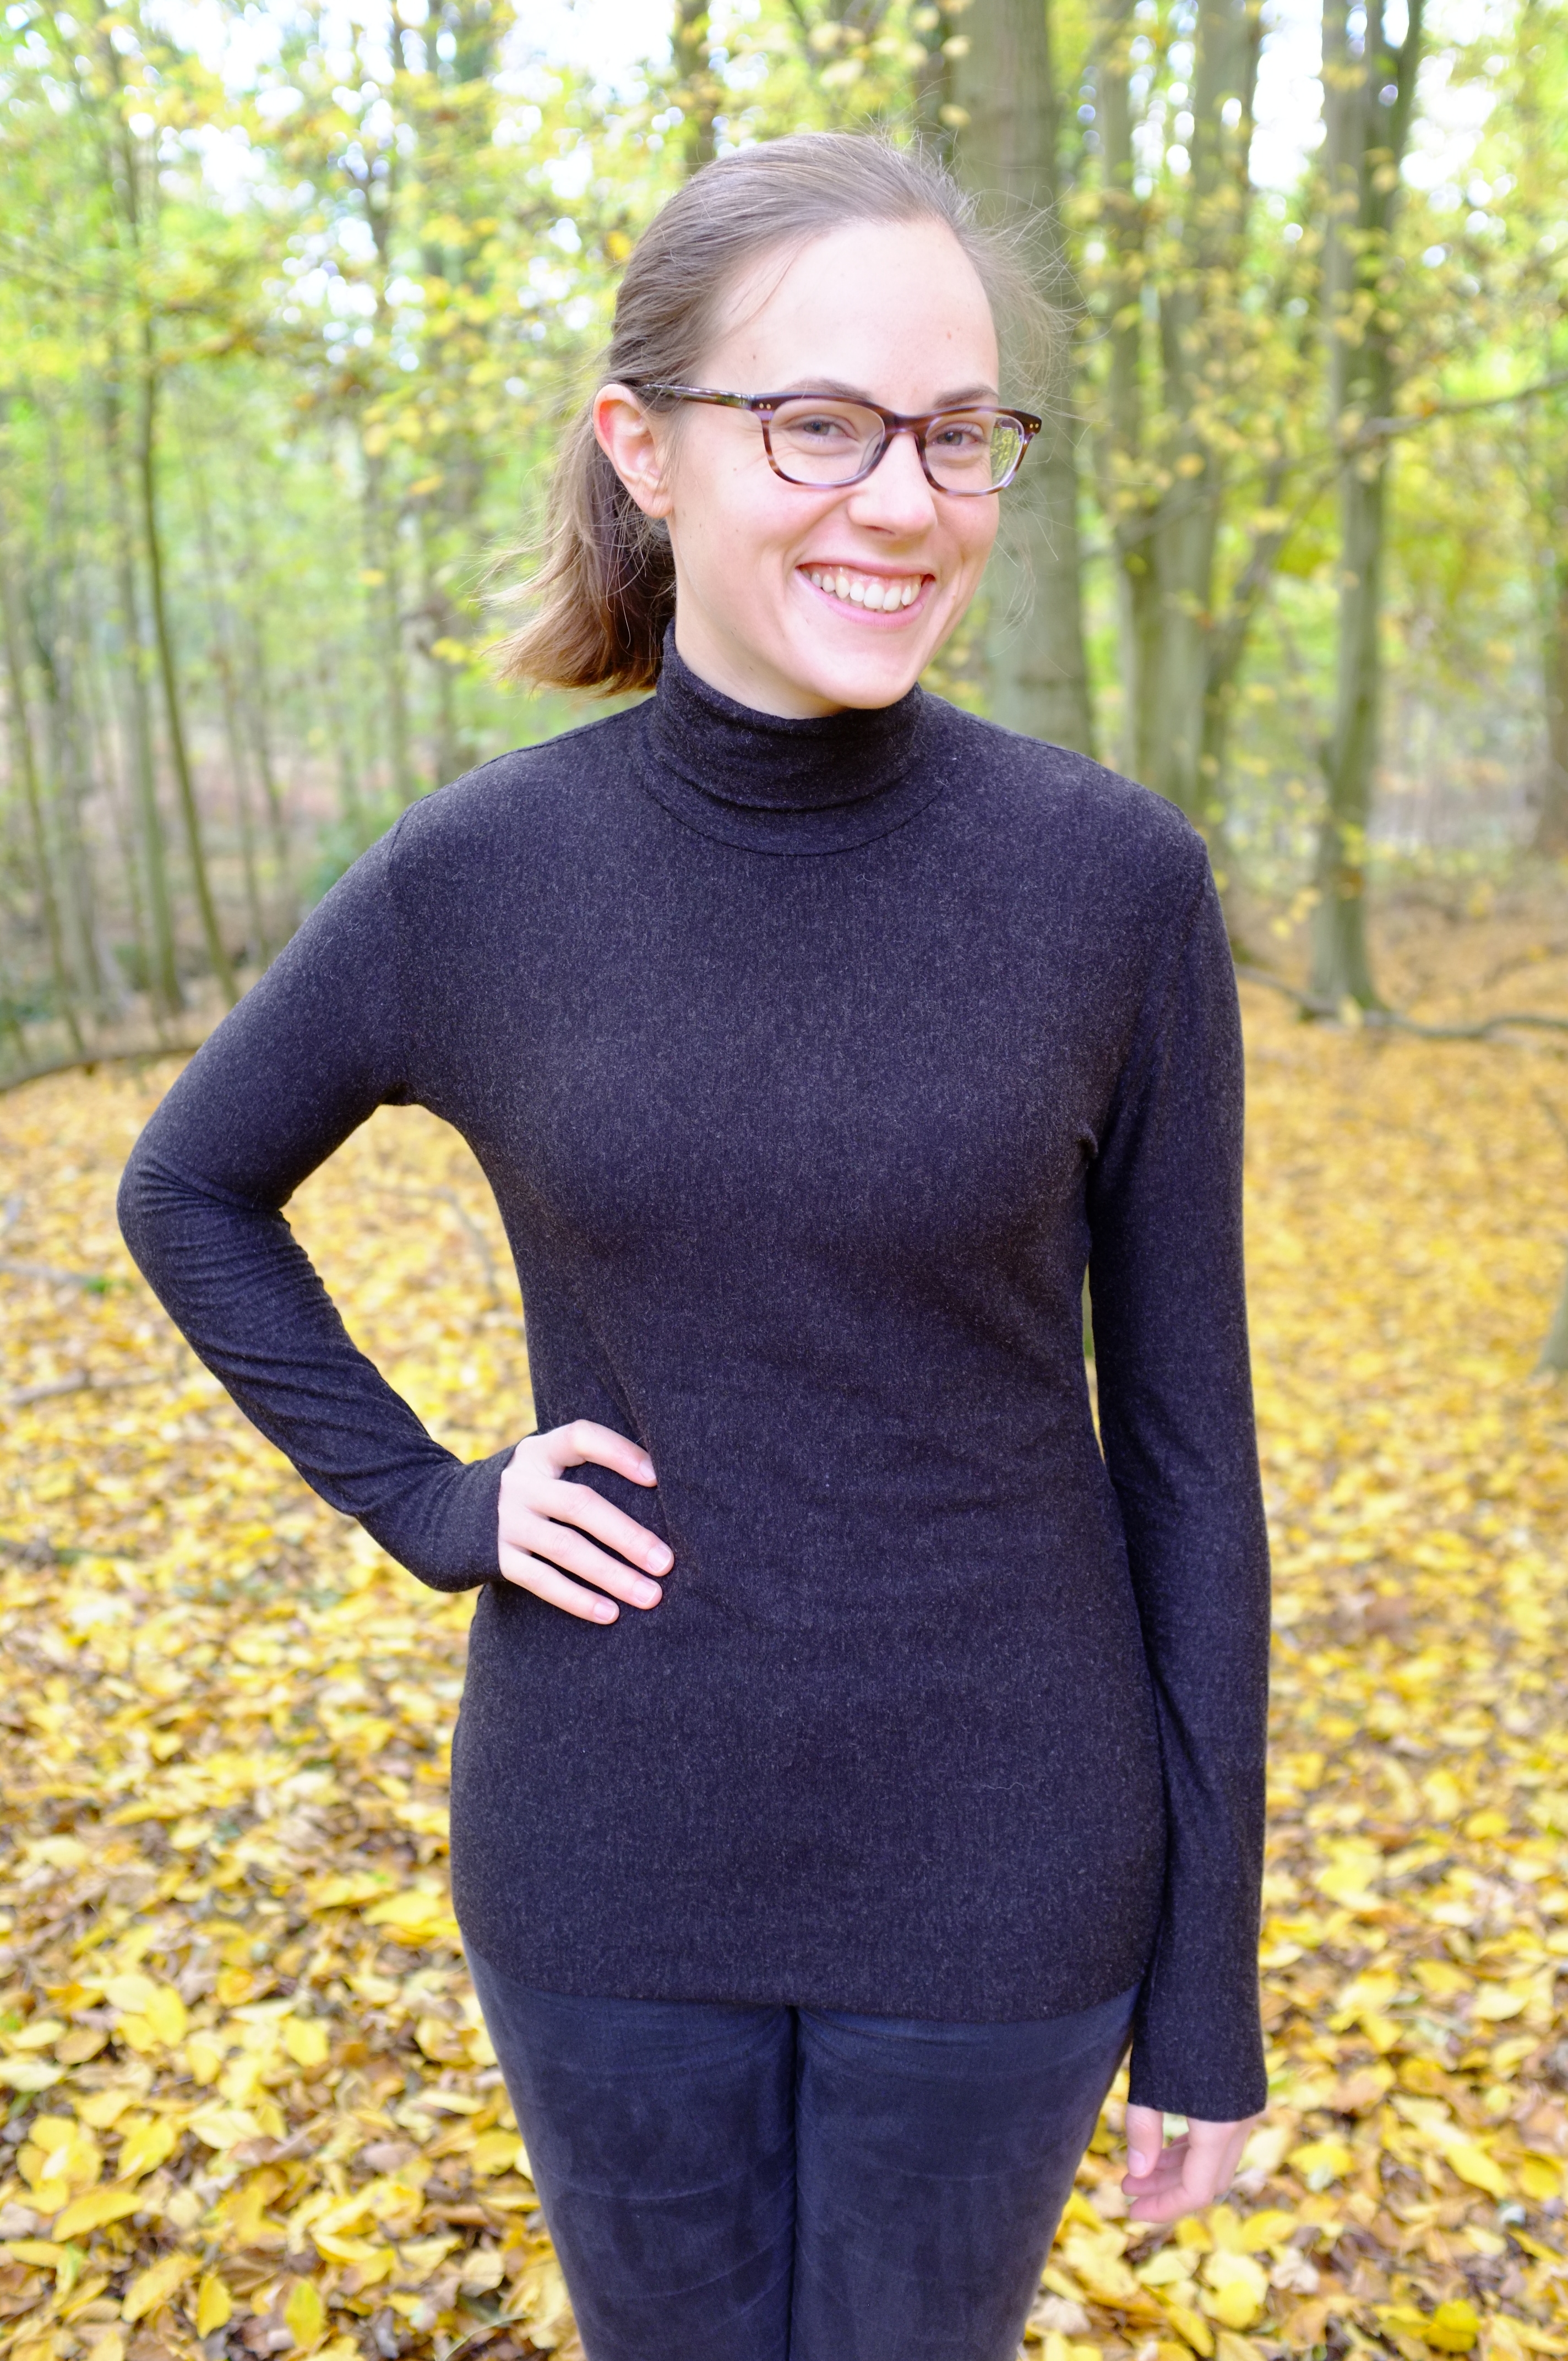
The final jeans turned out really nice. The fit is pretty good. I might allow a little bit more room around the hips next time, as there is some pulling at the zipper and the pockets. All in all, they look good though and they are pretty comfortable. Here I have paired them with my Papercut Patterns Fall Turtleneck (blogged about here) and some ankle boots. These might not be the most interesting jeans but I am excited to add them to my work wardrobe. On cold days like we are having them in the UK right now, trousers are the only thing I feel like putting on in the mornings.

These photos we took today after visiting the farmers market. It was lovely in the sun but freezing cold in the shade. For the first time this year this little pond was frozen and people were super excited smashing pieces of ice on the surface. Sometimes I forget that ongoing frost is a rarity here in the UK. The cold definitely made it feel like proper winter today and was perfect for getting in the Christmas mood. I hope you all had a lovely second advent!
ginger-dark_02 ginger-dark_03 ginger-dark_04 ginger-dark_05 ginger-dark_06 ginger-dark_07 ginger-dark_08 ginger-dark_09 ginger-dark_10

Kwik Sew Turtleneck

turtleneck_01

After we attended the Sewing Weekender together, Lucy of SewEssential reached out to me and asked if I wanted to do a sponsored blog post, using a pattern and fabric of my choice from their website. I hadn’t ordered from their online shop before but when I browsed their shop I found the perfect pattern and fabric combo to make the black turtleneck that’s been on my sewing list for a while.

I own the Papercut Rise and Fall turtleneck pattern and while I like the turtleneck I made from it, the dropped shoulders and the loose fit don’t make it that great for layering. For this version I wanted something more form-fitting, which I could wear tucked into skirts or under dresses (I’m obsessed with that look lately, I just need to sew the perfect slip dress). The Kwik Sew K4069 pattern from the website fit the bill perfectly. If you want get yourself a copy or if you want to try another Kwik Sew pattern (SewEssential has a wide selection), all Kwik Sew patterns on the website are currently half price!

For maximum warmth I decided to pair the pattern with this John Kaldor Wool Mix Jersey in black. When the fabric arrived I was quite impressed with the quality. Due to the marl structure the colour is more a charcoal than a pure black, but it has a lovely weight and is very soft. I am quite sensitive when it comes to wool against my skin, but I have no problems wearing this. Before cutting into it I put it in the washing machine using the wool setting at 30 degrees to be able to machine-wash it in the future.

So far so good, then the drama began. Do you also sometime wonder, why you are able to finish a complete pair of jeans without a hiccup and then you sew the easiest thing in the world and everything goes wrong, making you feel like you’re the biggest sewing amateur in the world. No? Just me?

To be fair, it wasn’t all my fault. It did however start with a major mistake on my part. I started laying out the pattern pieces and had already cut out the front piece, when I realised I had cut it with the biggest stretch vertically and not sideways as the pattern specified. With the knit marl structure this is actually visible as the marl “stripes” are running vertically. (This is why you should never cut out fabric on a Friday evening after a long week of work!) Unfortunately I didn’t have enough fabric to cut that piece the other way around, so I forged ahead cutting all the pieces sideways, hoping that the vertical stretch would be enough for the negative ease of the pattern.

The next day I compared the pieces with an existing jersey top and it looked like there was plenty of room even with the limited amount of stretch. This however, should have made me suspicious. Where was the negative ease the pattern was talking about? Instead I assembled the bodice according to instructions, which meant that I could only properly check the fit after sewing up the final side seam for bodice and sleeves. I put it on and it was massive! Based on the size chart I had cut a size M. Unfortunately the pattern doesn’t include finished measurements, to double-check the sizing and in the end the turtleneck was too big, in particular the sleeves. Instead of taking the whole thing apart again to make it fit, I just decided to take in the side/sleeve seams by 4 cm. Fearing that there would be a similar problem for the turtleneck, I tried it on its own first, and as expected I had to take it in significantly (5 cm to be exact). Before attaching it to the bodice I made sure that it would still fit over my head. The smaller circumference of the tube meant, that it wouldn’t fit properly in the neck hole anymore. This I solved by taking in the shoulder seams slightly and stretching the neck tube while inserting it.

On top of these cutting and fitting issues my machine also decided to eat up the fabric twice. I used a stretch stitch for assembling it (before finishing the seams with my overlock) and the machine just didn’t like the back stitch in combination with the fabric. I didn’t manage to rip it off my machine without cutting small holes. Luckily it was in places where I could just re-sew the seam again, and now it’s not noticeable anymore.

After all the drama, I decided to not hem the sleeves and the bottom edge. I wanted to preserve the length and I haven’t mastered the perfect finishing technique for stretch yet on my normal sewing machine. Also I don’t really mind raw hems.

Despite all the issues I had, I have to say I love the finished turtleneck. The fit is now the one I was aiming for originally. The only issue are the shoulders, as they are slightly too wide, due to the fact that I started with a size too big for me. The pattern in theory follows the figure and once sewn in the right size it is very flattering. Thanks to it’s wool content the fabric is really warm and this turtleneck is the perfect layer for the cold November nights that we are having. The first outing was Bonfire Night, and it did a great job in keeping me warm.

P.S.: Everyone who reads Elena’s blog Randomly Happy, might realise they have seen this project before. It turns out that we both chose the exact same fabric and pattern for our collaboration with SewEssential. It was completely independent though and just a funny coincidence. She made a more relaxed version, if you haven’t seen it yet go check her’s out!

turtleneck_02

turtleneck_03

turtleneck_04 turtleneck_05

turtleneck_07 turtleneck_06
Note: The fabric and the pattern in this post were provided to me by SewEssential, in exchange for a blog post review, all opinions; however, are my own.

The jump-lottes experiment

culottes_01I normally tend to sew very sensible things. I try to keep my wardrobe small and not to follow trends that I’m unsure about. Still I’m not completely immune against some of them. Two of these trends are the jumpsuit and the culottes. Both of them I’ve followed and my attitude towards them has changed from very sceptical to “must have”. For jumpsuits the main drawback is that they are relatively impractical, and that I prefer wearing separates, so I didn’t know if I would get a lot of wear out of one. For culottes, I’m really not sure if the width and length would be too flattering.

Then one day, I was in town and I saw the most perfect culottes-jumpsuit on a girl. It was an electric blue jumpsuit, with a fitted sleeveless bodice, moderate, calf-length culottes and a sash around the waist. When I came home, I immediately sketched it out, and filed it under, “if I ever have an occasion and the time”. I wasn’t overly optimistic that I would ever tackle it. But then I went to the Sewing Weekender and at the fabric and pattern swap stumbled upon the exact pattern that I needed: the Prima June 2016 Jumpsuit (whoever, donated it, thank you very much!). I also had the perfect fabric in my stash. A linen remnant with a slightly metallic/shiny coating that I got for free at my favourite fabric shop. Together with some gifted silk for the lining, an invisible zipper from a thrifted dress and a spool of matching thread from the Sewing Weekender goody bag, I had all the materials needed for this experiment and all of them for free. So who was I to deny this jump-lottes to come to life? On top of that I was invited to an October wedding, the perfect occasion for a new frock.

Excited I quickly put the main pieces of the garment together, to get a feel for what it would look like. In my opinion it didn’t look too bad, but as expected my boyfriend hated it. And I was unsure about the colour and whether I could really pull it off. So it sat there for a week, the wedding creeping closer. Luckily a friend of mine stopped by and convinced me to finish the thing. And the more I worked on it, the more I liked it. I didn’t have a lot of time to actually finish it, and there are some major fitting issues with the bodice, which I just didn’t have the patience to resolve (does anyone else wish they could just duplicate themselves and fit their own bodies?). Still I managed to finish it in time, even with a hand-finished zip and thread belt loops.

The finished jump-lottes actually look pretty cool, (when worn with heels, otherwise it feels more like clown territory). It looks pretty much like the inspiration jumpsuit (or at least like my memory of it). The only changes that I had to make to the pattern was to add a centre front seam (which also helps with sewing a neat neckline) and to add a sash. I finished all the seams with my overlock and put an invisible zip in the back. The zip was slightly too short, so I added a key-hole design at the top, fastening the neck with a hook and eye.

The neckline is a lovely v-shape and I have to say that I absolutely love the fit of the culottes. Exactly the right width of leg to not feel too culotte-y. I cut a size 10 for the top and graded out to a 12 at the hips, however, in the end I had to take the trousers slightly in around the hip.

I adore the length of the legs, in my opinion it hits exactly the right spot at the calves. It’s not a length I would normally go for, and first I considered to shorten it to just below the knee, but when I put it on the long length definitely looked cooler. I thought about adding pockets (I unconsciously tried to put my hands in the non-existing pockets, when I first put it on) but then was afraid that it would disturb the sleek silhouette.

I did decide to wear it to the wedding in the end, paired with this black blazer. It was comfortable and practical for dancing, climbing stairs and crouching on the floor (which actually happened, thanks to a drunken wedding guest, smashing their wine glass on the floor). The only issue really is going to the bathroom. The last 5 centimetres of the zip are almost impossible to reach. But that’s what boyfriends are for right? As expected, the fabric does wrinkle a bit and the knees bag out slightly with too much sitting down. Nothing major though, that couldn’t be solved with some dancing ;-)

It was definitely a standout piece, among all the skirts and dresses, cool and unusual. The bride and groom afterwards commented that I was able to “pull it off”, so that’s a win in my books.

So what’s the verdict? Overall I would say this zero-cost jump-lottes experiment was a success. It’s definitely fun to sometimes follow the fashion trends. I’m not sure how many occasions I will have to wear it to. I might want to sort out the fitting issues first or chop off the bodice and wear it as high-waisted culottes, maybe that would make it more versatile. In any case, this was fun! Until next time, with probably a more “sensible” project ;-)

culottes_02 culottes_03 culottes_04 culottes_05 culottes_06 culottes_07 culottes_08 culottes_09Merken

Merken