Office wear

Silk Top_1
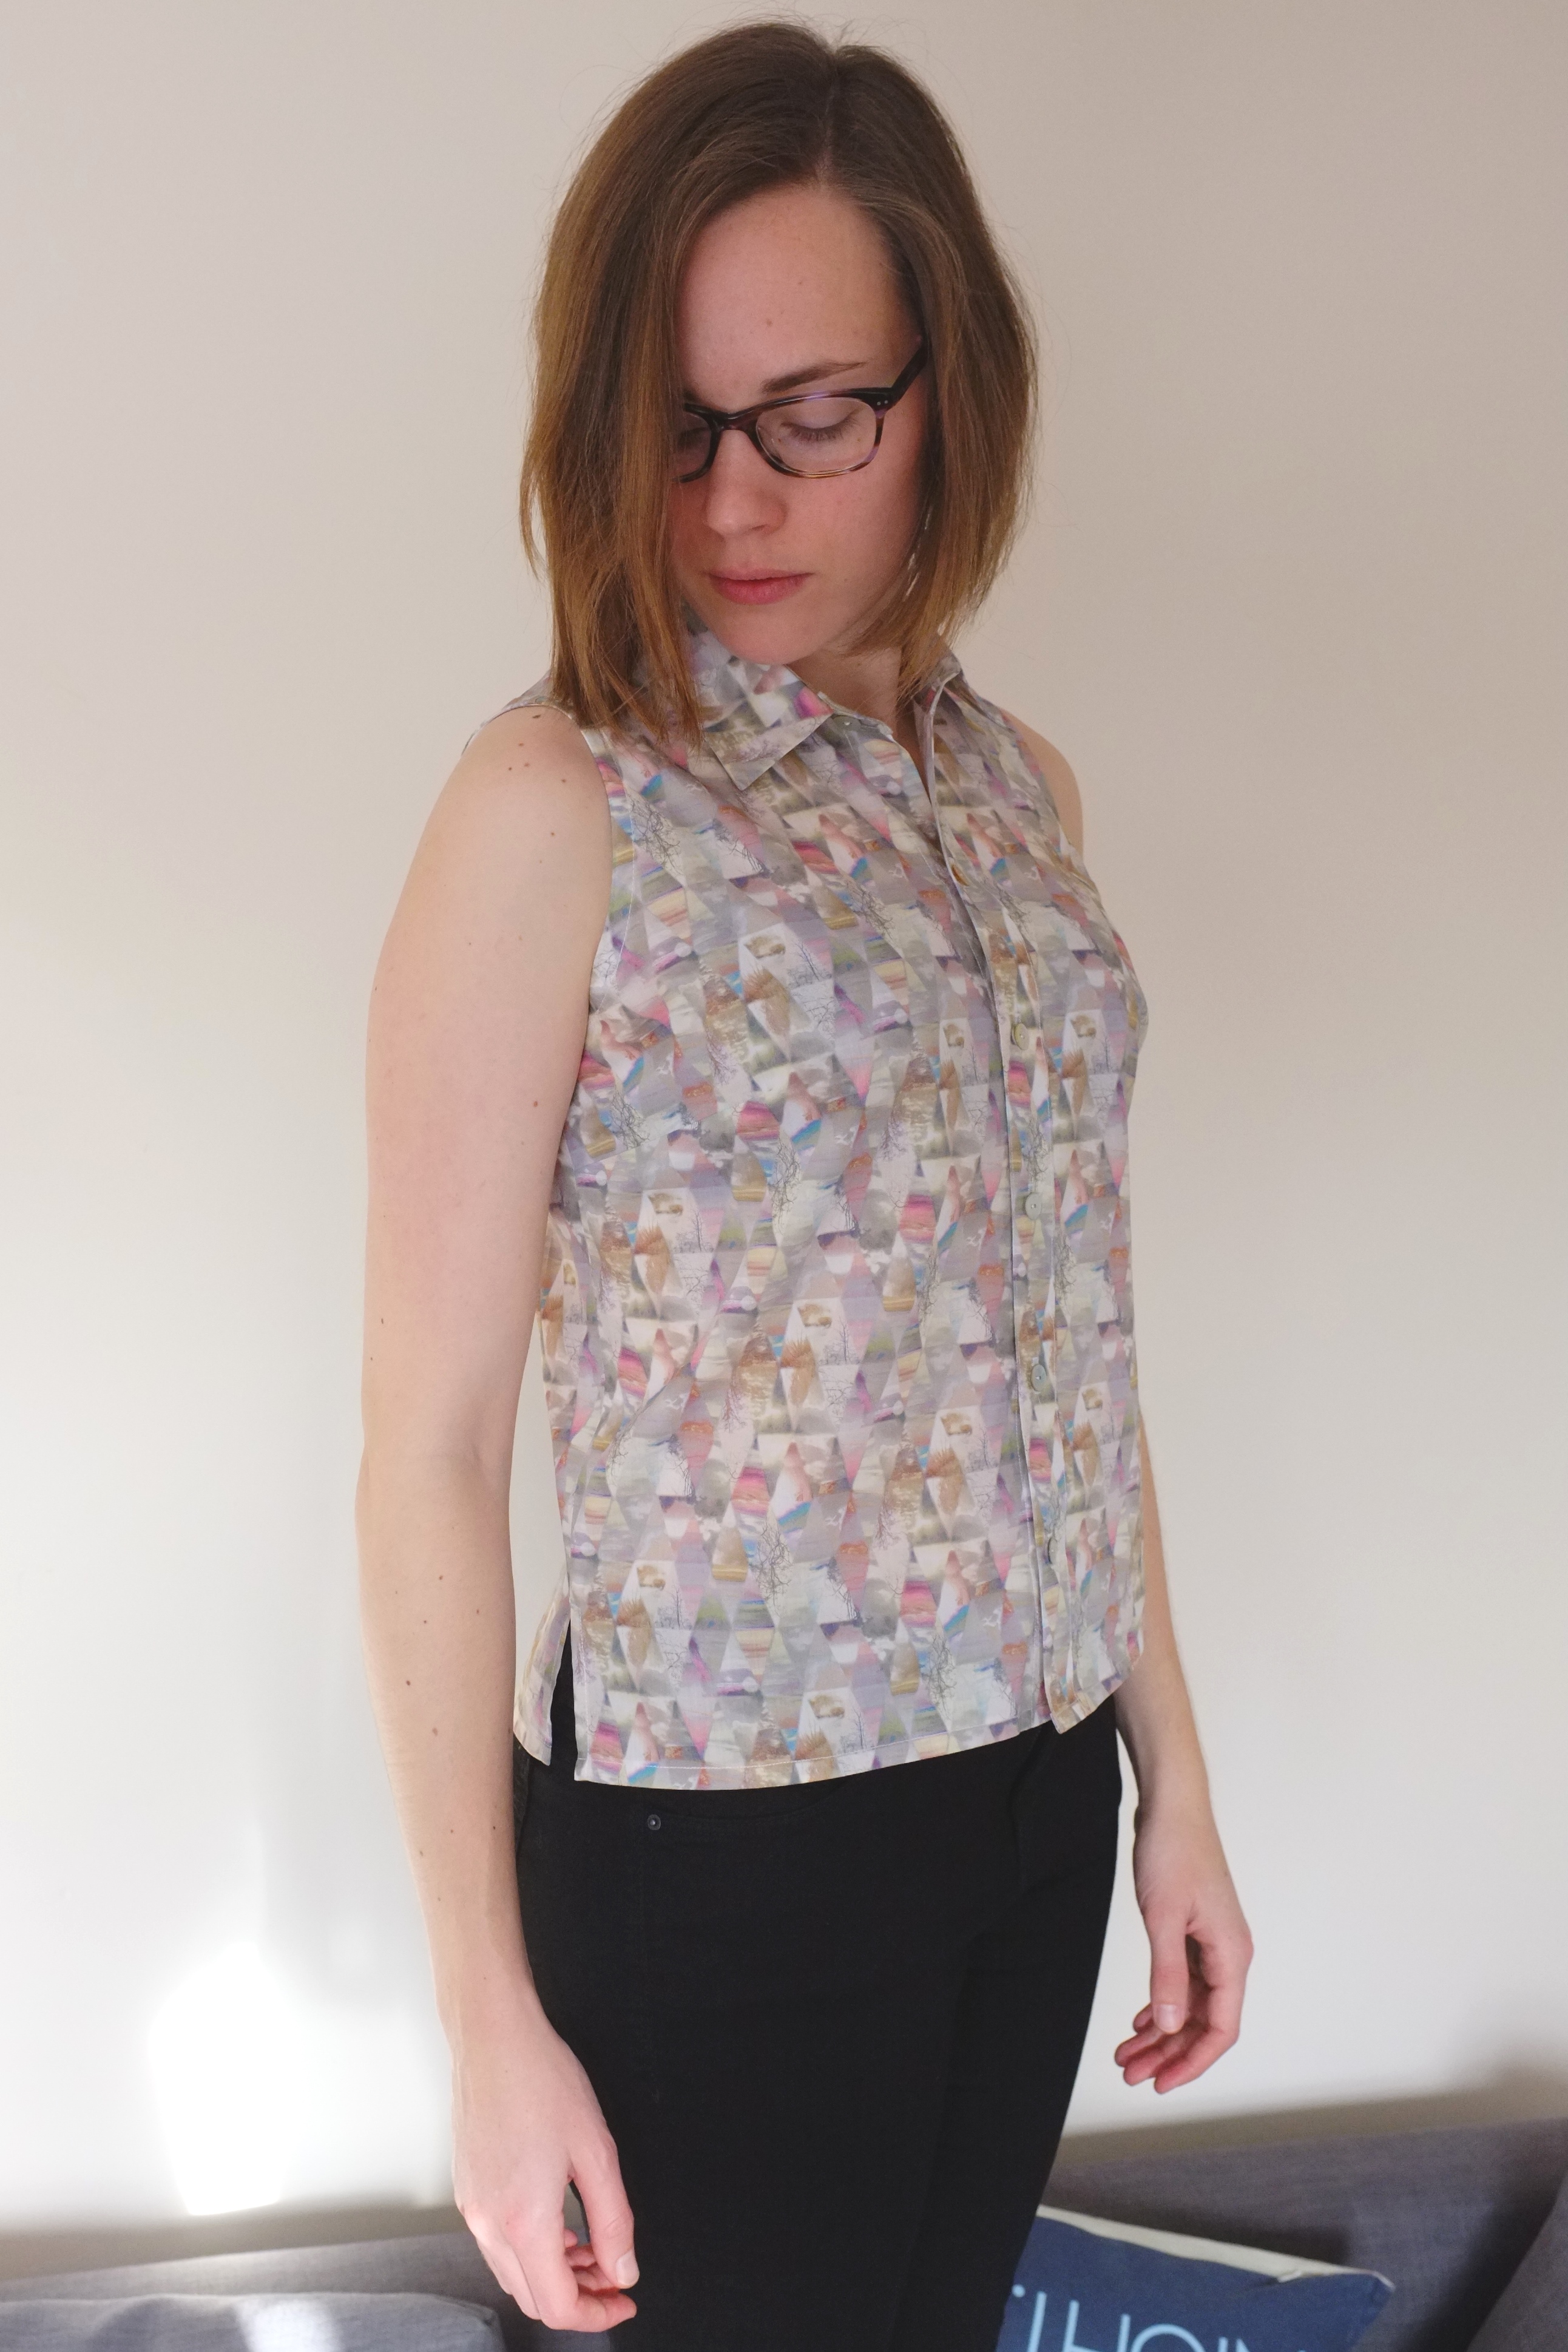
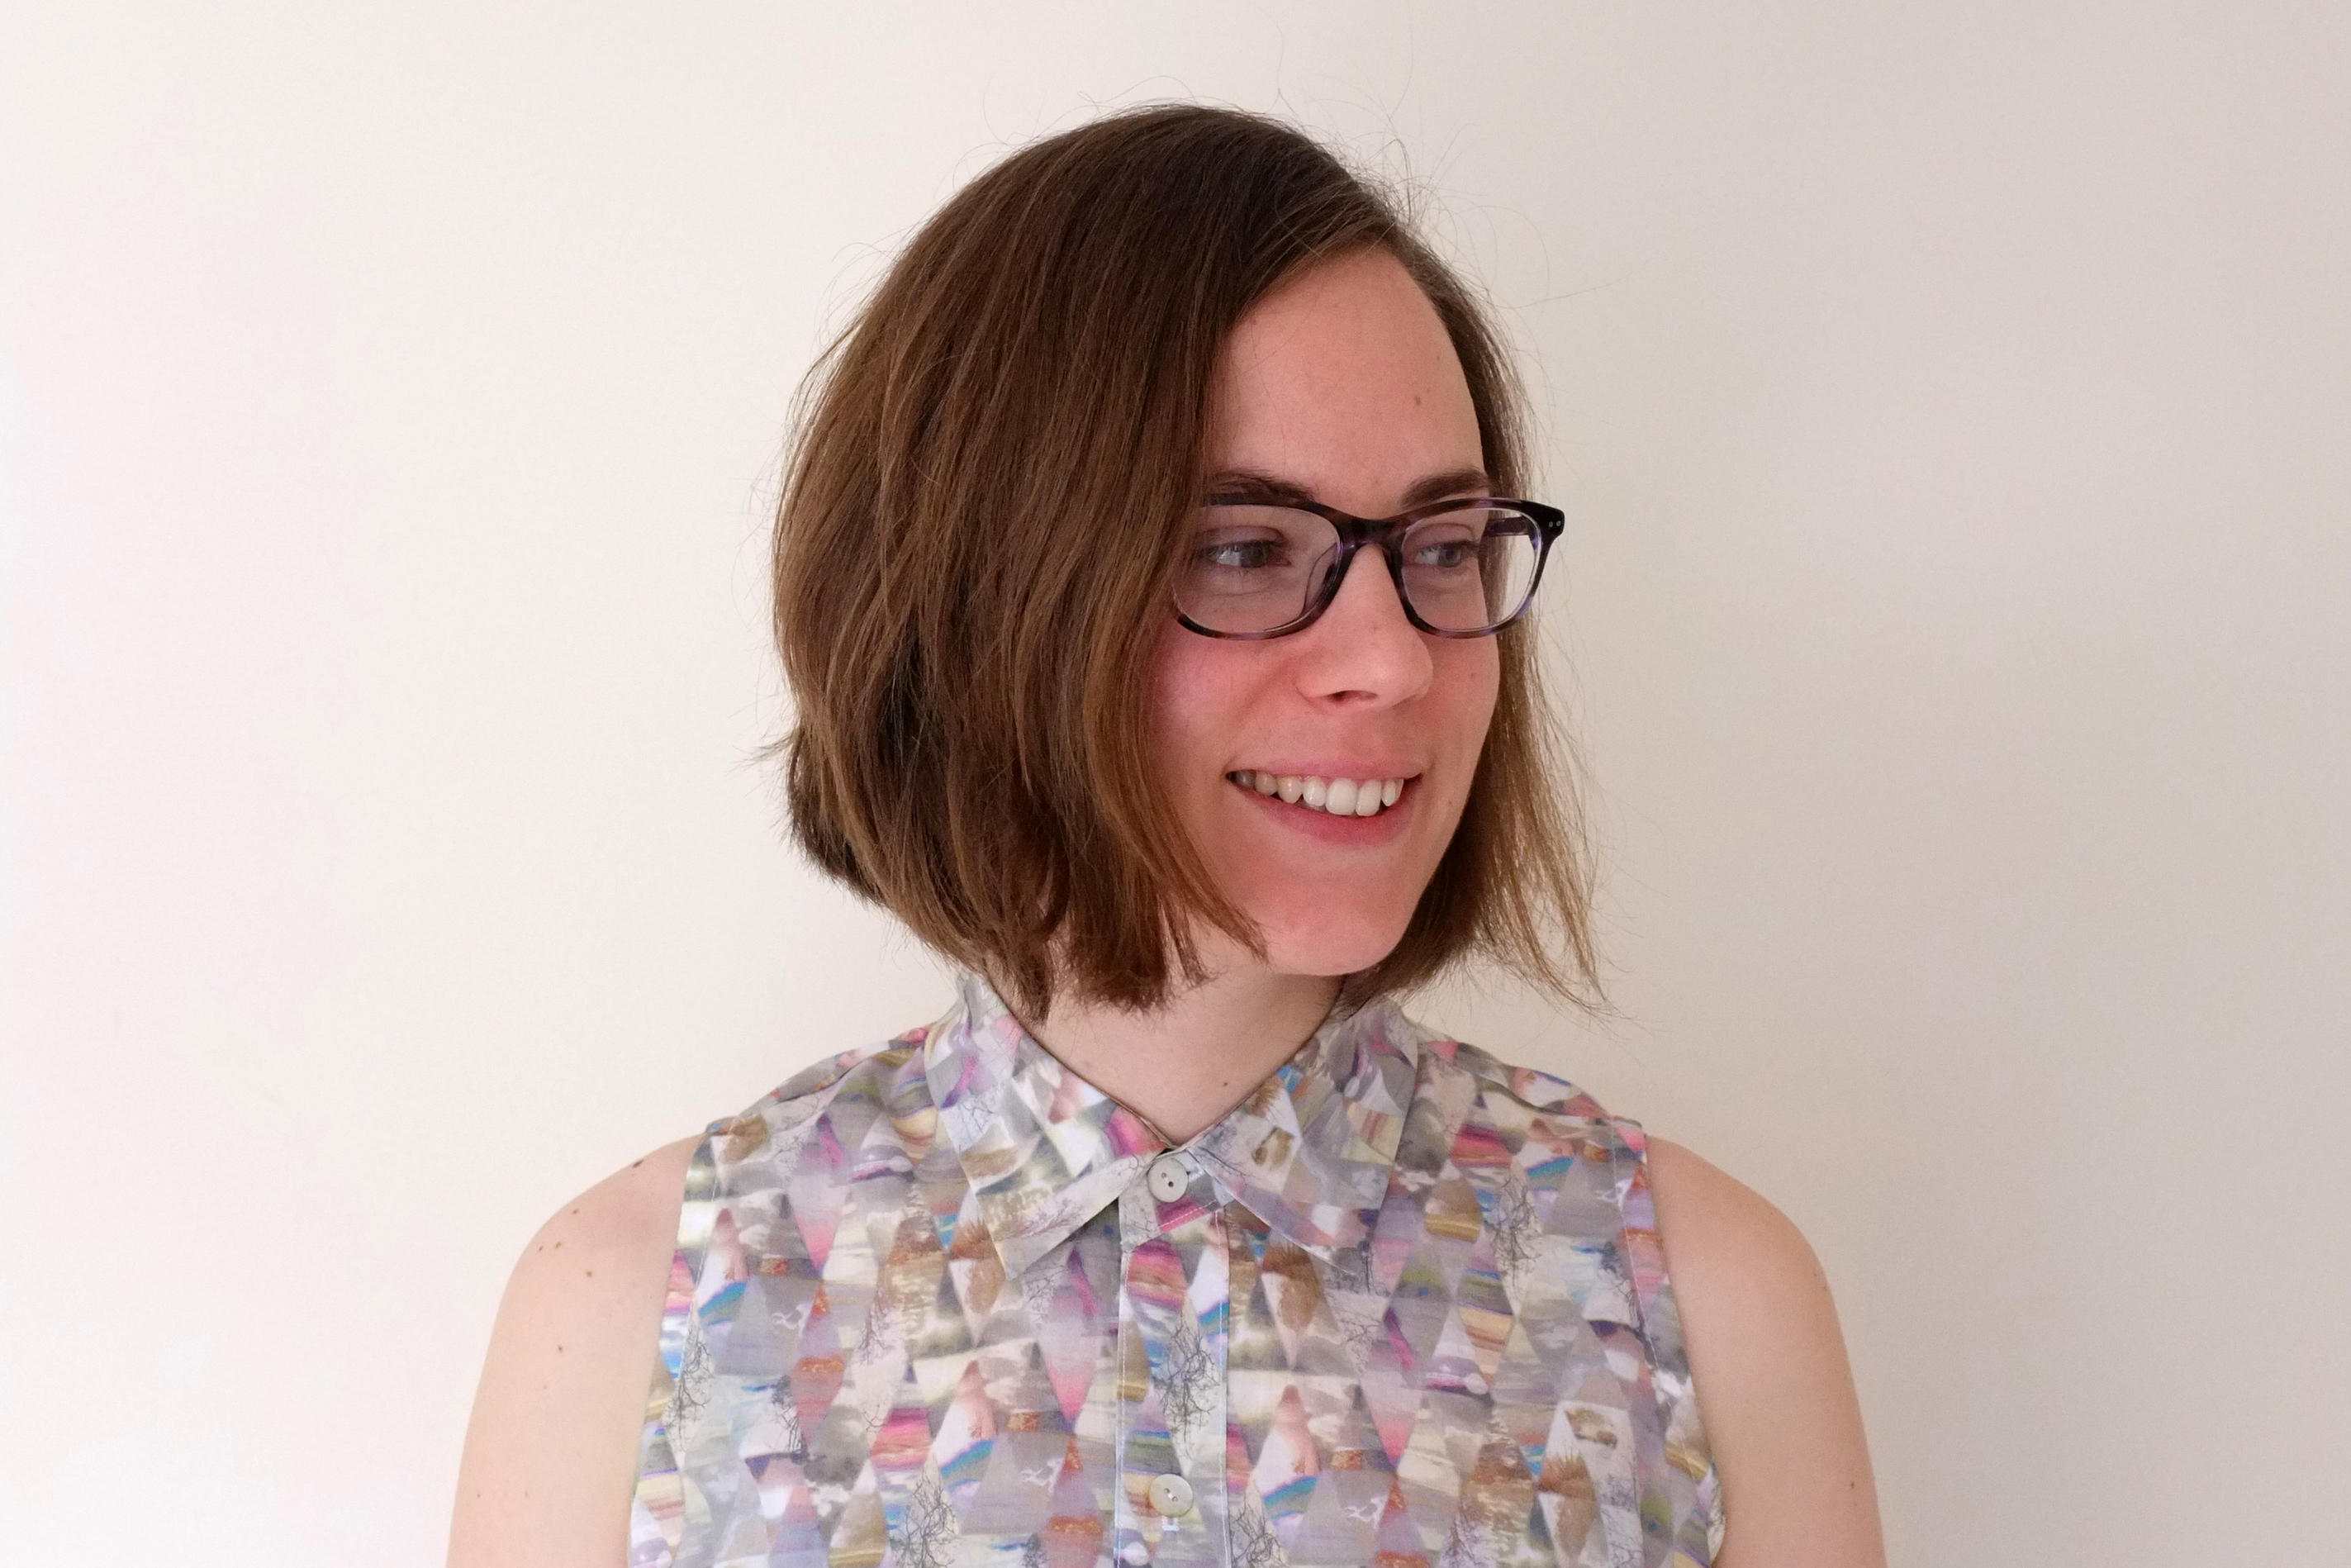
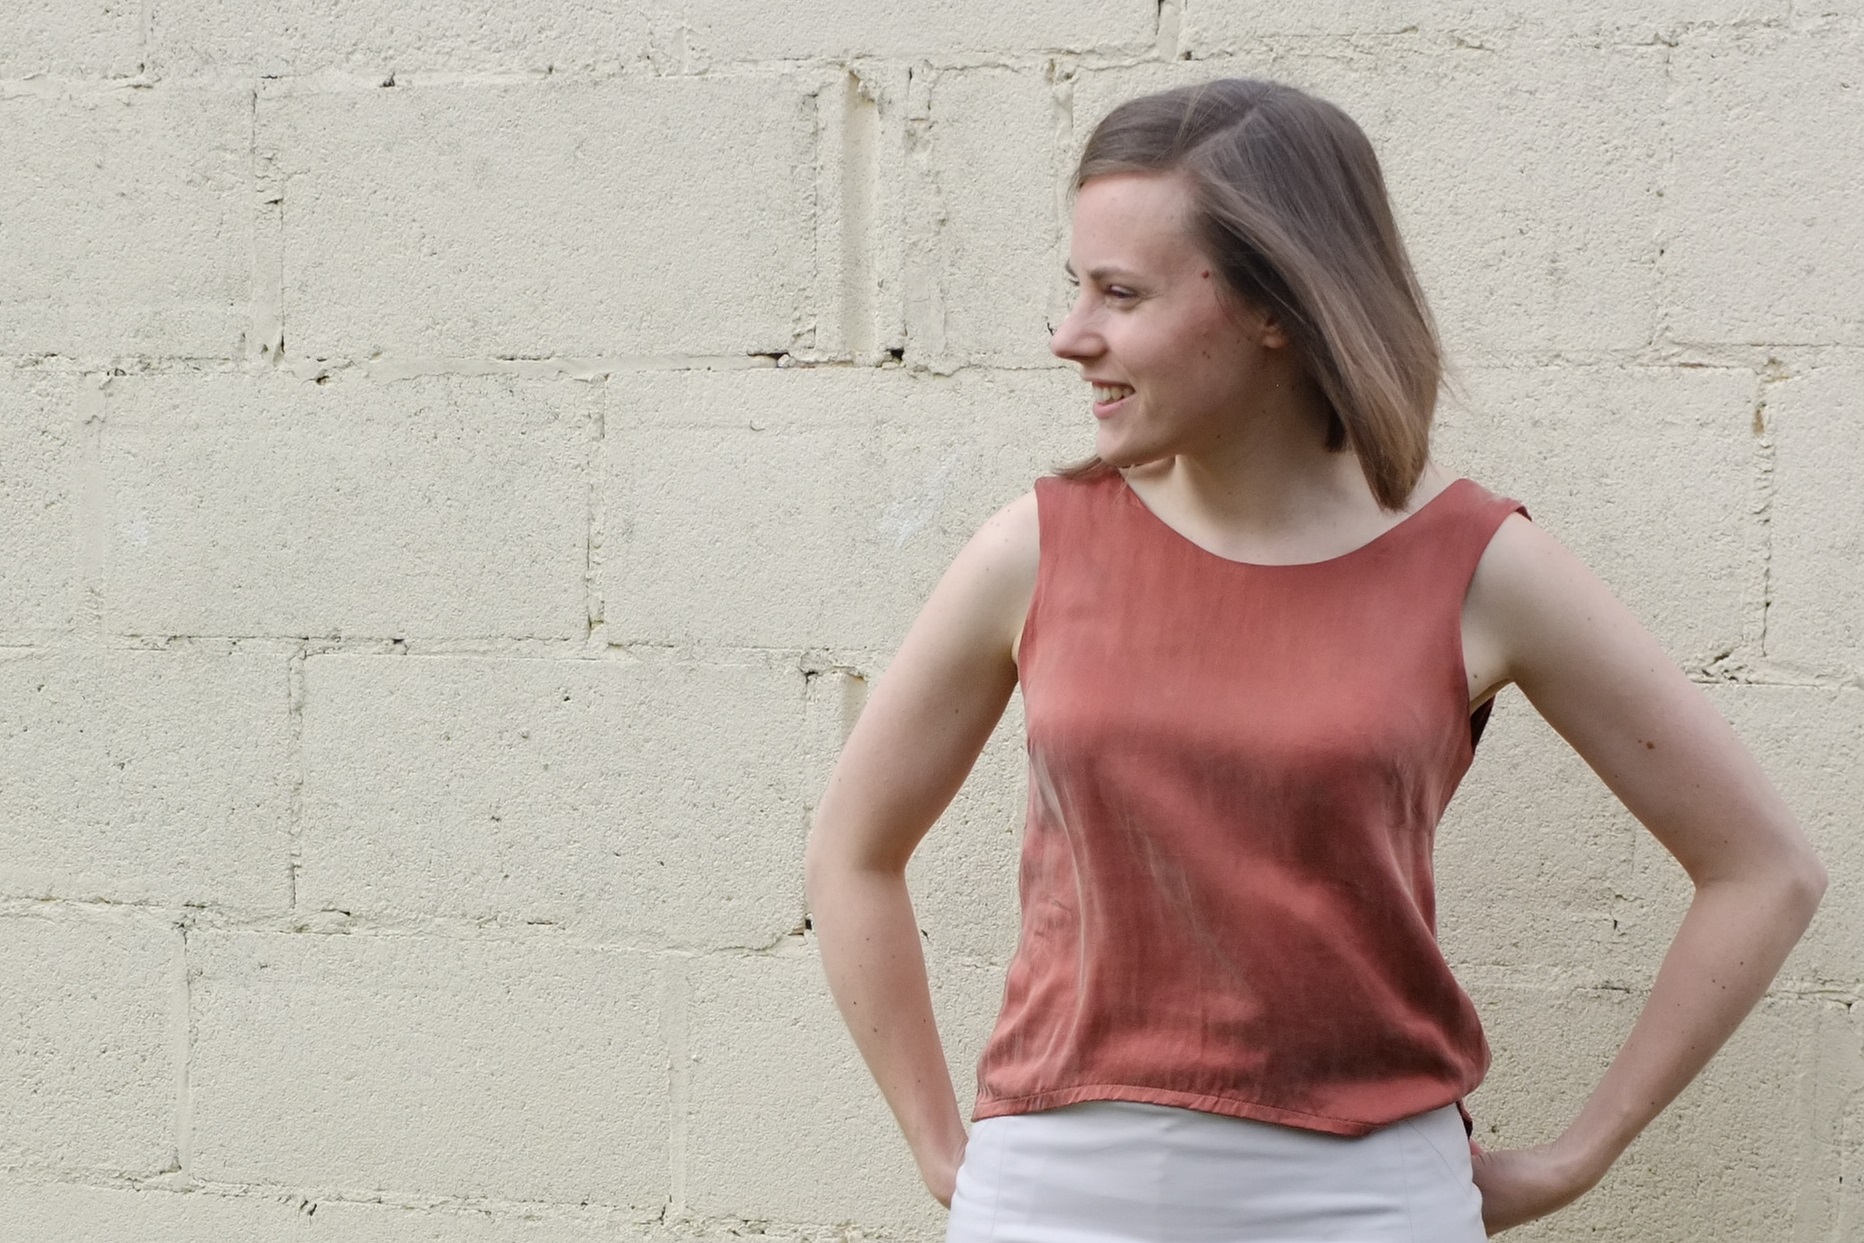
Workwear, never the most exiting topic. I’m happy to report though that I am in love with this top. It’s made from lovely sand-washed silk that I picked up at Goldhawk Road with such a great texture (I can’t stop stroking it). I love this copper colour, particularly when paired with this cream RTW skirt. The pattern is the Sleeveless Shell Top from The Great British Sewing Bee – Fashion with Fabric book. As I wanted a loose top, I sized up to a UK 12 but removed some width at the centre front as the neckline was slightly too wide in my muslin.

I really like this pattern. The neckline and the armholes are finished with a facing, which gives it a very clean finish, ideal for a silk top like this. The seams are finished with my pinking shears. It’s probably not ideal for the longevity of this piece but since I am washing this by hand it shouldn’t be such a problem.

Design-wise, the top has a very pronounced high-low hem. I do like it in this top, but might make the hemline on the next one slightly less dramatic. The original pattern has a keyhole design at the back which I omitted.

I’ve already gotten a lot of wear out of this top. It’s light and floaty and I love how it looks tucked into a skirt.

Silk Top_4Silk Top_2Silk Top_3

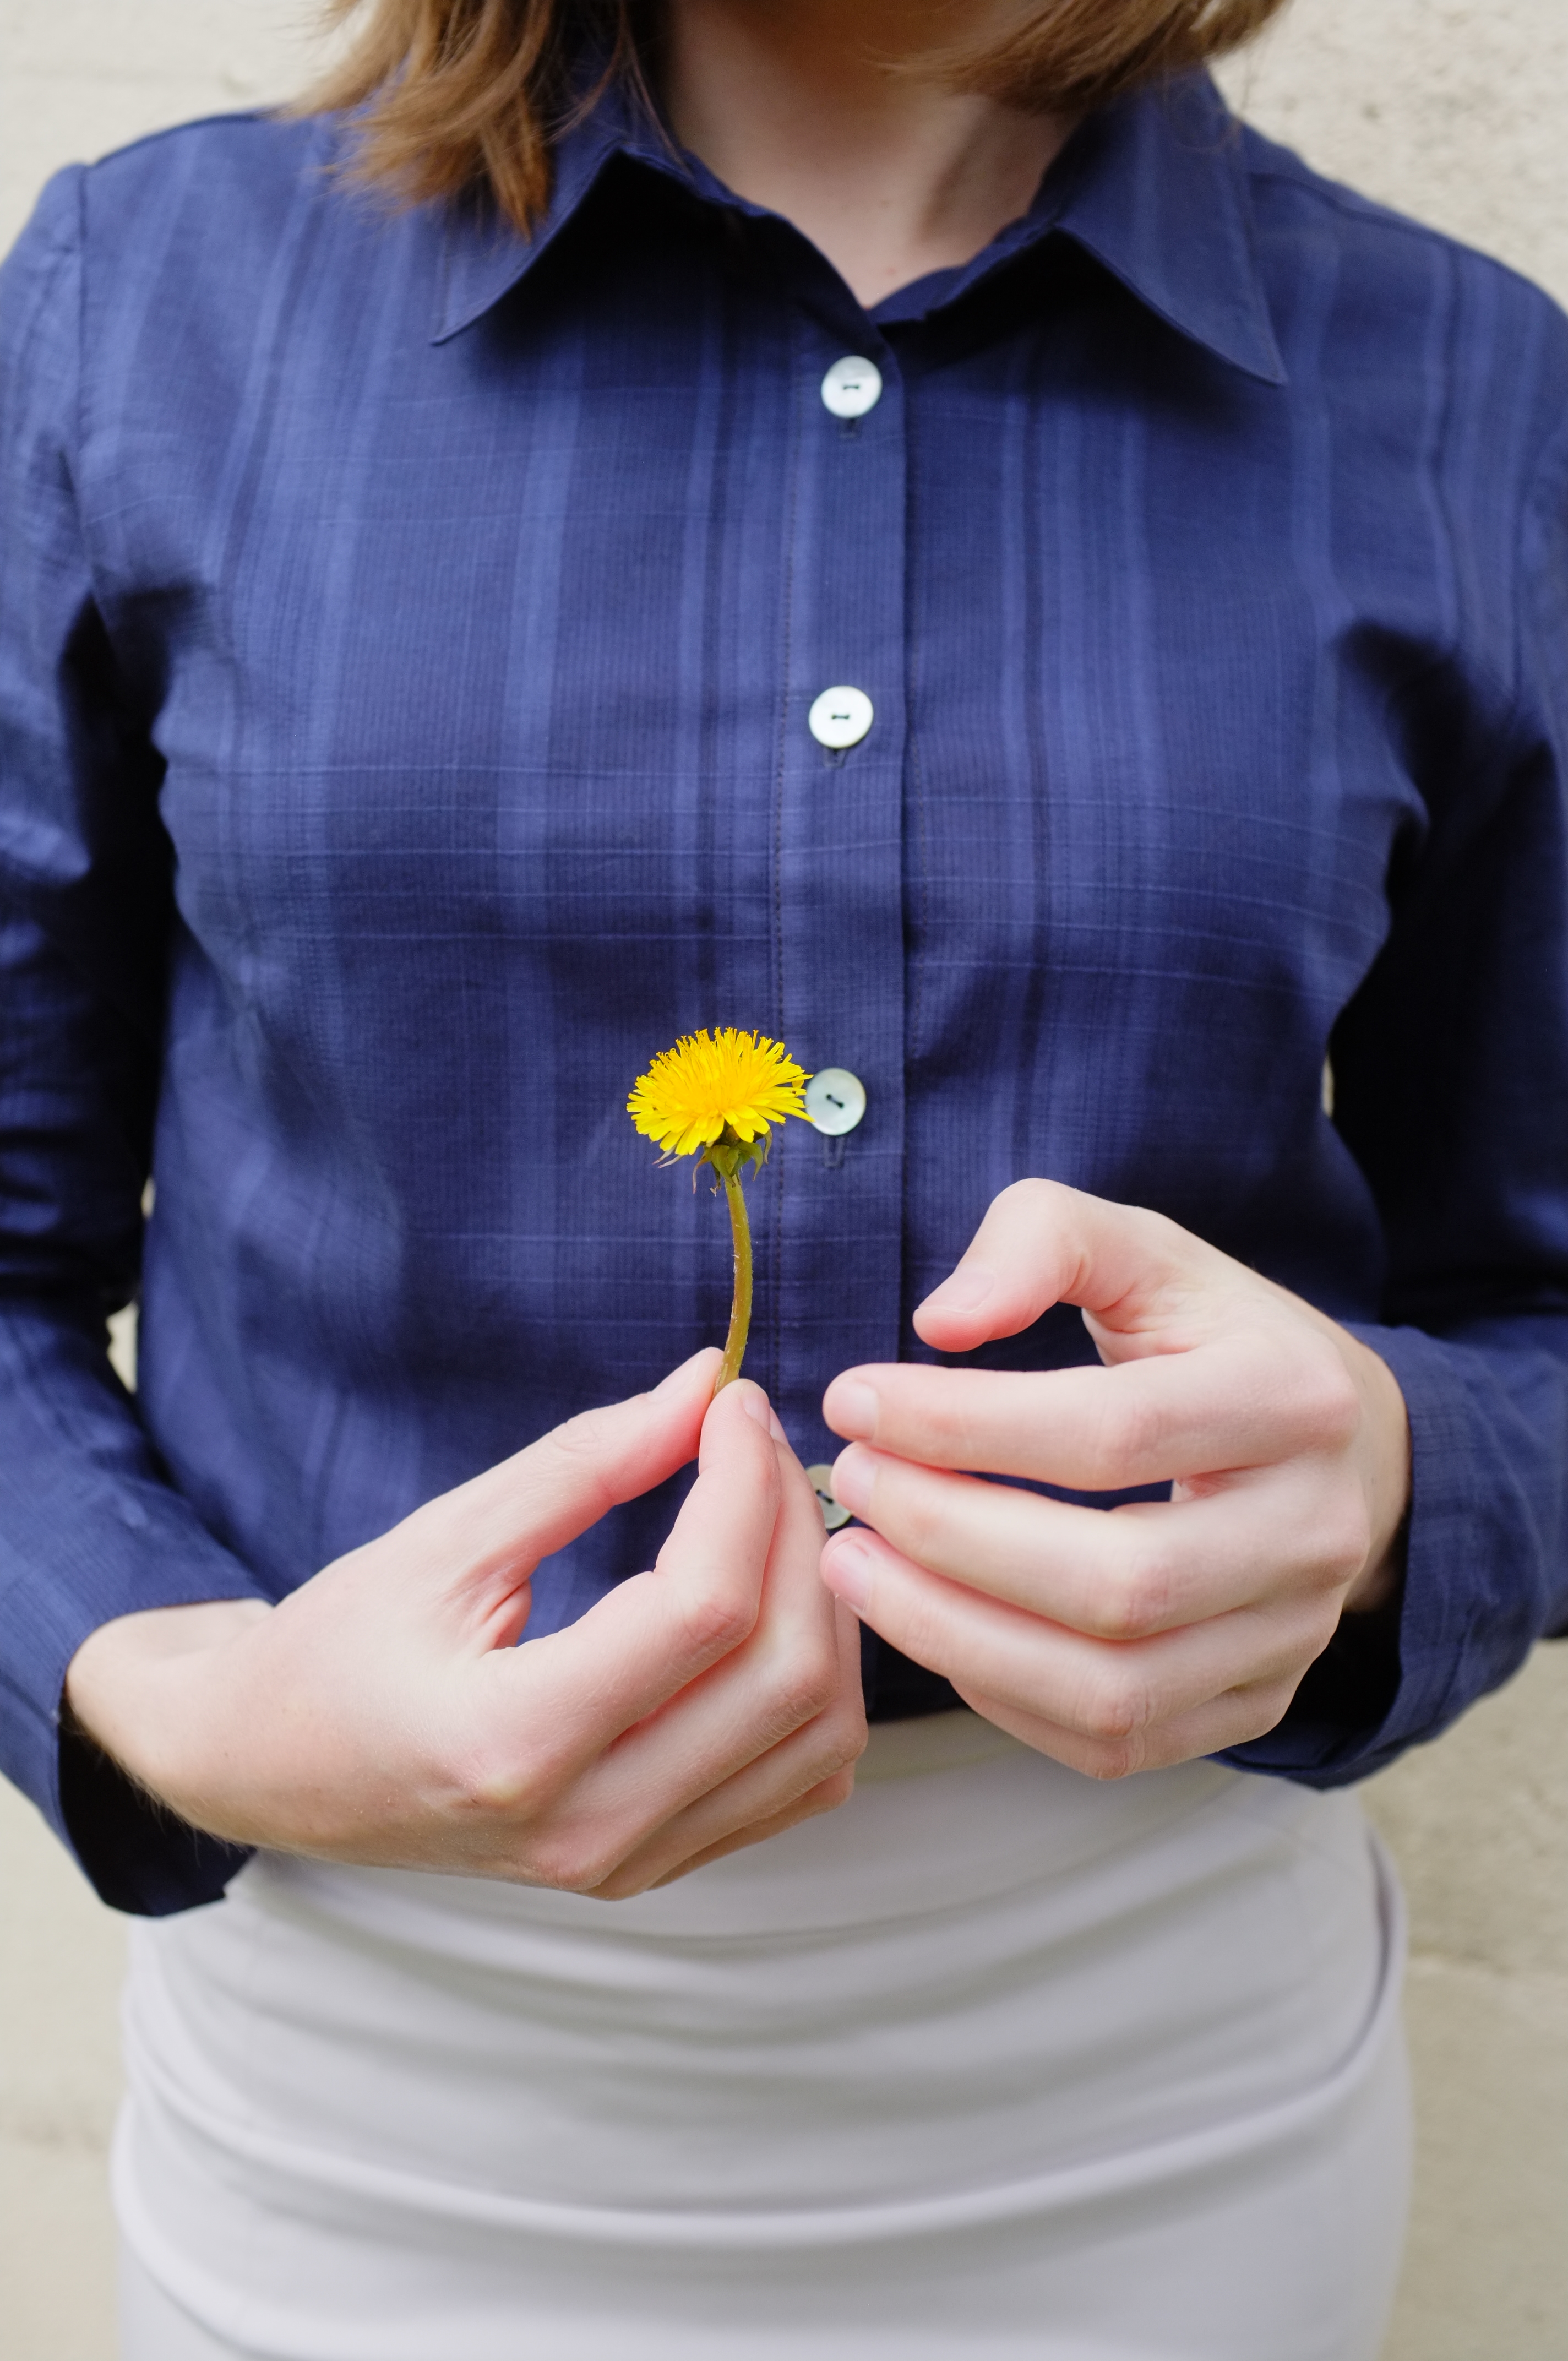
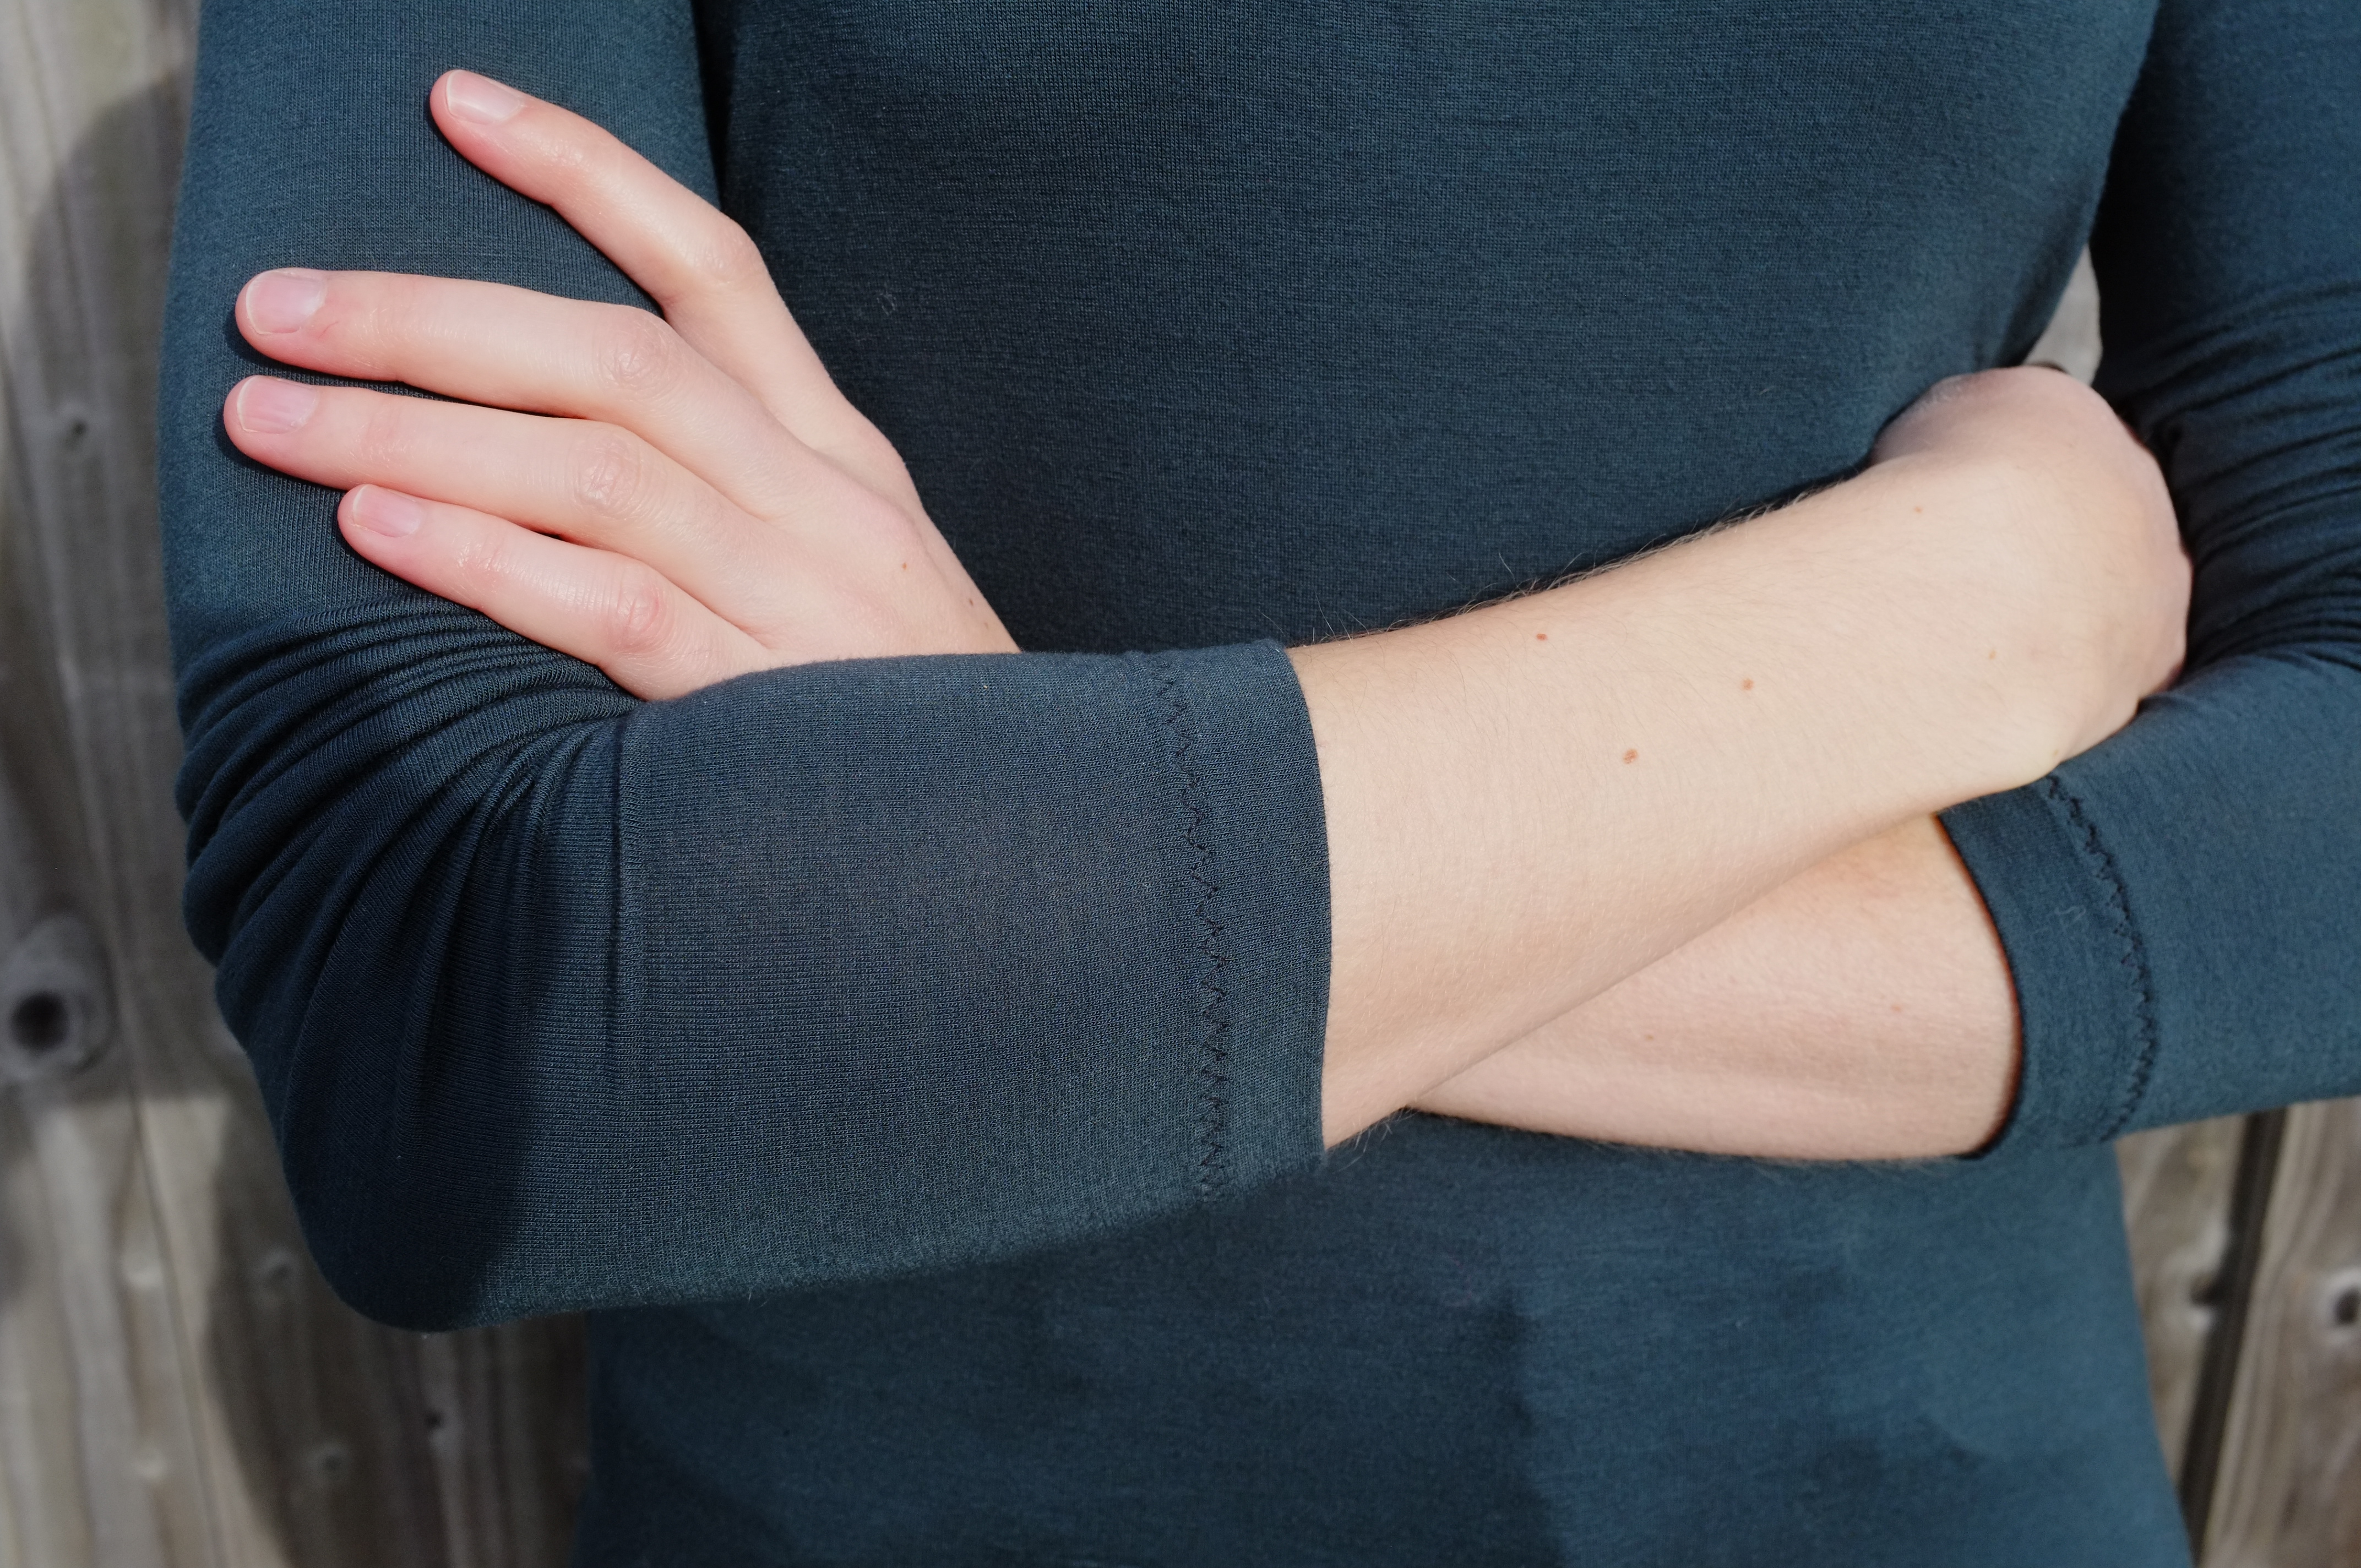
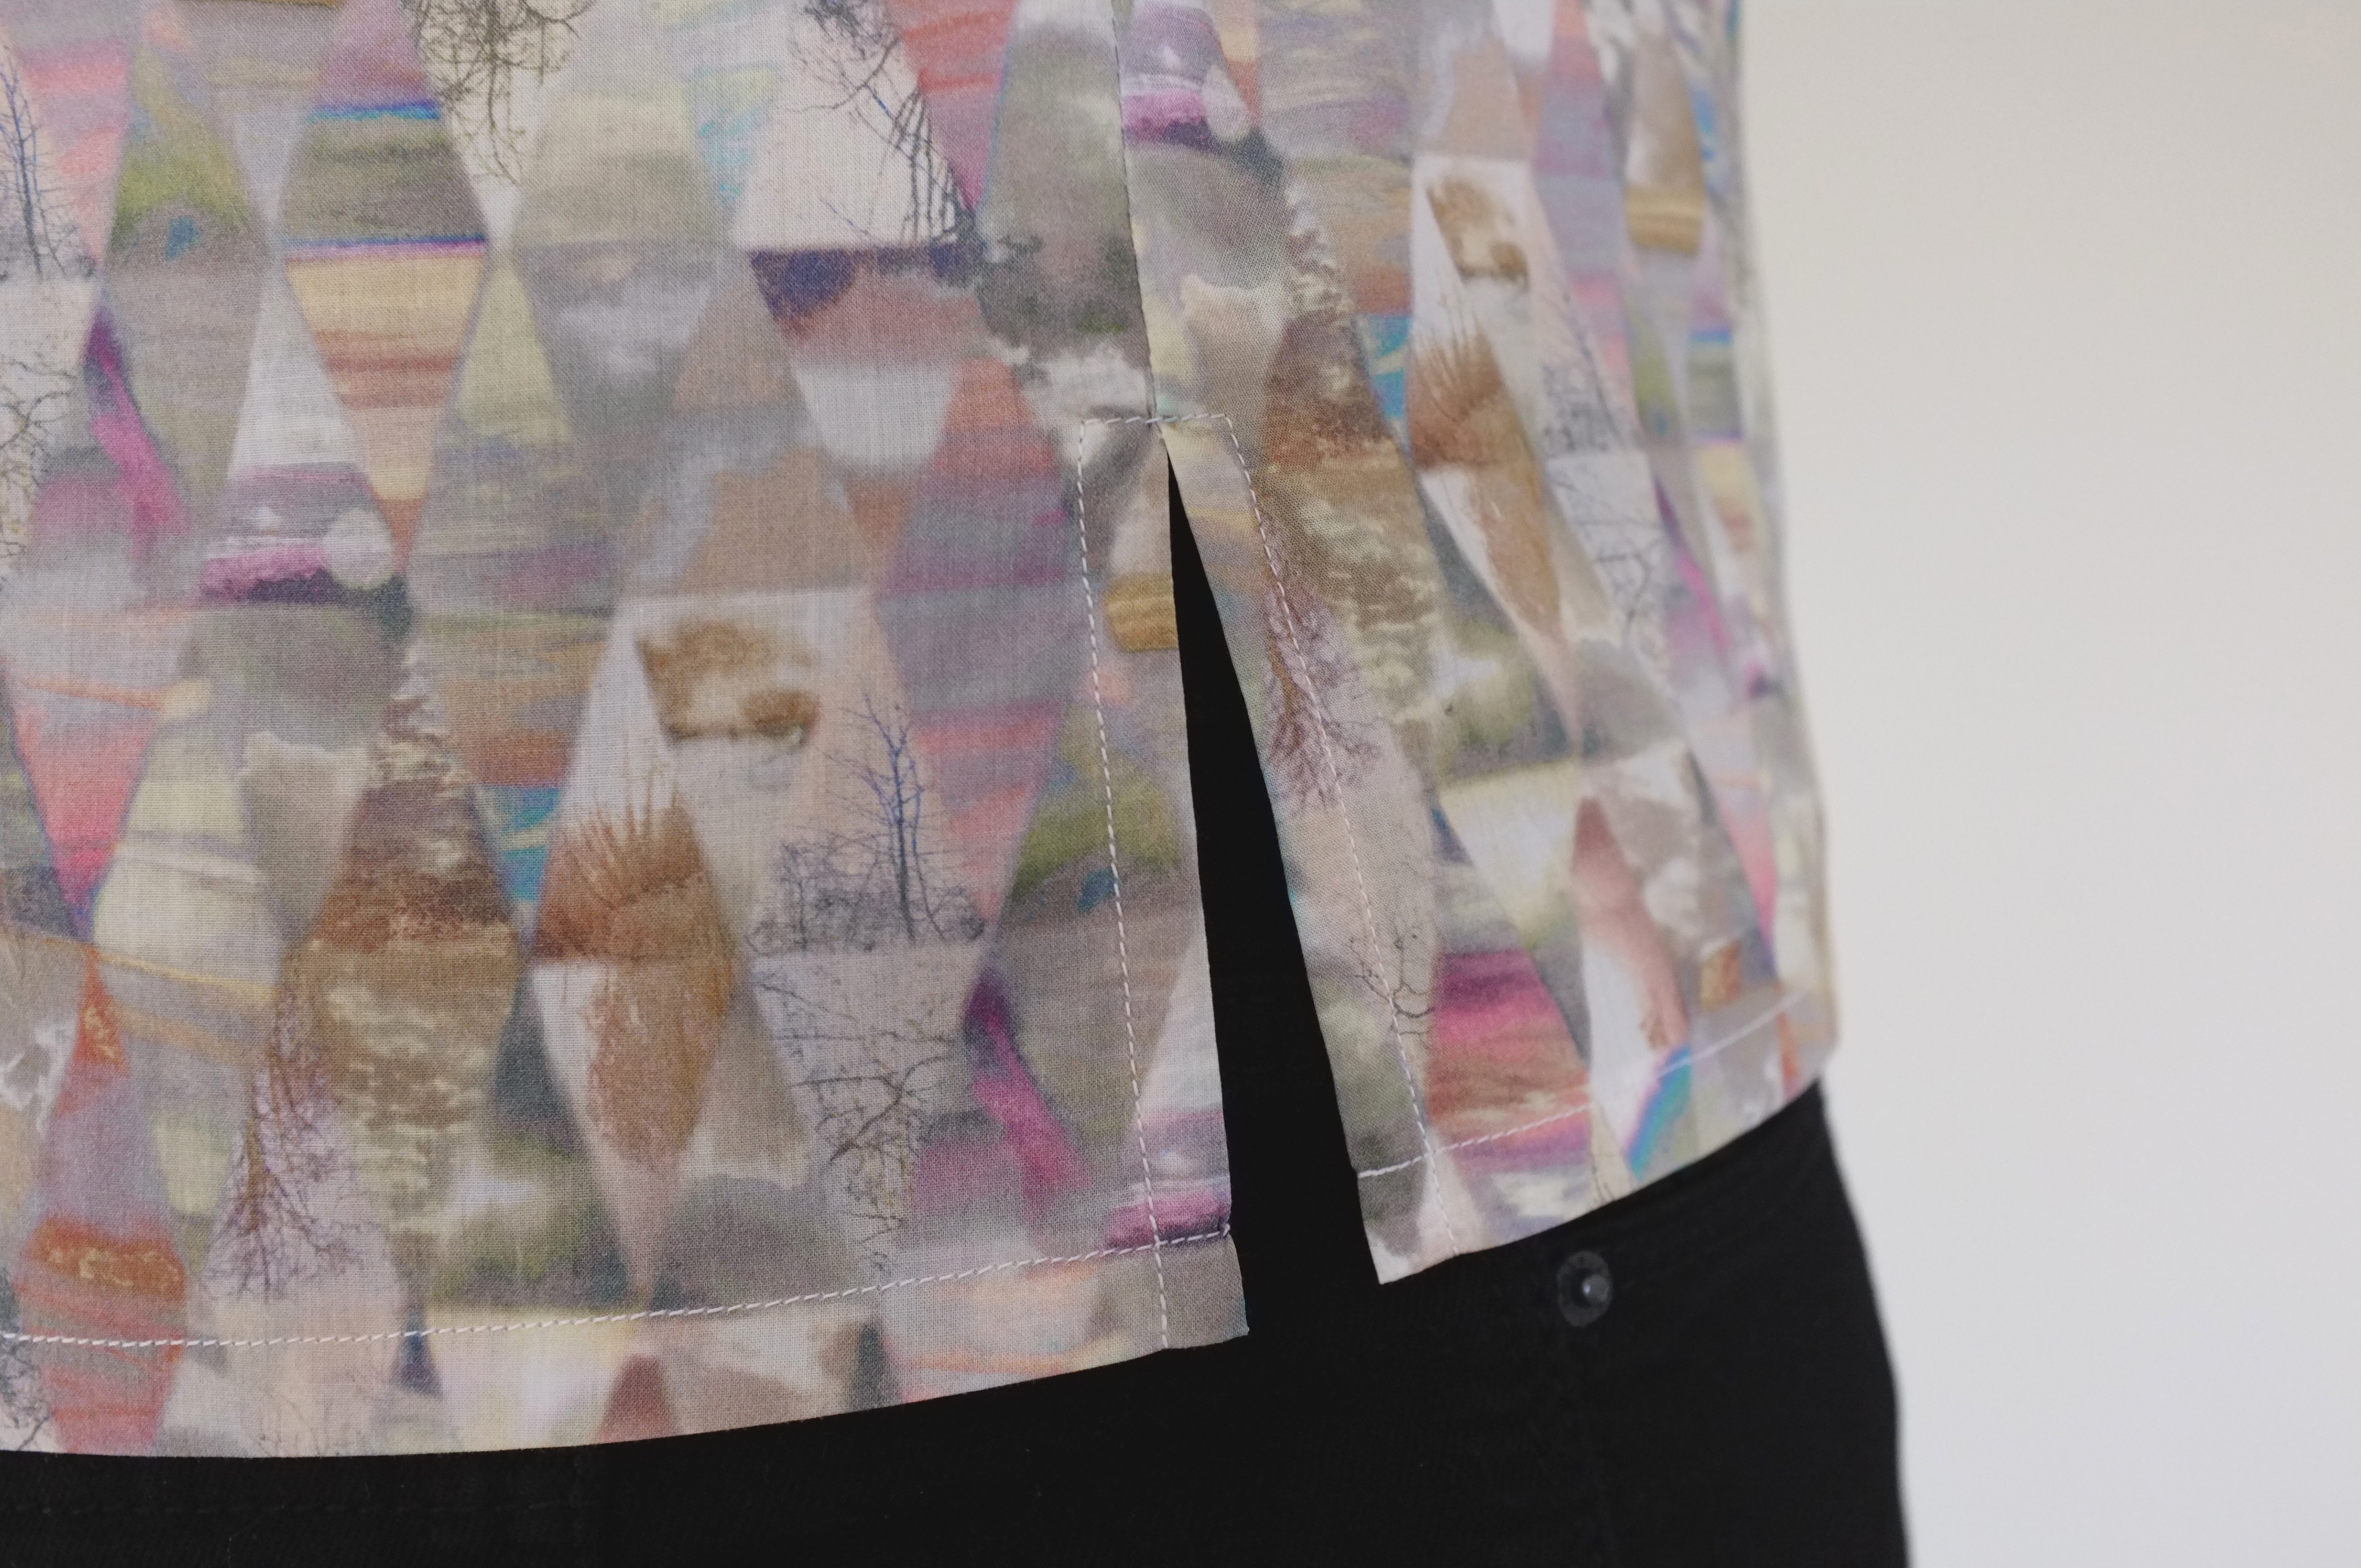
The next project was the Sewaholic Granville Shirt. I’ve had this pattern sitting in my stash for quite a while now. I love a good button-down and have not yet found the perfect pattern. The Granville sounded promising as it is designed for pear shapes like me. And true, according to my measurements I only fell in one category, size 8. Happy to not have to grade I decided to sew it up as it is without any adjustments. Once sewn up, I have to say the shirt is quite on the roomy side. It’s very tapered at the waist, which becomes clear from the pattern drawing, but I didn’t expect it to flare out that much at the hip. Surprisingly also the sleeves were very long. Normally I have to add length to the sleeves (my extremities seem to be longer than average, my boyfriend lovingly calls them my orang-utan arms). In this case the sleeves, with the cuff as intended, were actually too long. As I didn’t like them as they were (too wide and with the interfacing too stiff), I decided to take them apart and half the cuff piece that wasn’t interfaced. I like them a lot better now, they look more casual and are more comfortable. The sleeve placket came together quickly. I really liked constructing them and for the tricky pointy bit I just used a glue stick to keep it in place. Worked like a charm.

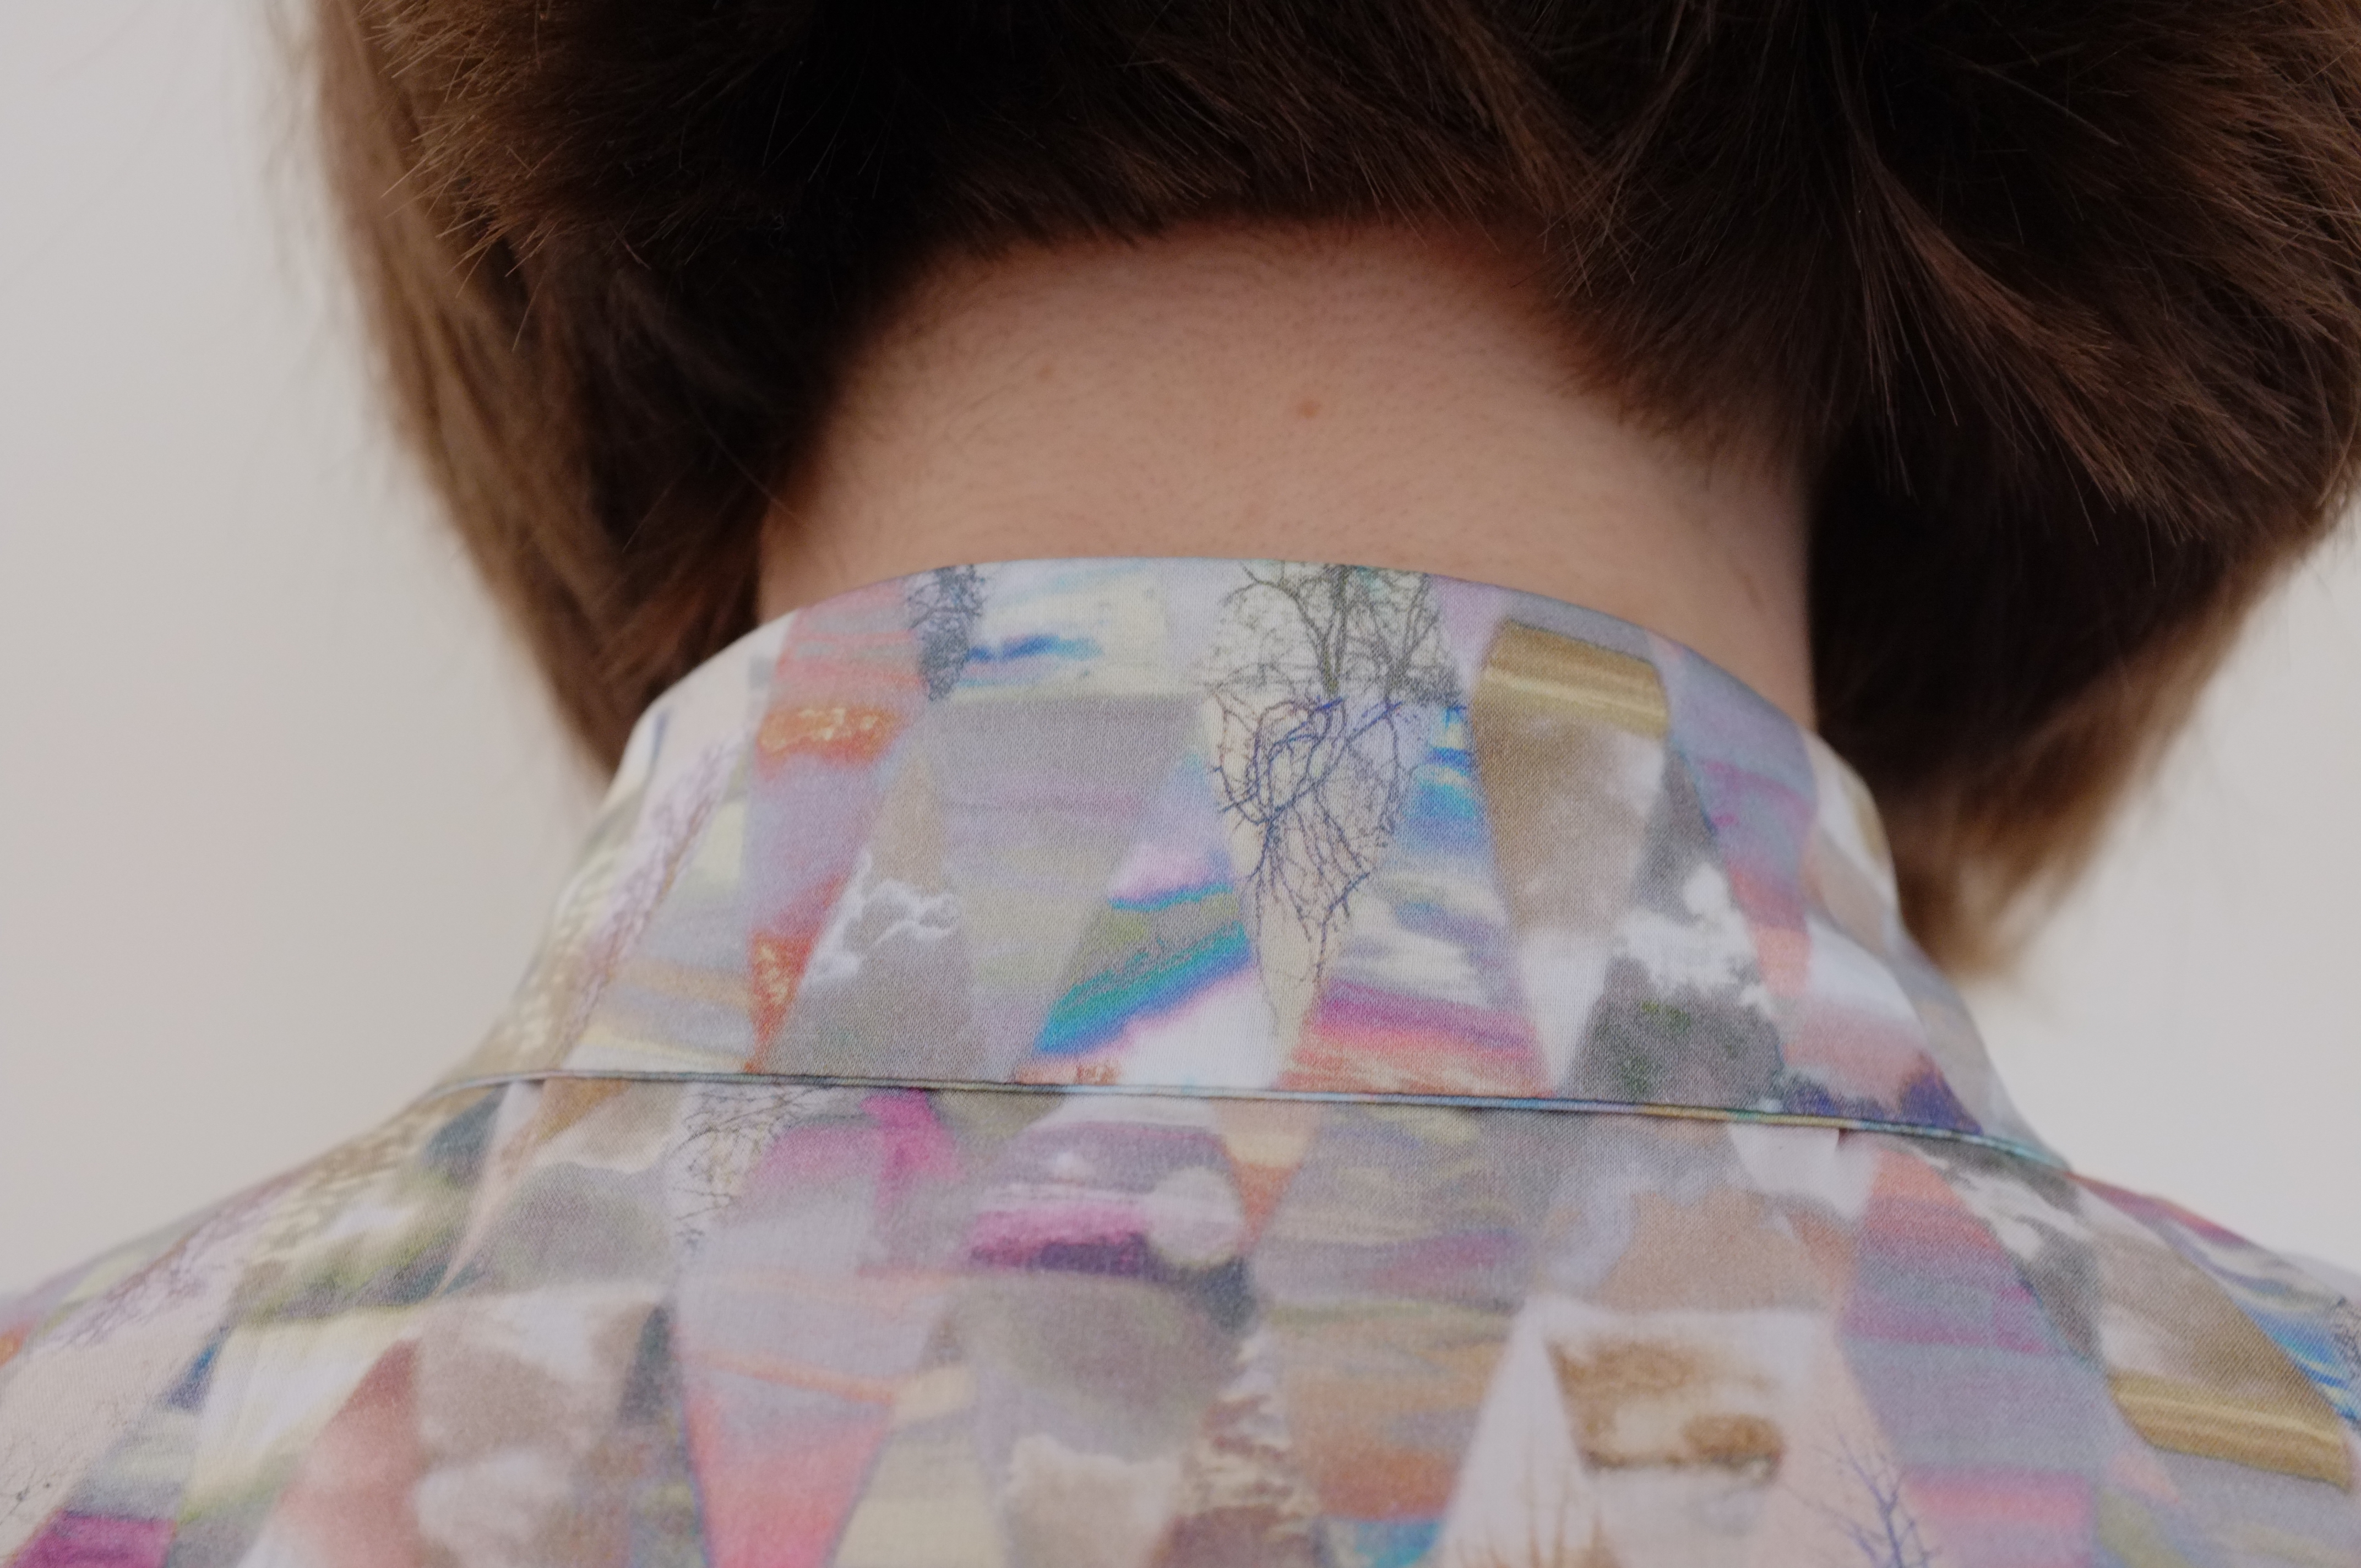
One thing that I realised when I sewed on the last button was that the collar was overlapping when the top button was closed. I don’t know if that is an issue with the pattern or if I just messed up and didn’t trace the collar pieces correctly. It’s a shame as I like to wear my shirts completely buttoned up.

The fabric that I used for this shirt is some lightweight cotton from Miss Matatabi. The fabric has a very interesting texture which creates this stripey/checked pattern. I was intrigued when I saw it online and ordered it without a specific project in mind. After giving it some thought I decided it could look nice as a shirt. When it then sat on my dress form, however, it looked really drab. I don’t know what it is with navy shirts, they always look a little bit outdated. Originally I had planned to add navy buttons but to brighten the shirt up a bit I decided to go for shell buttons. I’m glad I did, it looks more fun that way.

If I was sewing this shirt again, I would slim it down a bit, including the sleeves and take in the shoulders. Oh and I would make sure to not mess up the collar, so that I can close the upper button.

I do think this is a nice basic work shirt pattern, especially for someone that likes figure-hugging shirts. The instructions were clear and thorough.

I might not be in love with this shirt due to the fitting issues and the pattern/colour combination, but it’s really comfortable to wear. And tucked into a shirt or some high waisted trousers it looks quite nice. I’m sure I’ll get some wear out of this.

Granville Shirt_1Granville Shirt_2Granville Shirt_3Granville Shirt_4Granville Shirt_5Granville Shirt_6Granville Shirt_7

Back to Basics

Turtleneck_1After a long and dark winter if finally felt like spring this weekend. But don’t be fooled by the pictures it is still freezing cold. Which is why I decided to add some layering pieces to my wardrobe. I am one of these people that constantly feel cold and only survive winter with lots of layering. While I have a wide range of tanks that I wear under my clothes, I was basically wearing the same ready-to-wear longsleeve every single day. Something needed to change and since I am the proud owner of an overlock since last October I decided to make something myself. I got some grey marl jersey from Fabric Godmother and some dark teal jersey from Goldhawk Road.

From the grey fabric I made the Papercut Patterns Fall Turtleneck. I’ve always had a thing for turtlenecks. Actually one of my first shopping experiences that I remember, was when I bought an orange turtleneck and black trousers with my grandmother. I had this exact combo in mind before we got to the shops and for some reason thought it would be a cool outfit (I must have been around 13 at the time, don’t ask me where I got my fashion ideas from). I’ve had a couple more turtlenecks throughout high school but at some point they disappeared from my wardrobe and it wasn’t until recently that I felt the need to add one to my wardrobe again. This need was definitely fuelled by seeing them pop up everywhere in the shops and in the online sewing community. When I first saw the pattern for the Rise and Fall Turtleneck I registered it, but wasn’t really drawn to the loose silhouette and the dropped shoulders of the version on the cover. But after seeing cool versions online I decided to go for it. The pattern does actually include a more fitted version but in the end I decided to try the looser shape to see if I liked it. I am currently trying out shapes that I would not normally gravitate towards, so far with limited success (I’m looking at you Inari Tee Dress!). I cut a size S and assembled it quickly on my overlock (how I love the speediness of working with such a machine!).

Turtleneck_2Turtleneck_3Overall I am quite happy with the fit, especially around the shoulders. It is quite roomy overall but that was to be expected. The main issue however is the length of the sleeves and the body. I already suspected that when I cut out the pieces but wanted to see how the slightly cropped length looked. In the end I decided to leave the hems unfinished as the length is just about enough. I contemplated adding cuffs but in the end I am ok with leaving them as they are. While I do feel slightly like an old man with this turtleneck (I think it’s the grey together with the looseness) it feels nice to wear and is perfect for wearing at home when I don’t want to wear a scarf all the time but need some protection from the cold drafts.

And here a picture of me attempting the obligatory turtleneck modelling pose, which looks more like I have to protect myself from being strangled by my own shirt. I clearly need to work on my modelling skills!

Turtleneck_4The second garment is a simple longsleeve which I made by copying the ready-to-wear version I have already. The construction was simple on my overlock. I added a narrow neckband and finished off the hems with a three-step-zigzag stitch. While it might not be the most exciting piece that I own, I’ve been wearing it a lot since I finished it (I am actually wearing it right now) and I am sure it will become a wardrobe staple.

Longsleeve_1Longsleeve_2Longsleeve_3And here paired it with my new scarf that I got through the 2016 Secret Valentine’s Exchange, a perfect match!

Longsleeve_4

Liberty print blouse

Liberty Blouse_5New year, new hair, new shirt. This sleeveless blouse is my first make in 2016, and the first thing that I can tick off my 2016 sewing list.

This project started with a fabric I had sitting in my stash for a while. I bought this Liberty lawn back in November at Shaukat in London, a place I’ve been wanting to visit after reading about it on Katie’s blog. As expected the shop was overwhelming and it took me about an hour to settle on a fabric. While I love the quality of Liberty fabric I am not very drawn to cute florals so I was looking for something more abstract. In the end I chose these two pieces. I was drawn to this Liberty lawn because of its colours and the geometric pattern. I knew I wanted to make a top and first thought of keeping the shape simple to let the fabric stand in the focus. But for some reason I couldn’t really picture it and I let the fabric sit in my stash untouched. Then one day I had an epiphany and knew I wanted to pair the fabric with a structured, sleeveless blouse. Isn’t it weird how ideas sometimes come out of the blue?

Now that I was settled on what I wanted to sew I was looking for a good pattern. In the end instead of buying one I decided to give myself a challenge and copy a shirt from my closet. While I love how indie patterns guide you through each step of constructing a garment, it’s sometimes nice to figure out on your own how to put a garment together. I traced the pieces off the shirt with some tissue paper. This process can be quite tricky off an intact garment but I took my time and it worked out allright. As I liked the fit and the style of the original shirt the only change I made to the pattern was to draft a less pointy collar. The construction was pretty straight forward, it helped that I recently had made a shirt, and for the collar construction I used the instructions of another blouse. I serged the seams instead of doing French seams, for one because I need to practice with my new overlock and second to be able to construct the split hem. The button band on the one side is just folded over, on the other side a separate button band is attached. This is a feature of the original shirt and I quite like it. The only thing that went slightly wrong was the angle at which the collar stand is attached to the button band. It should be at a right angle but it obviously isn’t. I’m not quite sure what happened there, but I’ll just call it a design feature. It does get lost in the busy print anyways. The armholes are finished with a white satin bias tape, which was quick and simple but looks nice.

Liberty Blouse_2Liberty Blouse_3

Liberty Blouse_4Liberty Blouse_6Liberty Blouse_7Liberty Blouse_8Liberty Blouse_10Liberty Blouse_11The finished shirt looks pretty much how I envisioned it. I especially love the crisp collar. I am a little bit unsure if I really like the look of sleeveless shirts on me. My boyfriend tells me I look like a cleaning lady or a wrestler and I have to admit there is some truth to it.  In the end it’s not a big issue though as I am planning to wear it to work layered under a blazer or a jumper. In a future version I might play with the shape of the armholes a little bit to give it a more modern look. The overall fit is actually pretty good. There are some issues with wrinkles at the shoulder seams and I might lower the armholes slightly in the future but these are just minor issues. The bust darts and fisheye darts in the back give it a slightly fitted shape. Thanks to the split hem there is enough room around the hips, which is great. I love the look of a split hem, so I might add this detail to more tops in the future.

Overall this project was a great start into the sewing year 2016. My next project will probably be something made from the Japanese fabric that arrived today. It was my first time ordering from Miss Matatabi and I am in love with the pieces. Beautiful fabric is alway the best inspiration!

Liberty Blouse_12