Kwik Sew Turtleneck

turtleneck_01

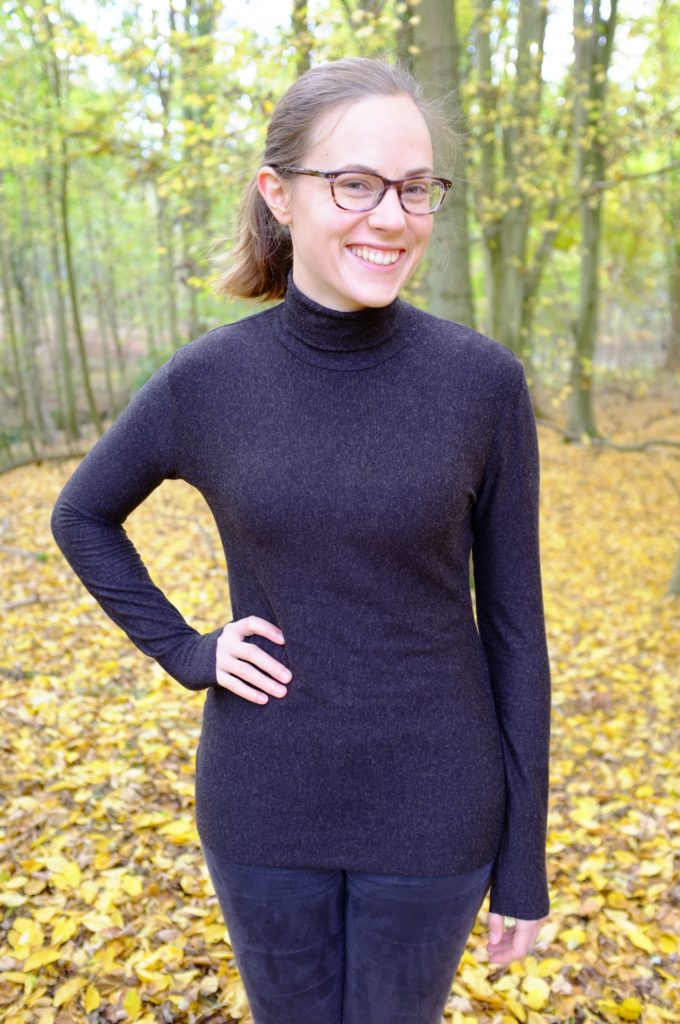
After we attended the Sewing Weekender together, Lucy of SewEssential reached out to me and asked if I wanted to do a sponsored blog post, using a pattern and fabric of my choice from their website. I hadn’t ordered from their online shop before but when I browsed their shop I found the perfect pattern and fabric combo to make the black turtleneck that’s been on my sewing list for a while.

I own the Papercut Rise and Fall turtleneck pattern and while I like the turtleneck I made from it, the dropped shoulders and the loose fit don’t make it that great for layering. For this version I wanted something more form-fitting, which I could wear tucked into skirts or under dresses (I’m obsessed with that look lately, I just need to sew the perfect slip dress). The Kwik Sew K4069 pattern from the website fit the bill perfectly. If you want get yourself a copy or if you want to try another Kwik Sew pattern (SewEssential has a wide selection), all Kwik Sew patterns on the website are currently half price!

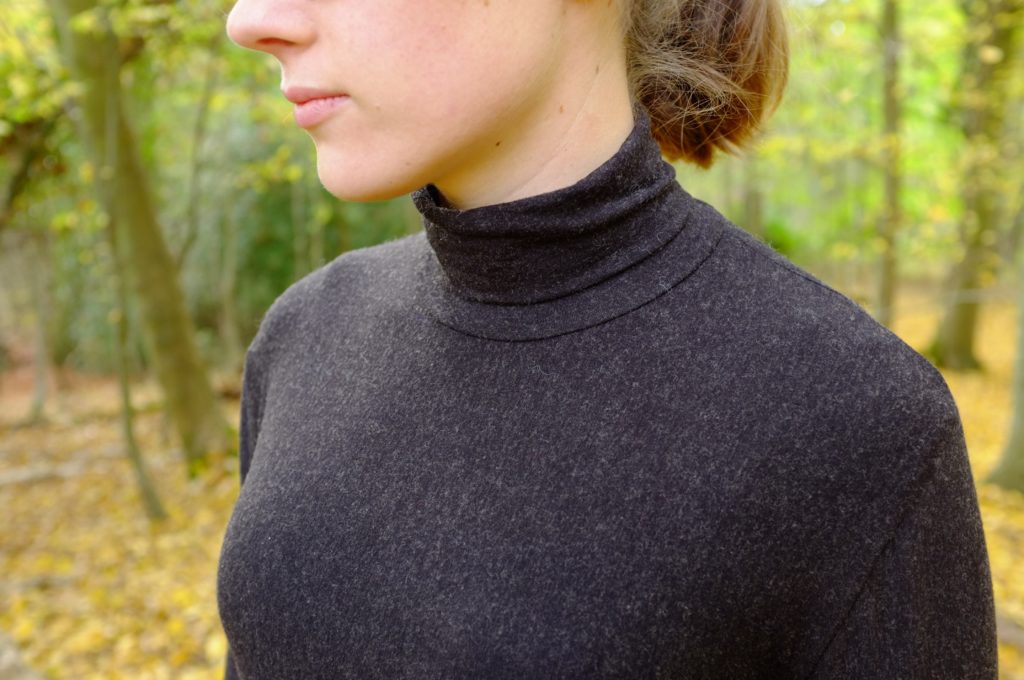
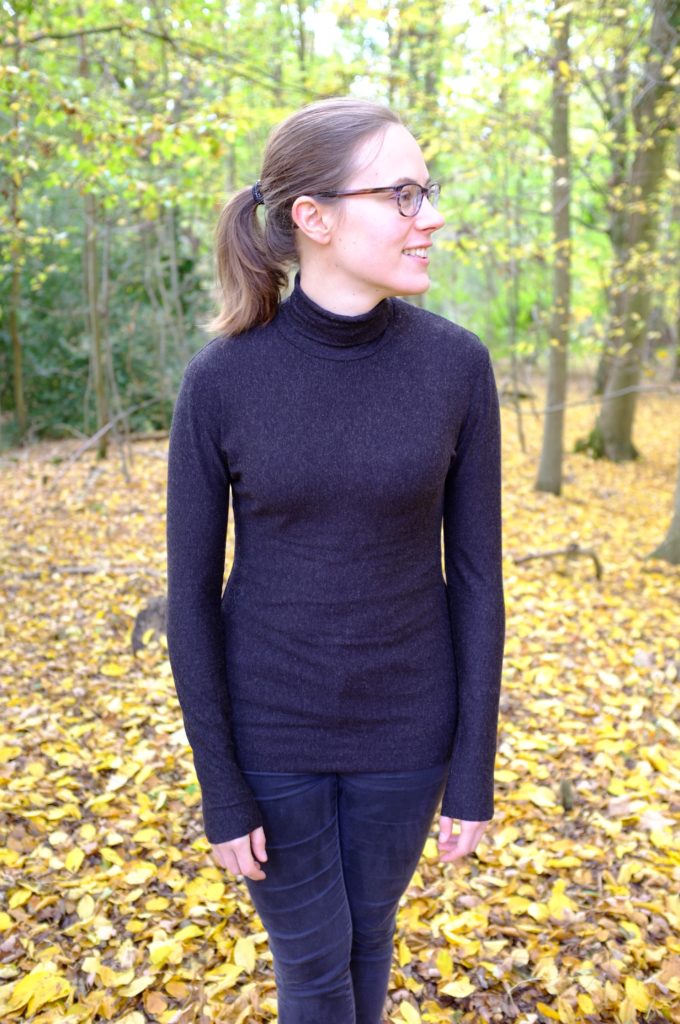
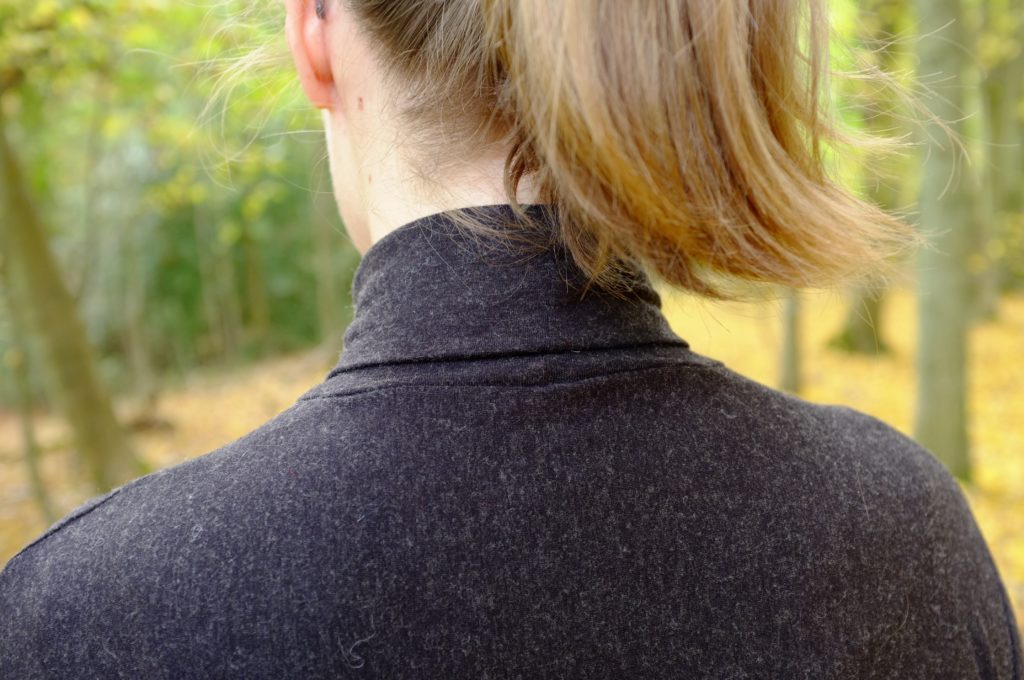
For maximum warmth I decided to pair the pattern with this John Kaldor Wool Mix Jersey in black. When the fabric arrived I was quite impressed with the quality. Due to the marl structure the colour is more a charcoal than a pure black, but it has a lovely weight and is very soft. I am quite sensitive when it comes to wool against my skin, but I have no problems wearing this. Before cutting into it I put it in the washing machine using the wool setting at 30 degrees to be able to machine-wash it in the future.

So far so good, then the drama began. Do you also sometime wonder, why you are able to finish a complete pair of jeans without a hiccup and then you sew the easiest thing in the world and everything goes wrong, making you feel like you’re the biggest sewing amateur in the world. No? Just me?

To be fair, it wasn’t all my fault. It did however start with a major mistake on my part. I started laying out the pattern pieces and had already cut out the front piece, when I realised I had cut it with the biggest stretch vertically and not sideways as the pattern specified. With the knit marl structure this is actually visible as the marl “stripes” are running vertically. (This is why you should never cut out fabric on a Friday evening after a long week of work!) Unfortunately I didn’t have enough fabric to cut that piece the other way around, so I forged ahead cutting all the pieces sideways, hoping that the vertical stretch would be enough for the negative ease of the pattern.

The next day I compared the pieces with an existing jersey top and it looked like there was plenty of room even with the limited amount of stretch. This however, should have made me suspicious. Where was the negative ease the pattern was talking about? Instead I assembled the bodice according to instructions, which meant that I could only properly check the fit after sewing up the final side seam for bodice and sleeves. I put it on and it was massive! Based on the size chart I had cut a size M. Unfortunately the pattern doesn’t include finished measurements, to double-check the sizing and in the end the turtleneck was too big, in particular the sleeves. Instead of taking the whole thing apart again to make it fit, I just decided to take in the side/sleeve seams by 4 cm. Fearing that there would be a similar problem for the turtleneck, I tried it on its own first, and as expected I had to take it in significantly (5 cm to be exact). Before attaching it to the bodice I made sure that it would still fit over my head. The smaller circumference of the tube meant, that it wouldn’t fit properly in the neck hole anymore. This I solved by taking in the shoulder seams slightly and stretching the neck tube while inserting it.

On top of these cutting and fitting issues my machine also decided to eat up the fabric twice. I used a stretch stitch for assembling it (before finishing the seams with my overlock) and the machine just didn’t like the back stitch in combination with the fabric. I didn’t manage to rip it off my machine without cutting small holes. Luckily it was in places where I could just re-sew the seam again, and now it’s not noticeable anymore.

After all the drama, I decided to not hem the sleeves and the bottom edge. I wanted to preserve the length and I haven’t mastered the perfect finishing technique for stretch yet on my normal sewing machine. Also I don’t really mind raw hems.

Despite all the issues I had, I have to say I love the finished turtleneck. The fit is now the one I was aiming for originally. The only issue are the shoulders, as they are slightly too wide, due to the fact that I started with a size too big for me. The pattern in theory follows the figure and once sewn in the right size it is very flattering. Thanks to it’s wool content the fabric is really warm and this turtleneck is the perfect layer for the cold November nights that we are having. The first outing was Bonfire Night, and it did a great job in keeping me warm.

P.S.: Everyone who reads Elena’s blog Randomly Happy, might realise they have seen this project before. It turns out that we both chose the exact same fabric and pattern for our collaboration with SewEssential. It was completely independent though and just a funny coincidence. She made a more relaxed version, if you haven’t seen it yet go check her’s out!

turtleneck_02

turtleneck_03

turtleneck_04 turtleneck_05

turtleneck_07 turtleneck_06
Note: The fabric and the pattern in this post were provided to me by SewEssential, in exchange for a blog post review, all opinions; however, are my own.
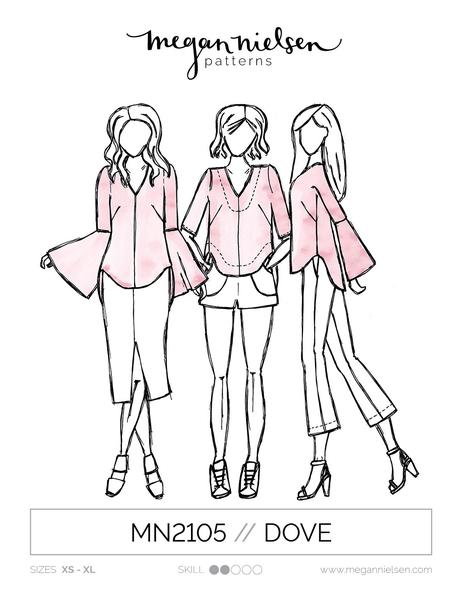
Dove Blouse

dove_13One thing that I love about the sewing community is how supportive people are of each other. One part of it is the pattern testing for indie pattern designers. I’ve been wanting to do some pattern testing for a while, but with my busy life it’s often impossible for me to meet the tight deadlines for pattern testing. When I was given the opportunity to test out Megan Nielsen’s newest pattern, the Dove Blouse; however, I made sure to squeeze it in. I’ve been following Megan for ages, and really loved the style of the blouse, so I just had to say yes.

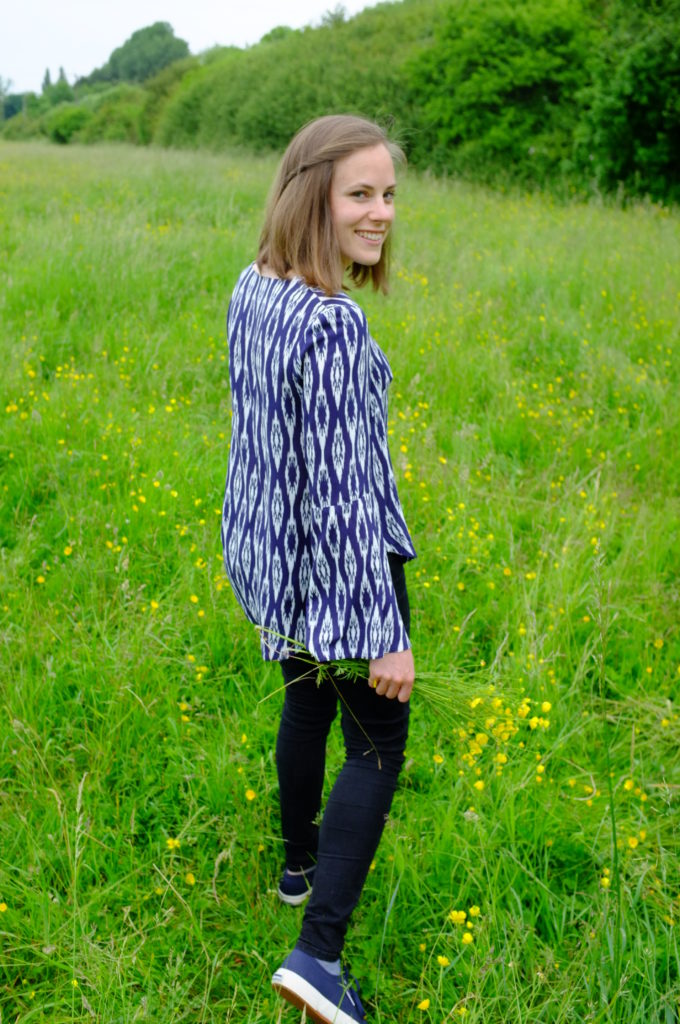
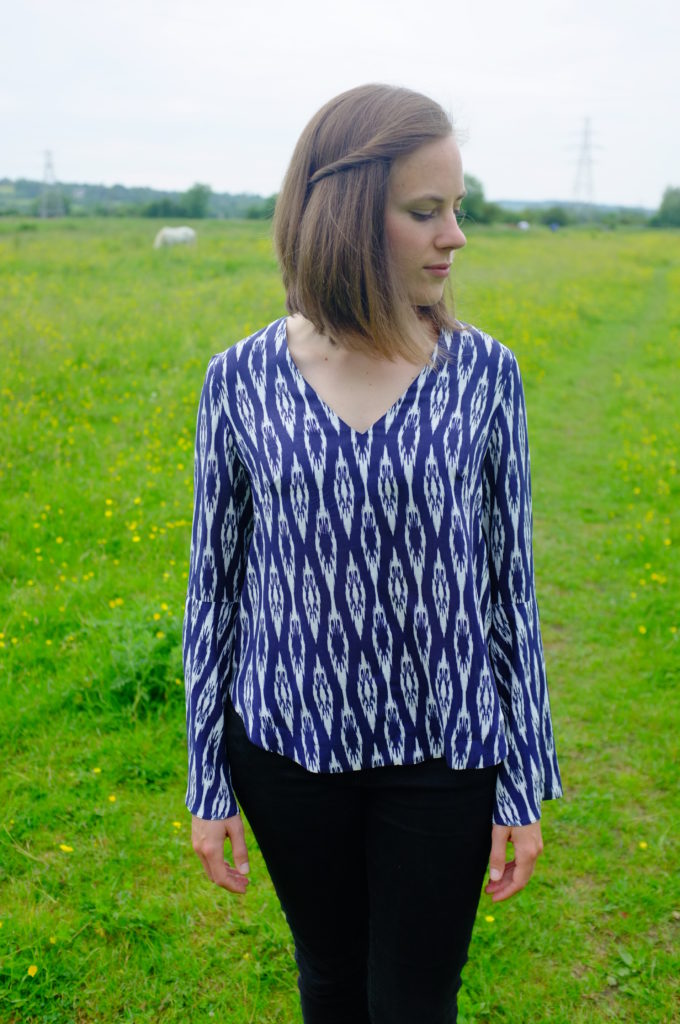
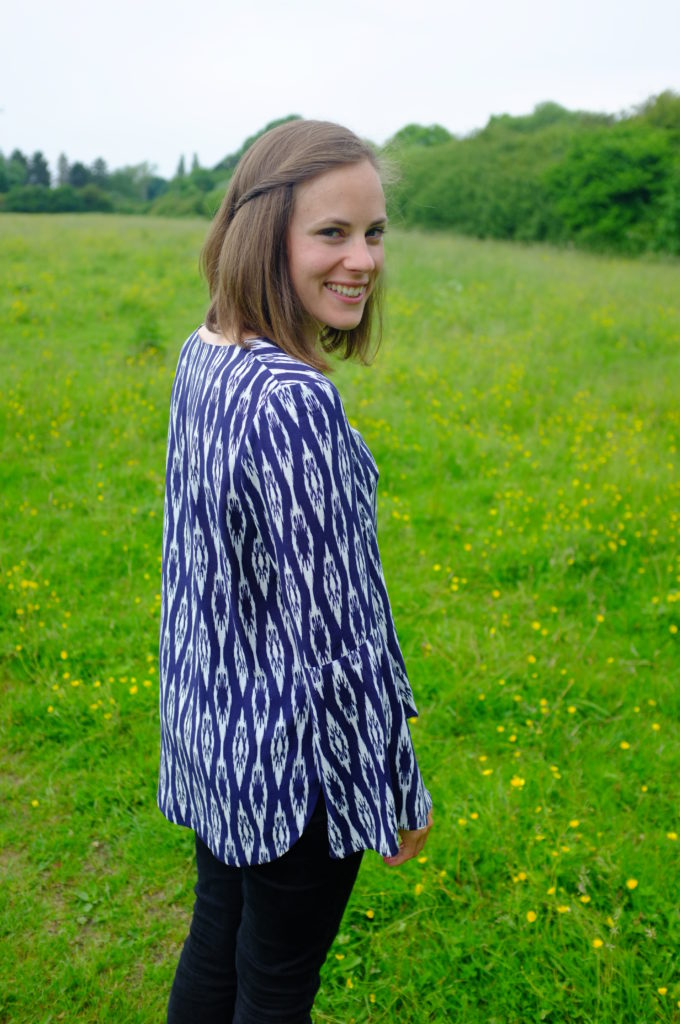
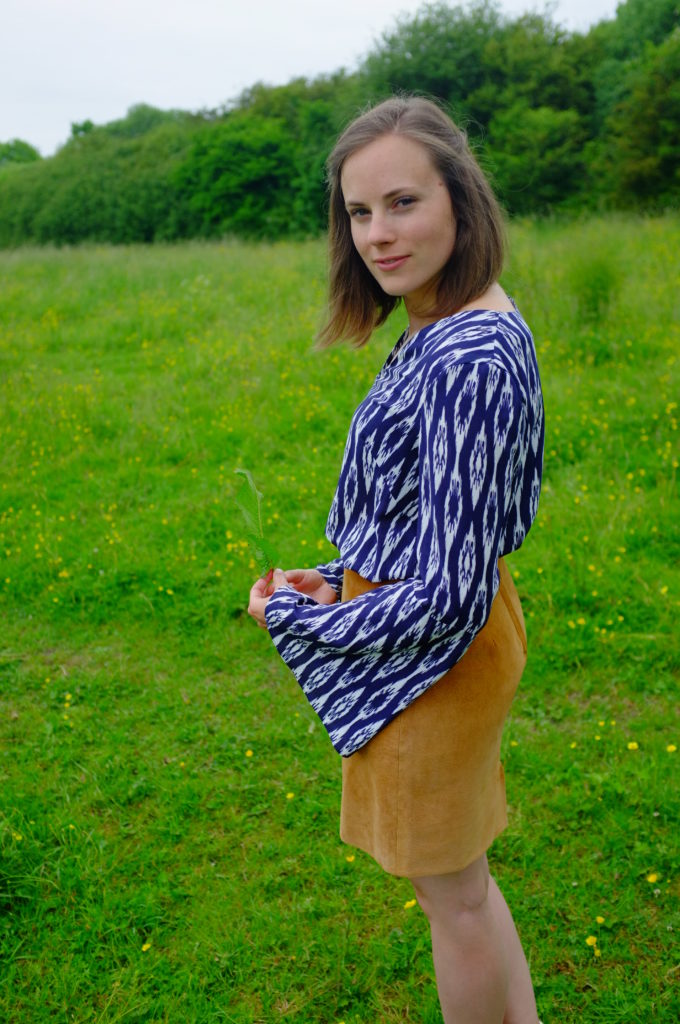
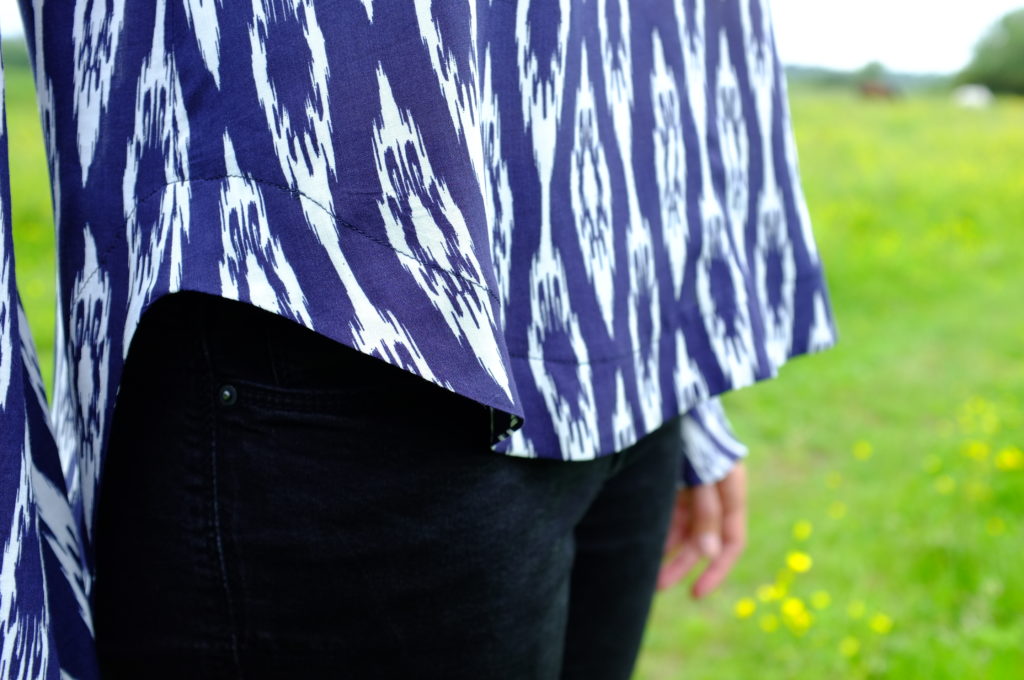
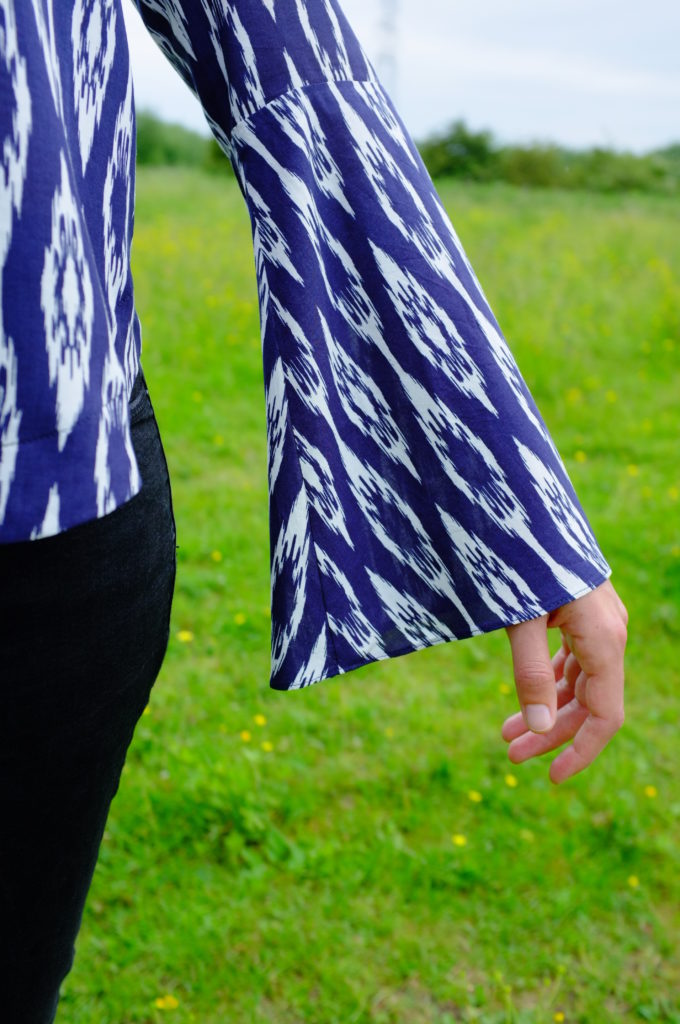
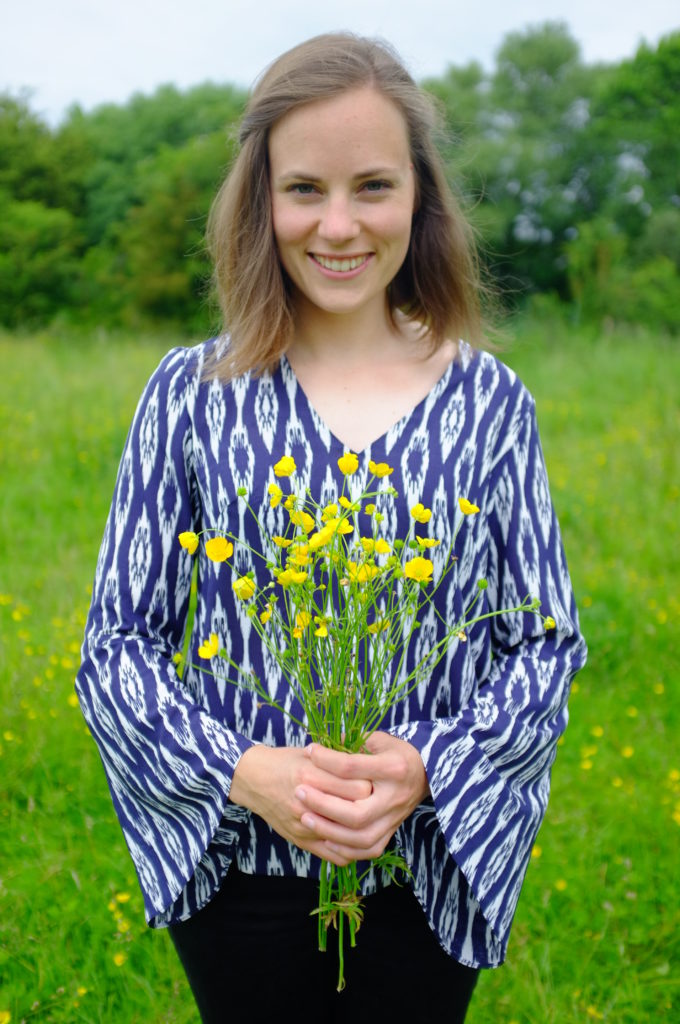
The Dove pattern is a v-neck blouse with lot’s of interesting details, such as bell/sleeves, top-stitched neck facings and a curved high-low hem. Some of these details were out of my comfort zone, but for the pattern testing I decided to sew it up by the book. For the sleeves I went for Version 2, the flared sleeves. Even though I doubted that I would wear flared sleeves a lot (they seem quite impractical, and I’m all for practical clothing), I wanted to try this sleeve shape and figured I could still hack them off if I didn’t like them.

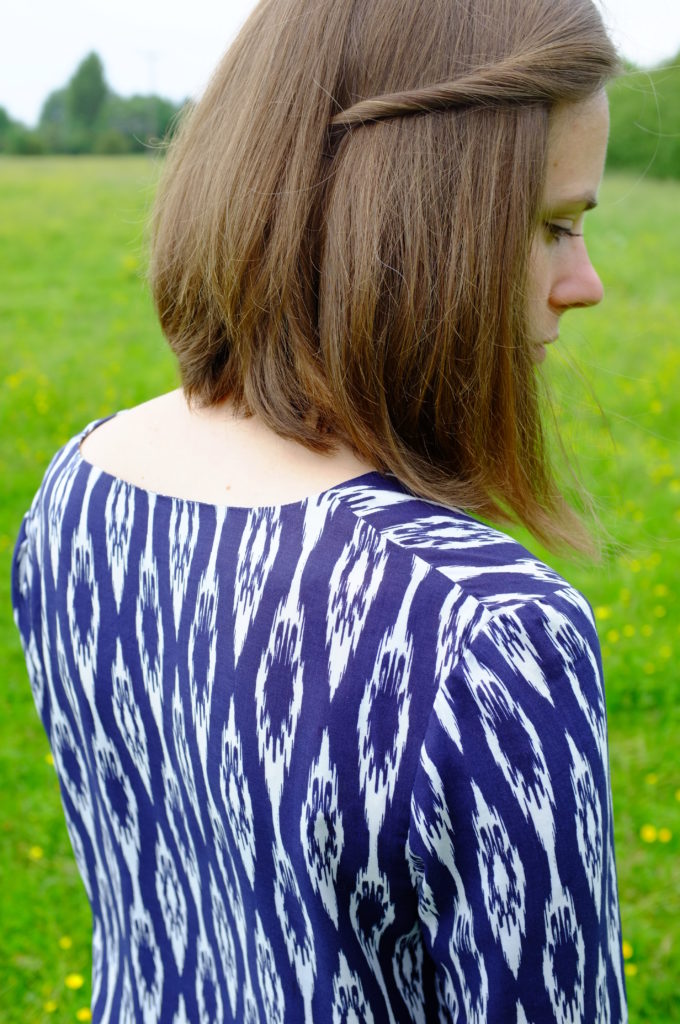
dove_04In my small fabric stash, I didn’t have any suitable fabric but luckily a work trip brought me to Copenhagen. There I visited Stoff & Stil, a shop that I had wanted to visit for ages. They have a lovely selection of affordable fabrics. I wanted something light and floaty and went for this Inka Print Viscose. It’s a really lovely fabric, which feels great against the skin and doesn’t wrinkle much. I definitely should sew more with viscose!

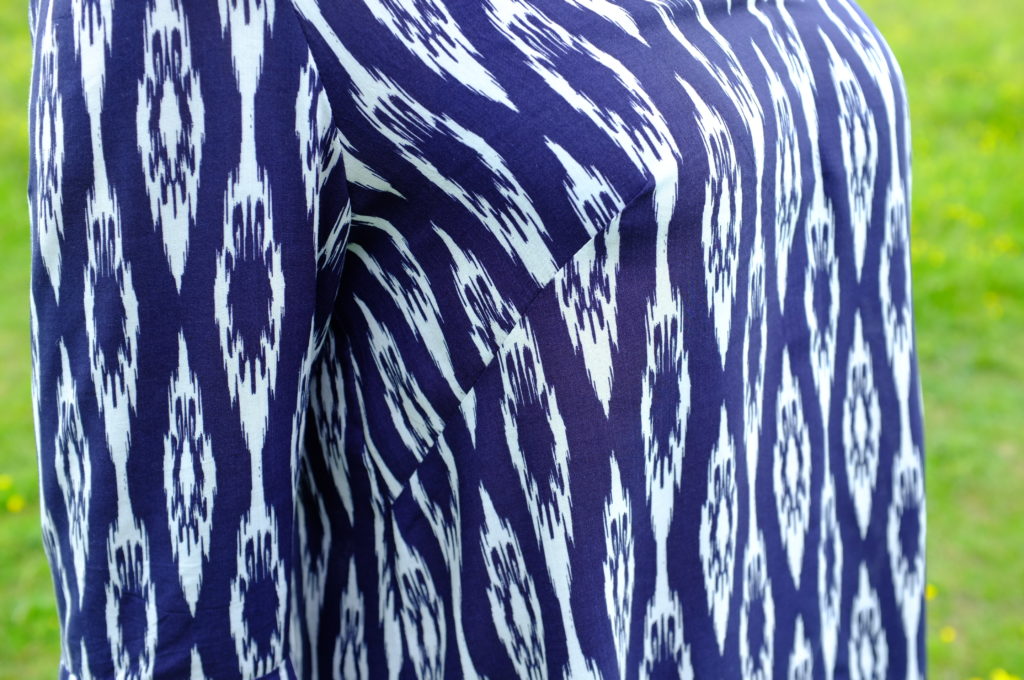
The construction of the blouse was very straight-forward. The instructions are clear and very detailed. The only construction issue I had was caused by a cutting error on my part. I didn’t cut out the neck facing properly (was confused by a line parallel to the centre front line) and ended up with a facing that was slightly wider and longer than the neck opening. I realised this too late and had to correct it by shortening the facing at the shoulders. It worked out ok, but it means that the facing doesn’t have the exact shape of the opening and doesn’t sit as flat as it could. Apart from that, sewing the blouse was a breeze and I really enjoyed the construction, thanks to some new-to-me techniques: french darts, hem facings, and tiny rolled hems for the sleeves. The seams are all finished with my overlock. As the blouse has a centre seam down the front, I also took the opportunity to improve my pattern matching, which turned out really well.

In terms of sizing, I chose to make a size S. Due to the curves of the hem, I decided I could get away with not grading out to an M at the hip, which turned out to be the right choice, as I find I have plenty of room. Through the shoulders and the bust, the fit is spot on. The v-neck on my small bust, is borderline too low for my taste, so I might raise it a little bit next time. This issue; however, is not visible in these photos as the neck is dragged to the back slightly during wear. I suspect this issue is caused by the slippery fabric and the fact that the back is a lot longer than the front. In the published version of the blouse, the front is lengthened by 2.5 cm, so this might not be an issue anymore.

dove_01dove_03dove_04dove_05dove_06dove_07dove_08dove_09So how do I like the Dove?

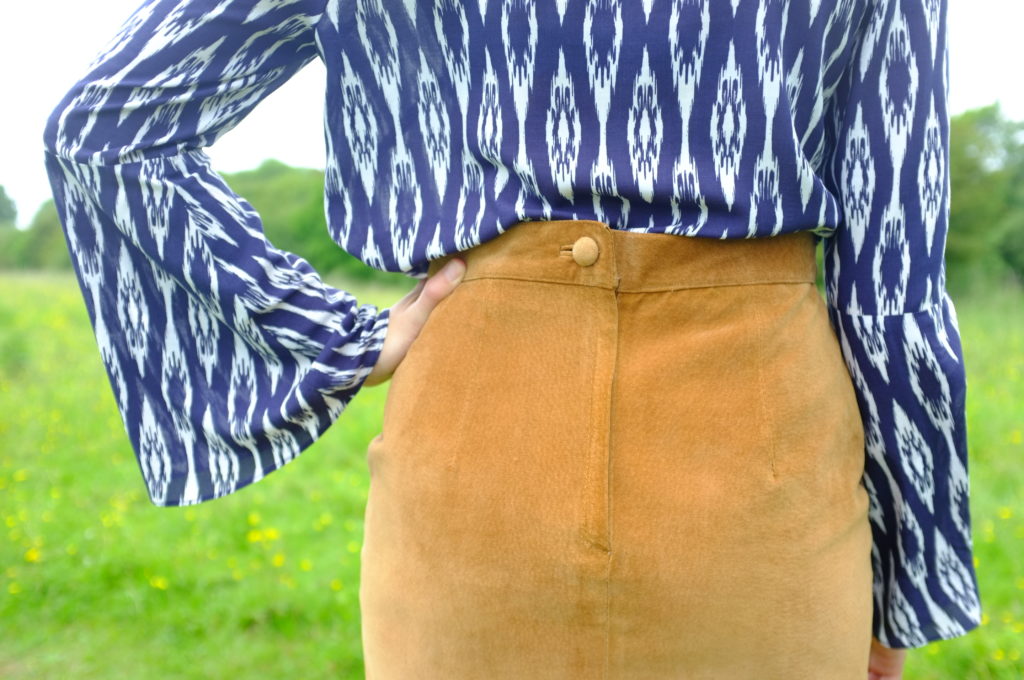
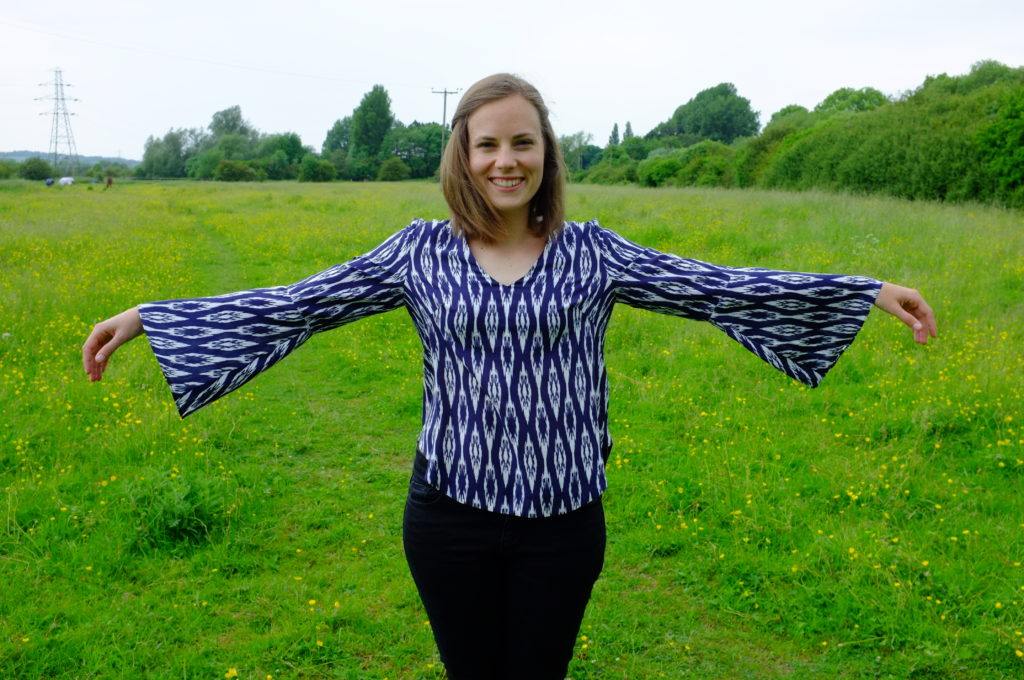
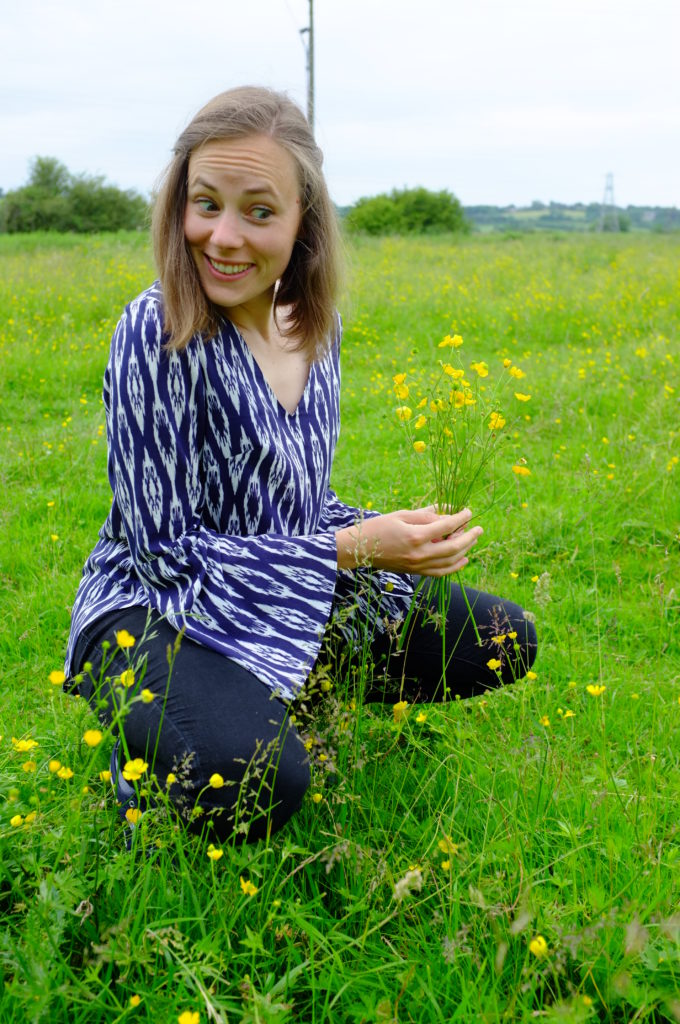
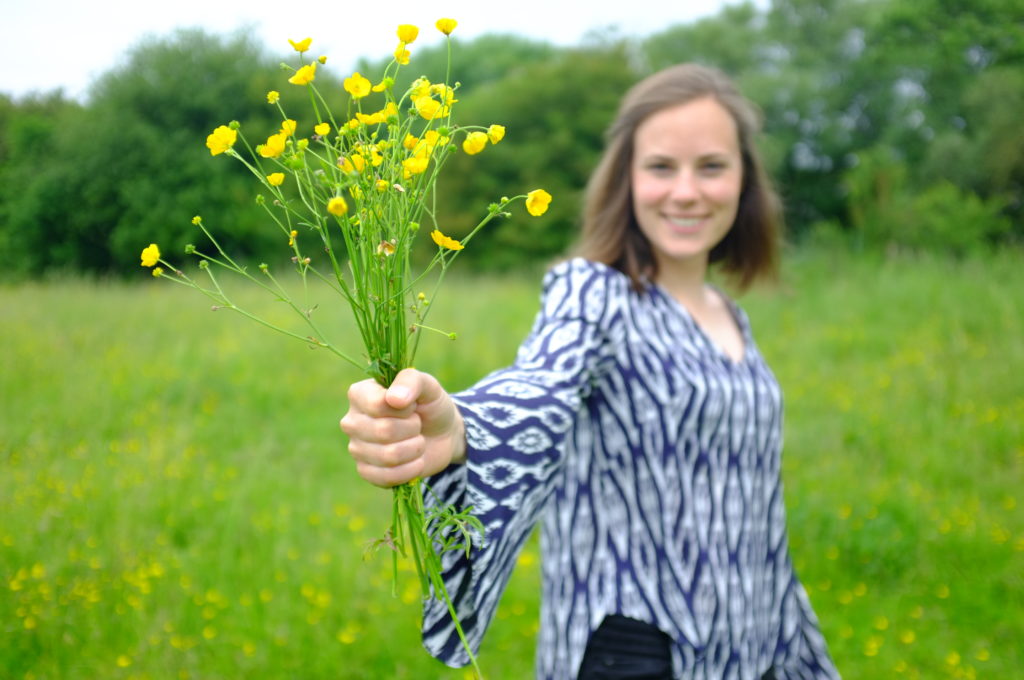
This is definitely a statement blouse, something I didn’t have in my wardrobe before. The sleeves are quite unusual and do sometimes get in the way, but they work well on a night out (I wore this to a hen do) or can be tamed under a cardigan. My favourite feature is the faced hem. Even though the difference between the front and the back is a tad too extreme for my taste (as mentioned, this has been changed in the final patterns), I absolutely love the shape of the hem. Thanks to the sleeves the blouse feels very seventies, which immediately inspired me to pair it with this vintage leather skirt and hippie hair (as hippie as I can go with my hair). We had lot’s of fun shooting this, me running through the Hinksey fields, picking flowers. While we were completely alone for most of the time, suddenly a group of monks hiked past us, who must have thought we were crazy. Oh the joys of taking blog pictures! Having so much fun, we of course ended up with a lot of weird photos of this blouse, which my boyfriend calls the wizard blouse. Enjoy!

dove_10dove_11dove_12dove_14dove_15

Merken

Merken

High neck tops

High neck top_01aHigh neck top_01b Sometimes you see a new trend and first you don’t really like it, but then you see it all the time and slowly it starts growing on you. I had this experience with the high-neck cut-away-shoulders neckline. I thought it looked to sporty, but the more I kept seeing it on other people, the more I liked it. I still wasn’t sure if it would suit me, but the beauty of sewing is that it allows you to easily try out new trends and explore new shapes and silhouettes.

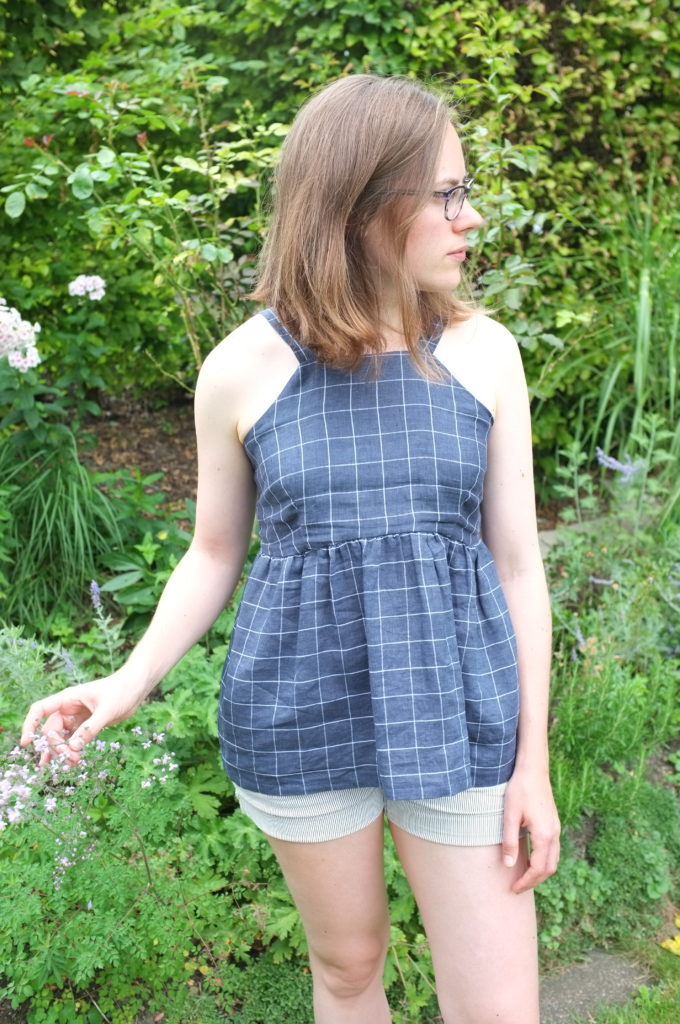
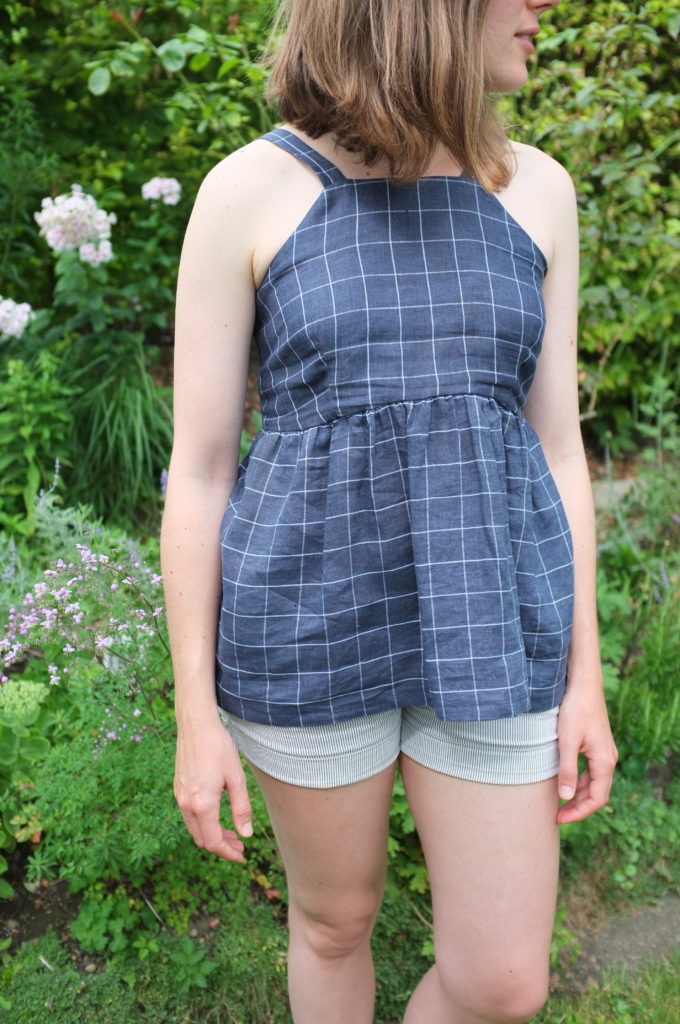
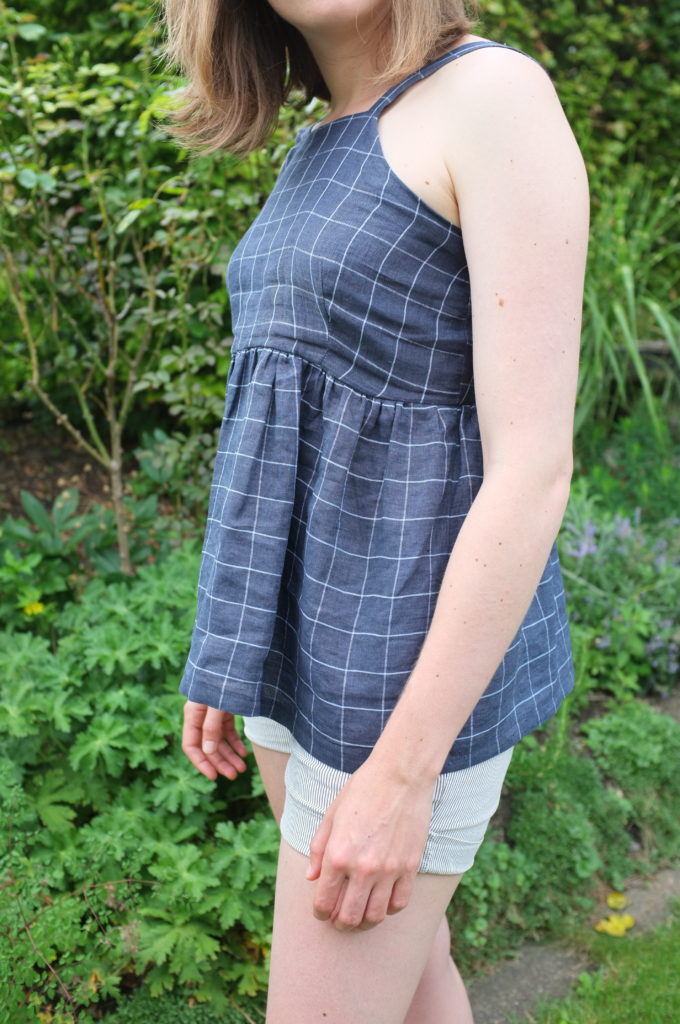
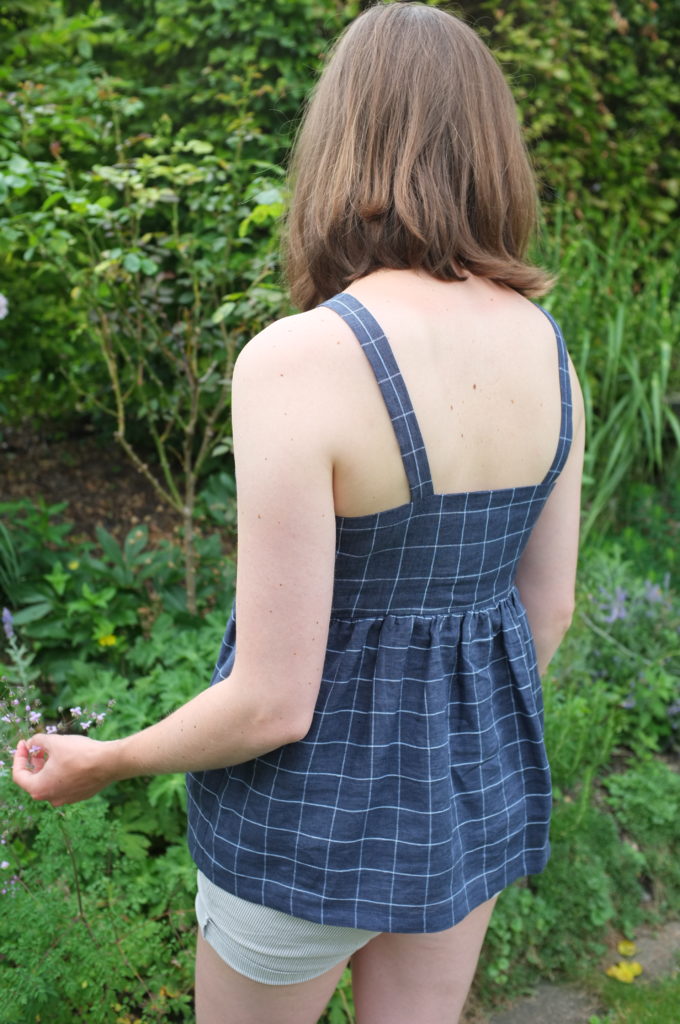
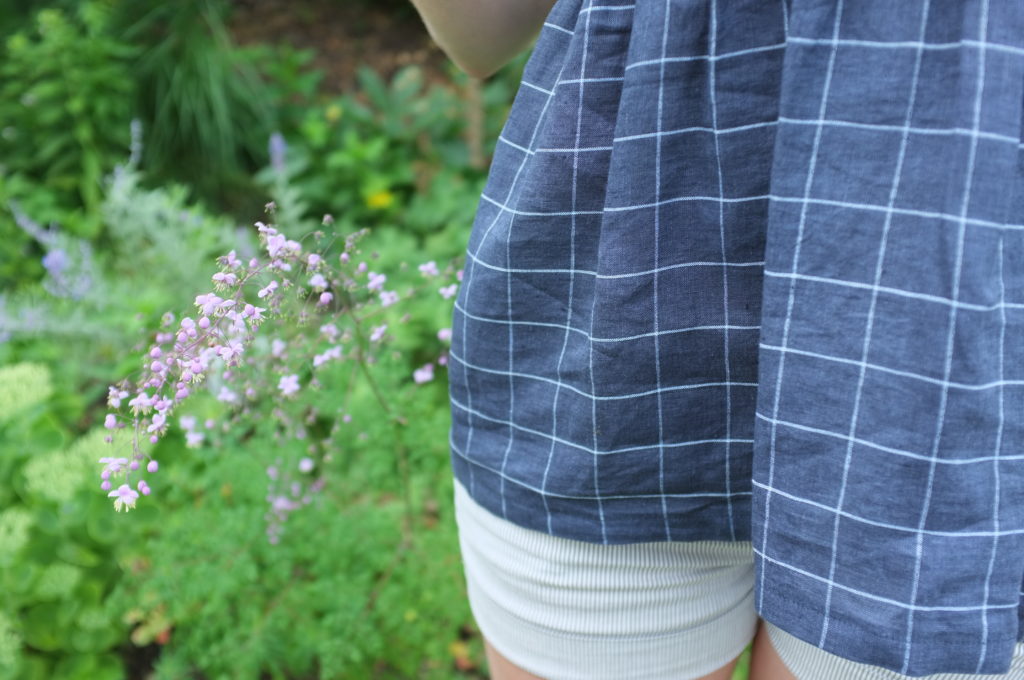
High neck top_02High neck top_03High neck top_04High neck top_05High neck top_06This first top was inspired by the Tessuti Annie dress. When it came out, I immediately dismissed it, as not being my style. But when I saw so many beautiful versions cropping up online (e.g. here, here and here) I started to like the style more and more. Not knowing if I would like the look on myself, I didn’t want to spend a lot of money on a new pattern, so I looked through my stash and found a dress with a similar neckline in the Belgian Veritas magazine that I had picked up in Brussels. I decided to make a top so that in case it went wrong, not too much fabric would be wasted. I combined the top of the dress with a simple gathered panel sitting under the bust (another silouhette I never tried before). I used a navy blue and white windowpane mystery fabric (possibly a mixture of linen and polyester) that I picked up for cheap and had already used for another experiment trying out this neckline. That first try somehow went horribly wrong, an unflattering shape and stretched out armholes, and has already left my closet. So I knew the fabric wasn’t the best but I wanted to make the shape and the fabric work. I had been on the lookout for a cool windowpane print for a while now. I was really happy when I found this, even though after by boyfriend mentioned it, I can’t unsee how much it looks like a tea towel. Oh well…

The pattern in theory would have been super easy. The body is self lined, two darts, two straps, some gathering and that’s it. Shouldn’t be too hard right? Well, it was hard… unexpectedly hard and I nearly gave up. I just didn’t feel the fabric and the shape while I was working on it. So what went wrong? When I first tried it on, the straps at the neck were way too close together and angled outwards to fit around my neck (they still do a little bit). Lazy as I am, I then decided to just take off a piece of the top part, forgetting that I still had to move out the straps, then the arm cycle was gaping and on top of all, the top bit was too small. I’m not sure what went wrong, I thought I had chosen a bigger size to account for leaving off the zipper, but still it was way too small. I let out the seam allowance as much as possible, but still can only get it over my had with a wiggle dance. I really had to force myself to not throw it all in a corner, so by the time I attached the gathered panel, I just didn’t have the patience anymore for even gathers, and just did a quick and dirty job.

So what about the end result? I have to say, that I do like the neckline, and could see myself making maybe a casual dress with it. I am not sure about the gathers under the bust though. It could look quite cute, but I always feel like I’m pregnant when I wear something like this. Due to the many changes that I made to the pattern, the sewing itself is not the neatest, and there is some weird pulling where the facing and the shell are not exactly the same size. All in all, I think this experiment fulfilled it’s purpose of helping me figure out how flattering such a neckline would be on me. It’s also wearable, and looks especially good under a loose blazer, that tames the gathers a little bit. Next time, though, I might invest in a good pattern, to avoid having to fight so much to get the fit right.

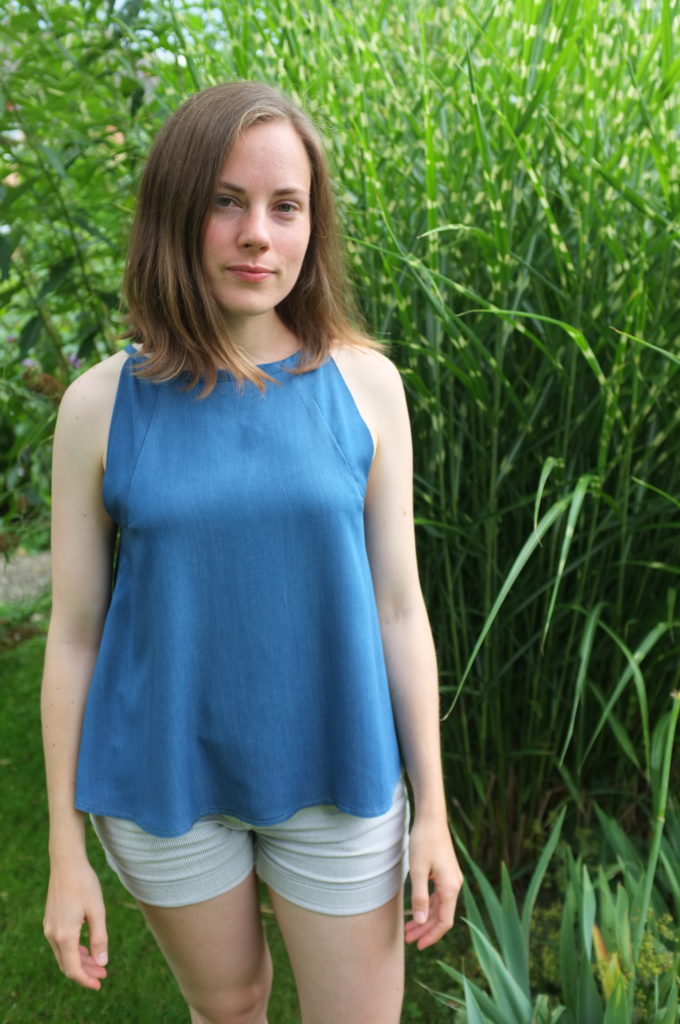
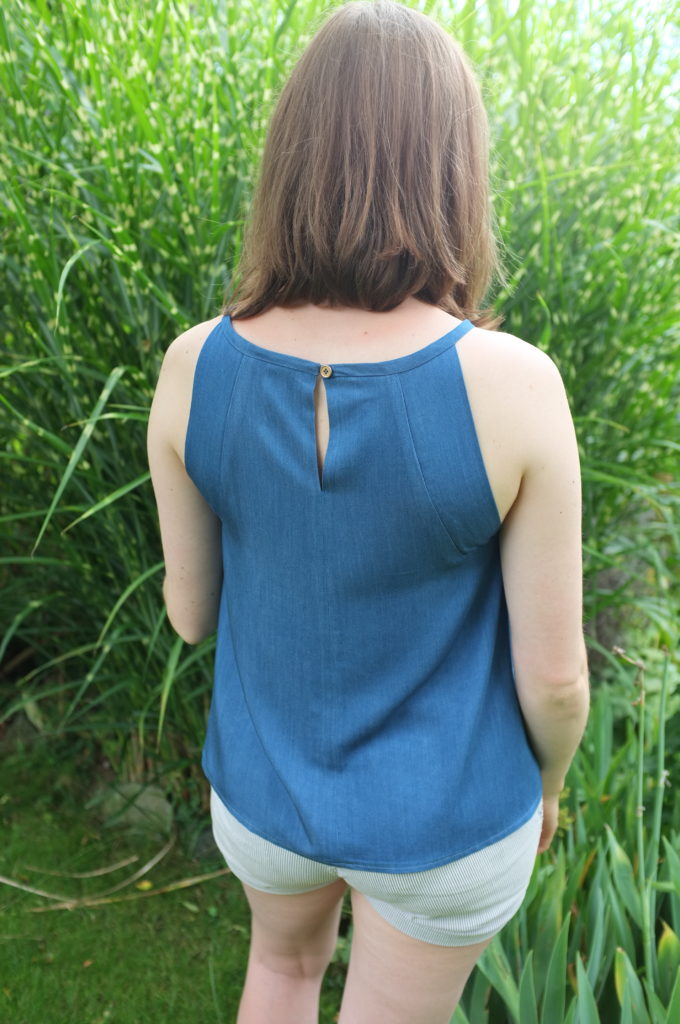
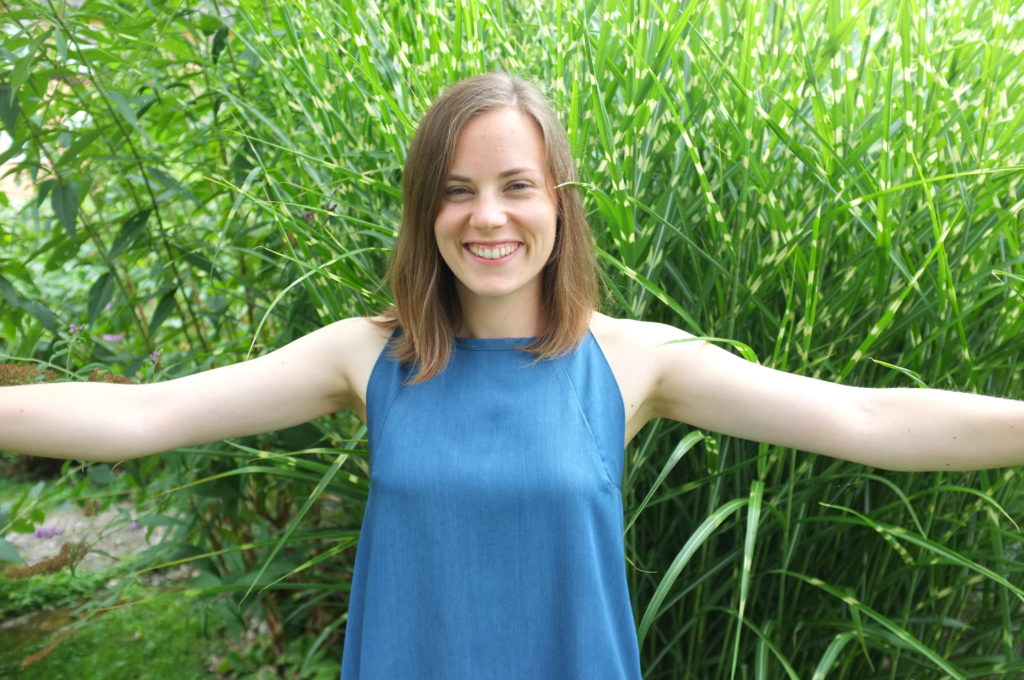
High neck top_07High neck top_08High neck top_09The next top I made a couple of months later. Originally I had bought this blue lyocell  to make some summery loose trousers. Then I found a pair of navy linen trousers at the charity shop, and this gap in my wardrobe was suddenly filled. I then decided to make a top from this gorgeous material (I decided I should only live in lyocell and linen from now on). For a pattern I chose a top from the nähtrends magazine, the German version of the Spanish Patrones. The top has a cute bias bound neckline and a keyhole detail in the back. It’s designed for two layers of sheer fabric, but as the lyocell is not see-through, I omitted the second layer. I had to change some steps of the construction to do that, but it wasn’t too difficult to figure out. I serged the seams and finished the neckline by hand to give it a clean finish. The keyhole is closed with a copper button and a simple thread chain (finally learned how to do that). In terms of fit, the only change I had to make was to take in the side seams by 3cm! on each side. There was some serious side boob action going on. Still the armhole is relatively low and some of the bra shows, but I don’t mind it too much. Maybe I should use that as an excuse to sew a new cute bra.

Overall, I love how this top turned out. The neckline looks cute and it’s so lovely to wear thanks to the trapeze cut and the floaty fabric. I especially love the inserts at the armholes. It’s such a nice design detail, and the folded-over fabric gives the garment such a beautiful finish. If I sew this again, I would shorten the shoulder straps a little bit as the key hole is not held up properly. I also would raise the armhole slightly, just to make it more modest. Nevertheless, I already have gotten a lot of wear out of it, especially last week when I spent some summery days in Germany.

So what’s the conclusion from this experiment with raised necklines? I decided that I definitely like this neckline on me. I think it’s very flattering on a small chested person like me. I’m already dreaming up a short jumpsuit with a gathered high neck. Let’s see if I will manage to fit that into my sewing plan for this summer. If not, let’s just hope it’s still on trend next season.

High neck top_11

Merken

Merken