Reversible Linen Wrap Dress

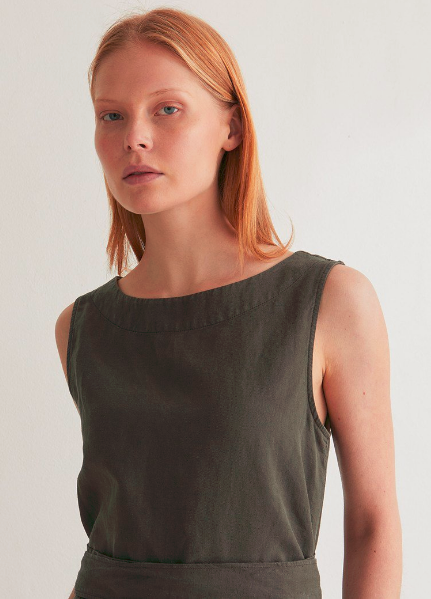
The idea for this basically started with this black linen (a remnant from my favourite fabric shop in my home town) and I immediately knew I wanted to make a summery little dress with a twist. One of my resolutions for my sewing is to add more interesting details to my garments to take advantage of the fact that I can make whatever I want. I was coming back to the idea of a reversible dress but wasn’t sure in what shape. A strappy dress, something with sleeves? Somehow there are not a lot of reversible dress patterns out there, back to front that is. Since I was keen on doing some drafting I decided to develop something myself and finally settled on a style when I came across this dress from TOAST:

Source: TOAST

While this dress is not intended to be reversible, it had the perfect features, a wrap v-neck and a boat neck. So what better pattern to choose as a base than the Allie Olson Highlands Wrap Dress? Since I have made it twice before I knew I liked the fit of the wrap front. What then followed was a not-so-scientific approach to amending the pattern. First, I tried on my orange linen wrap dress with the v-neck to the back. Sure the neck was way too high but it gave me a fairly good idea of how much I had to lower the neckline, where to move the shoulder seam and how much width I needed to add at the side seam.

Once I had settled on the major changes needed, I cut out the bodice pieces ignoring any darts. In the original pattern the front bodice pieces don’t have any waist seam so I cut them off at the same level has the back piece and just worked on fitting the bodice. Through a lot of try-ons, playing around with the side seam and the armscye, I managed to get a surprisingly good fit. It definitely helps to not have a big bust otherwise the fitting would have been more problematic.

Happy with the bodice, I added a waistband, mainly because the bodice ended too high. Then I tested how it would look with an elastic threaded all around through the waistband. While the elastic waistband is one of my favourite features on the original dress, it didn’t work in this case due to the bulk of the wrap. So I scrapped that idea and decided to only use ties for waist definition. For the skirt I wanted to try a new shape for me. Instead of the straight skirt of the Highlands Wrap Dress, I drafted a slight A-line skirt, similar to the inspiration dress. To ensure that I was able to tie them in the front or the back, regardless of which way around I was wearing the dress, I made the ties super long. The dress is closed with two teal buttons, one at each side, which I found at a local haberdashery here in Colmar.

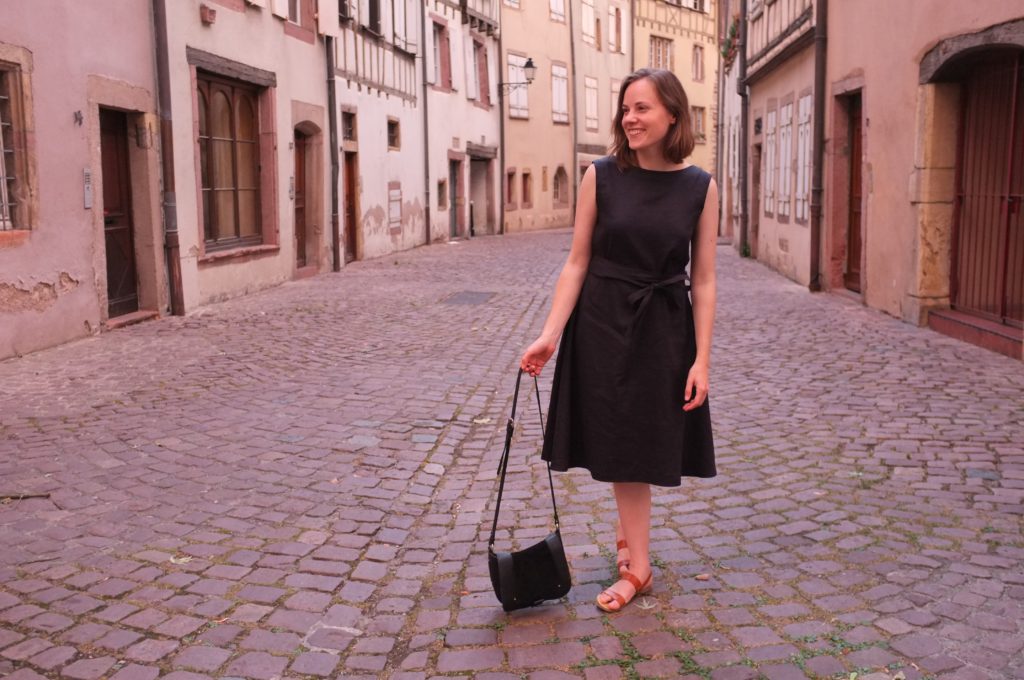
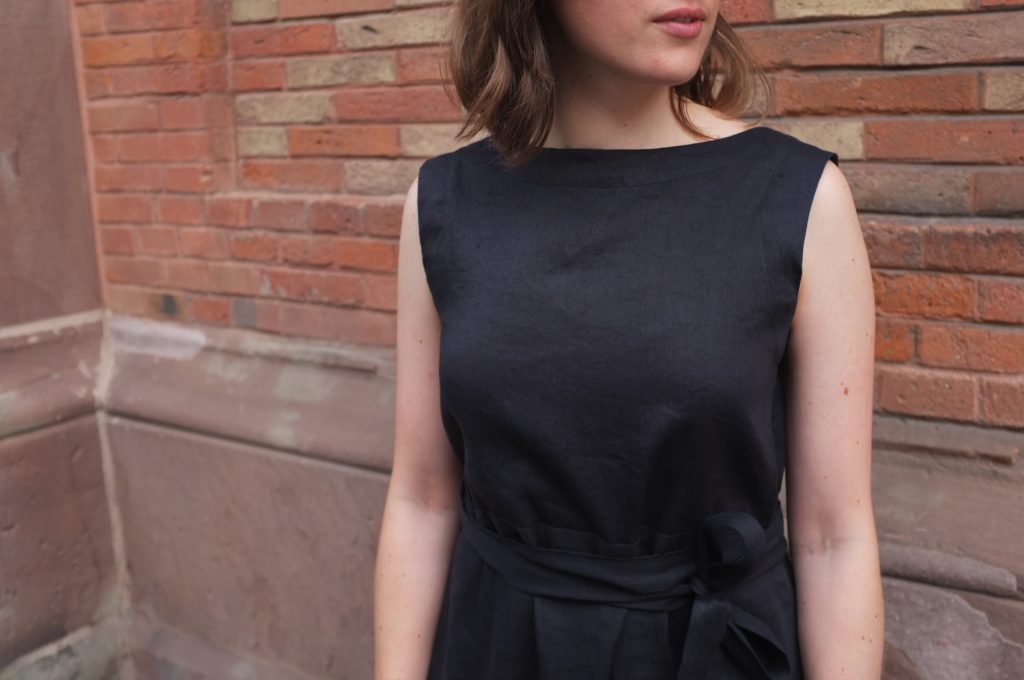
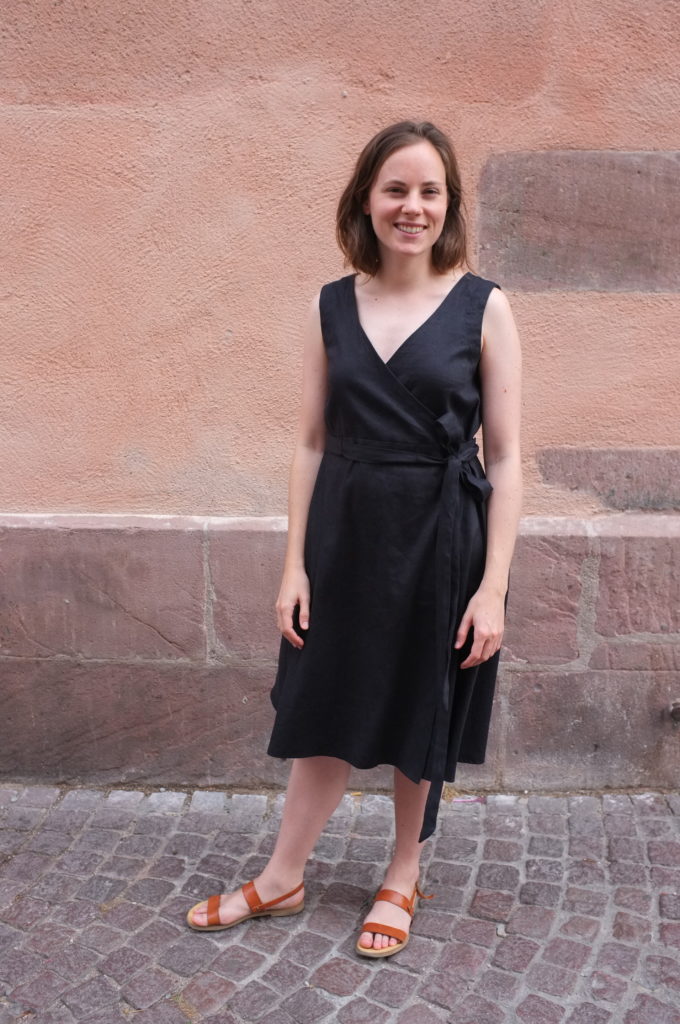
So what about the final dress? I’m really happy with how well it works as a reversible dress. Both sides are completely wearable. The v-neck wrap is slightly lower on this version than the Highlands dress, since I moved the shoulder seam. However, it is still decent worn this way around. My favourite way to wear it is with the boat neck in the front. That way it’s a classic little black dress from the front, with a little bit more interest in the back through the deep v.

If I make this again, the one thing I would change is to remove the waistband and cut bodice and skirt as one piece or lower the waist seam and attach the skirt directly to the bodice. As it is, the waist is a little bit bulky and I have to be careful with how I wrap the ties, so that the waistband doesn’t peek out. All in all though, it was a very successful experiment. I feel quite chic in my (first ever) little black dress. The dress had it’s first outing for a dinner at a Michelin star restaurant here on the wine route a couple of weeks ago (a present for my husband for his 30th from my parents). The photos were taken this week when I wore it for a dinner out, here in Colmar.

Green Highlands Wrap Dress + Some Exciting Changes

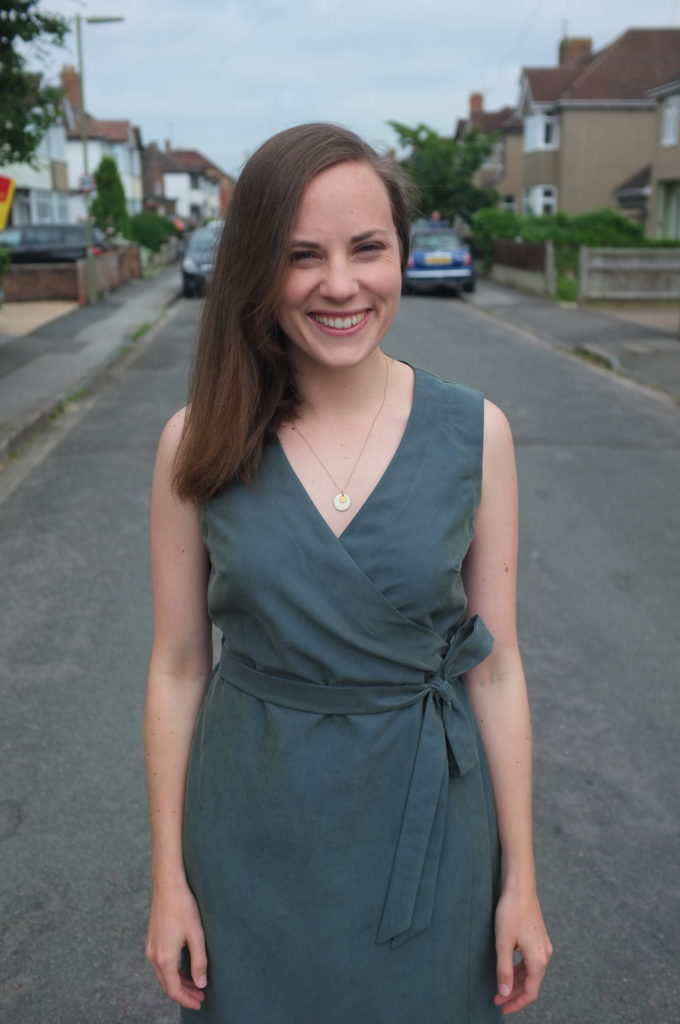
Another wedding, another Highlands Wrap Dress. I love this pattern! It’s the perfect dress for a special occasion, easy to wear but feminine and elegant. This is the second time I have made this pattern (see my first version here). The first one fit like a charm straight off the bat (size 6 for the top and size 10 for the bottom) so the only modification I made was to shorten the skirt. I liked the original length but had to squeeze this out of 2 metres of fabric. The fabric for this version is a bottle green cupro from Rainbow Fabrics (the green seems to be out of stock but there are other lovely colours). It’s a beautiful fabric from green and blue threads, which has a pretty sheen to it. Compared to the linen of my previous version, this fabric was more difficult to manipulate. I struggled to get the armhole facings to lie completely flat and the darts didn’t really want to be pressed. The upside, however, is that this fabric barely wrinkles. The garden pictures were taken after half a day of sitting in church and on the bus, so not bad at all. Fit-wise there is not a big difference to the first one, though the fabric has less give, which means the neckline sits tighter. The wrap sits nice and secure and I didn’t have to keep it close with a safety pin as I had to do for my previous version.

So all in all, another successful addition to my wedding guest wardrobe. I loved wearing this dress on the day, to a beautiful wedding in the Cotswolds.

Now on to the announced changes: this will be my last blog post from the UK. I’m leaving the country tomorrow to join my husband in France for the summer. We’ll be based in Colmar in Alsace for the next 4-5 month. I’ll be sad to leave Oxford and all the great friends we have made in the UK. On the other hand I am very excited to have the summer off and enjoy the beautiful things in life (which will hopefully include a lot of sewing). Let me know if you have any tips for the French sewing scene!

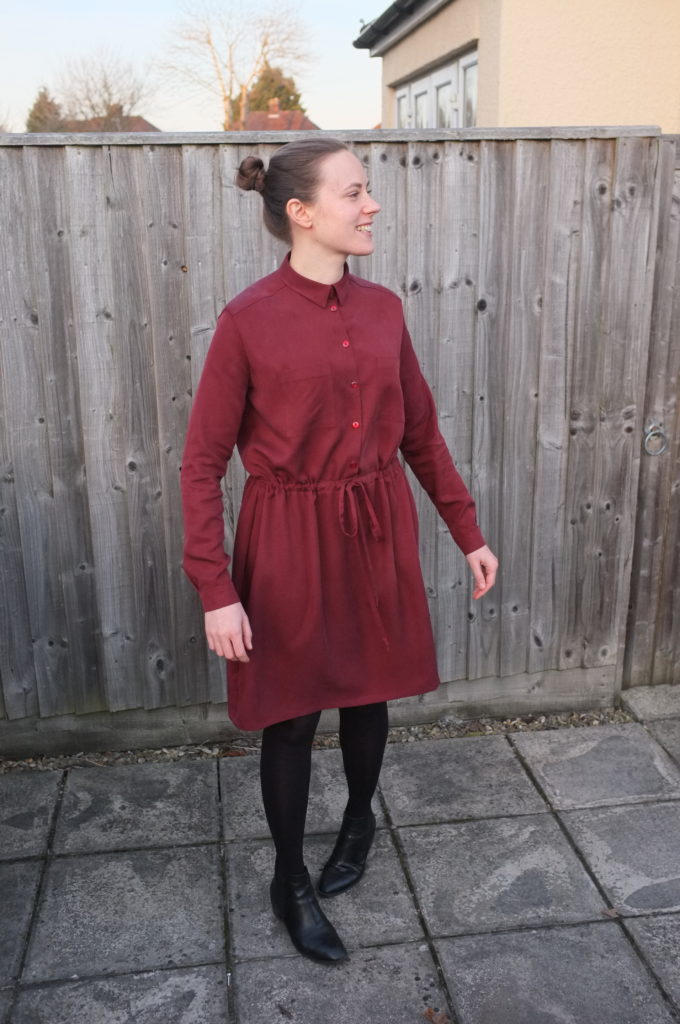
Elsa dress

Another week, another blog post. I’m so excited to show you this dress!

I started this year super motivated and made a list of garments that I wanted to sew (if you watched my Instagram stories recently you might have seen them). This is already the third project to cross off my list. The dress here was one of these projects where once I had started it, I spent every free minute sewing. I worked on it during the week after work. With my husband out of town I came home, had a quick bite to eat and then went straight to my sewing machine for the rest of the evening.

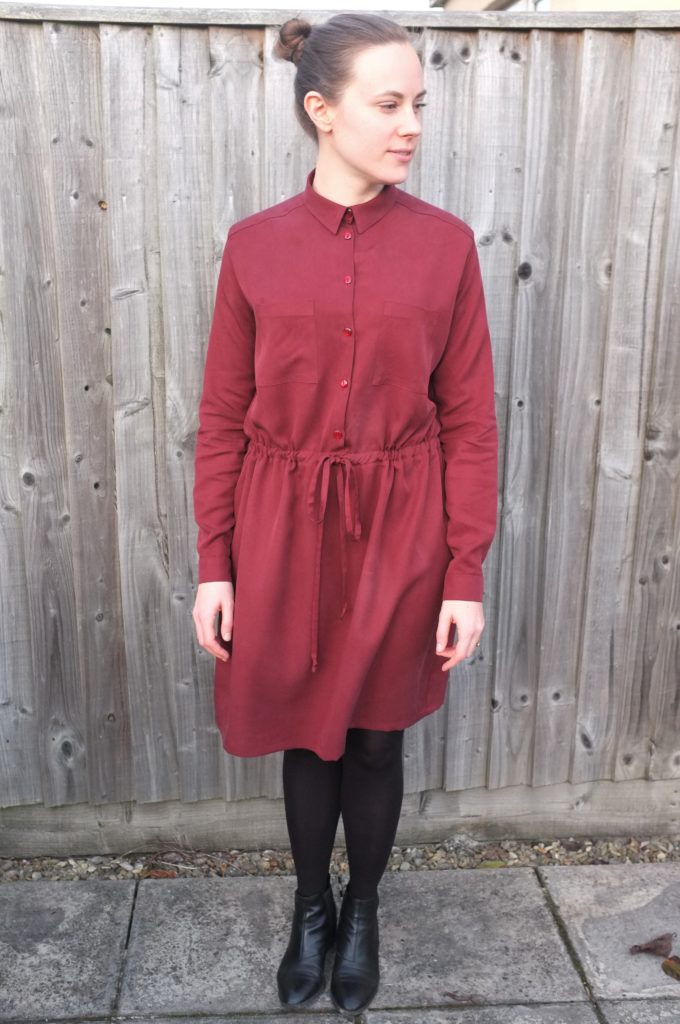
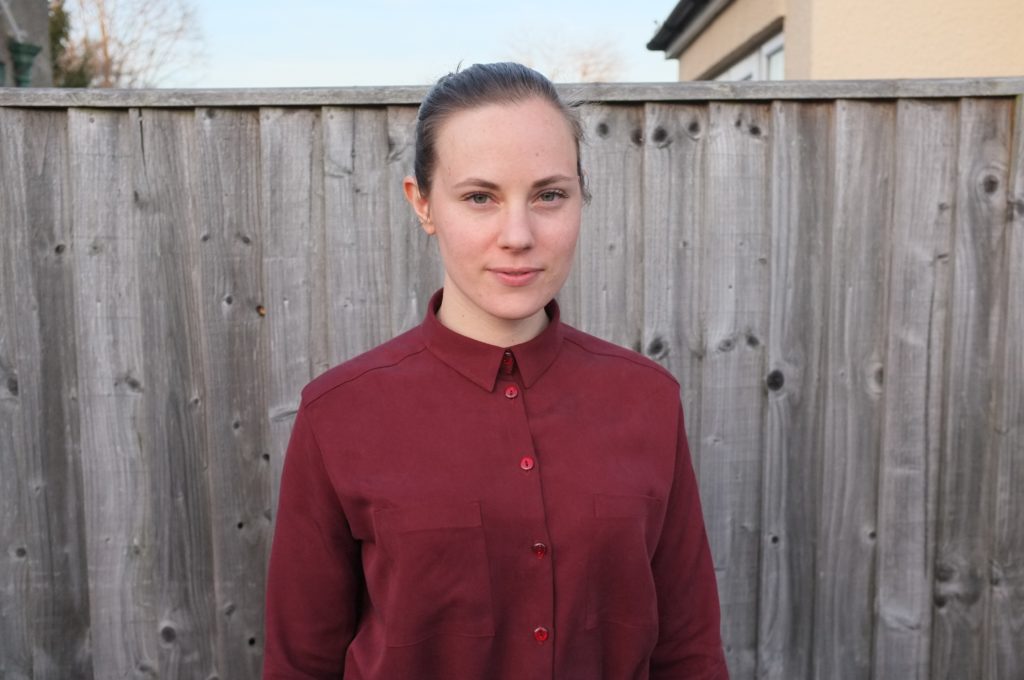
This dress really started with the fabric. At the sewing course that I took last year (where I made this coat), a girl came to class with the most gorgeous burgundy tencel twill fabric. She was a complete beginner and I was amazed that she had found such a perfect fabric for her first project (her dress turned out gorgeous). Of course I immediately asked her where she got the fabric and it turned out that the Brora shop here in Oxford sells fabric cut-offs for a steal. I’ve been a couple of times since and one day they had the exact same fabric, selling it at £5 for 2 meters. It’s such a nice fabric! Medium weight with a great drape. I knew immediately that I wanted to make a shirt dress from it. I don’t own any indie shirt dress patterns but I have a lot of sewing magazines and in the end I decided to use the Elsa blouse from the Victor Maison magazine (6/2016) as a base for the dress.

I have made the pattern once before with some Atelier Brunette fabric (here a pic on Instagram). That initial version did highlight some issues: too tight across the shoulders and upper arms and a collar that was way too big and also not really sitting flat. However, the pattern has some really nice details (like the deep pleat in the back) and I knew that with some adjustments it would be a good base for a loose fitting shirt dress. To address the tightness I actually went up two sizes (to a 42 from a 38); I much prefer a slightly oversized shirt over something too fitted. To address the collar issue I decided to use the neck curve and the collar from the Style Arc Blaire Shirt. I’ve made it a couple of times before and really like how the collar sits.

To turn it into a dress I shortened the blouse to slightly below my waist and added skirt pieces roughly based on one of my existing dresses. The length of the skirt was really determined by the amount of fabric that I had available. To give the dress some shaping I added a drawstring at the waist. I created the channel by simply stitching down the overlocked seam allowance of the waist seams. A draw string of self fabric and two small button holes at the front to slot it through completed it. For some visual interest I also added two simple breast pockets which I drafted myself.

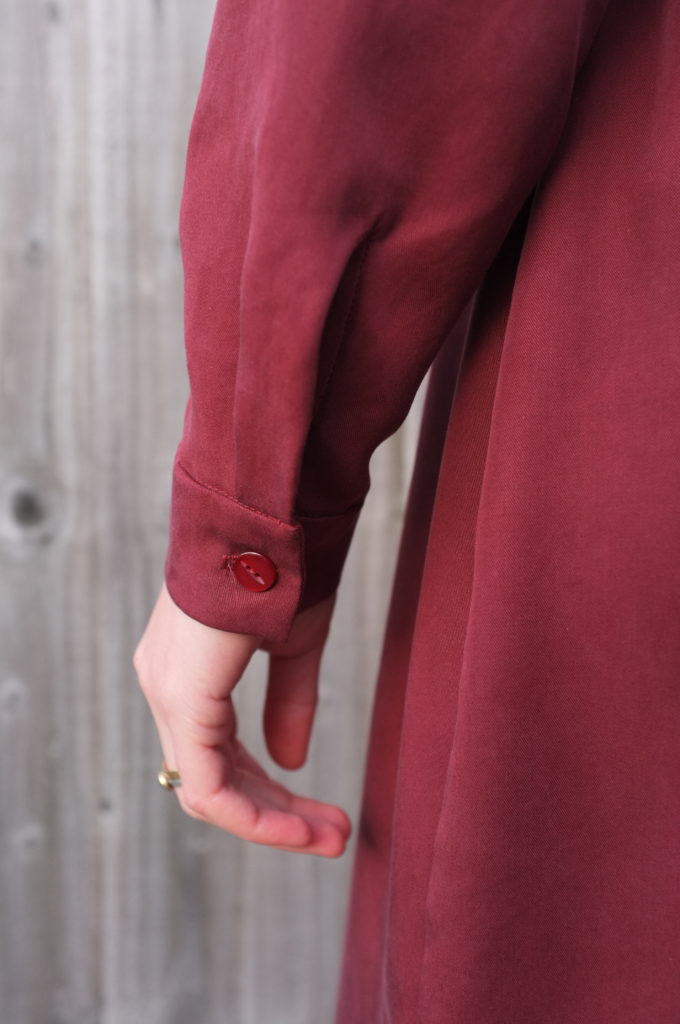
The construction generally was straight forward since I had made the pattern before. Also the fabric presses really well, which helped with the details. I had to unpick the bias bound sleeve placket a couple of times to get a neat finish (I somehow find tower plackets a lot easier). All seams except for the waist seam are finished with french seams and the yoke is constructed with the burrito method. In hindsight, the shoulder seams are probably slightly too bulky in a french seam but it is not too noticeable. The only issue with the construction really was how the sleeves are attached. The instructions tell you to attach the sleeve pieces flat and then join the side seams. Already with the last version I noticed the tightness in the shoulder and also that the sleeve pieces did not line up at the underarm. However, for some reason I didn’t really question it and thought the issues were just down to sizing. This time around I also just blindly followed the instructions to only afterwards realise that I had the same issues. So while the instructions tell you to install the sleeves on the flat, the sleeves seem to be drafted with ease through the head. So I’m not sure if there is a way to add ease by installing a sleeve flat (I only ever do that with set-in sleeves) or if the instructions just don’t match the drafting. In any case it’s really my fault for not thinking while sewing and making the exact same mistake twice. In this version there is enough width across the shoulders so I can just get away with it.

The buttons for this dress were a happy coincidence. I generally don’t have a button stash (apart from buttons rescued from my husbands worn-out shirts) and I just buy buttons for each individual project. I was expecting to do that here too and already started looking for buttons in the shops but couldn’t find anything that matched. Only when I started sewing I realised that I had bought some vintage buttons at a car boot sale last summer and by pure luck they matched perfectly. I love when that happens.

So all in all this was a very satisfying project; amazing fabric to work with and an end product that I am super excited about. I’m always looking for easy to wear dresses that work for the office and outside of work. Long sleeves are always a bonus since I’m always freezing at the office. So this fits the bill perfectly.

Once I have addressed the sleeve head issue, I think the Elsa blouse could be a staple work blouse pattern. I already have some white linen crepe lined up for a third version.