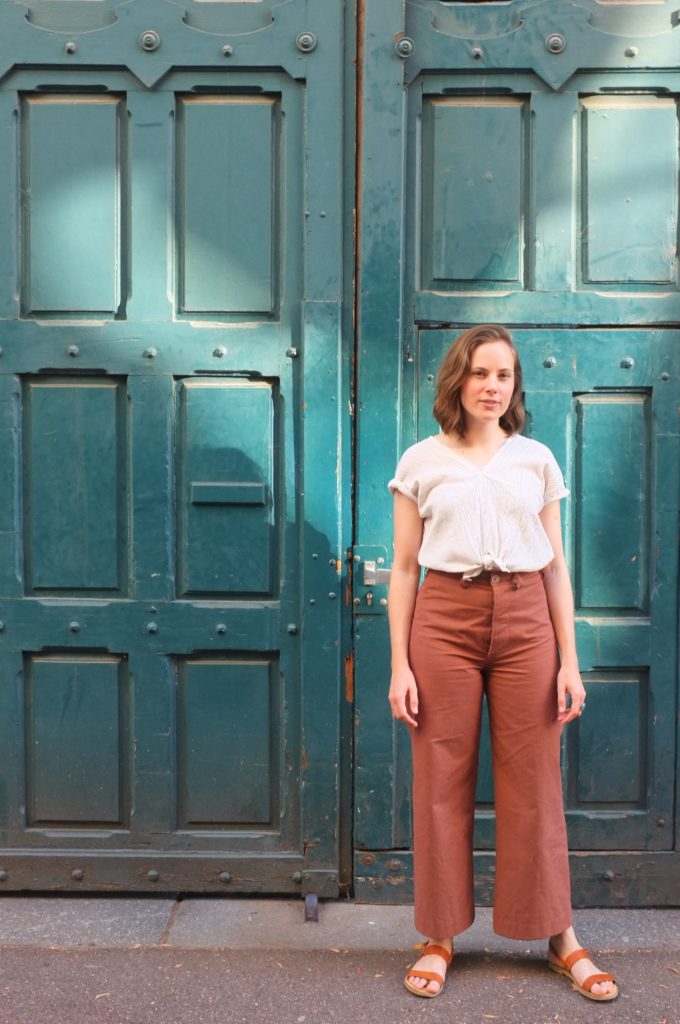
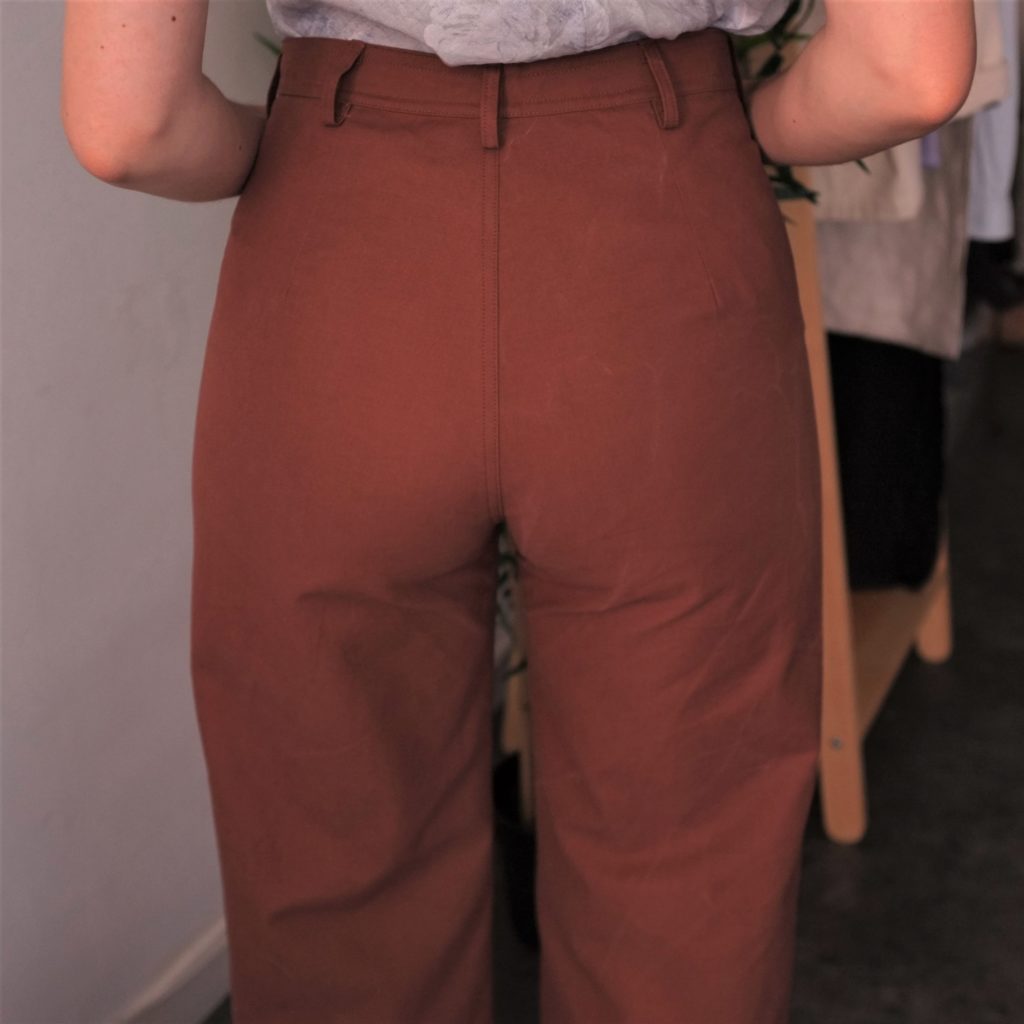
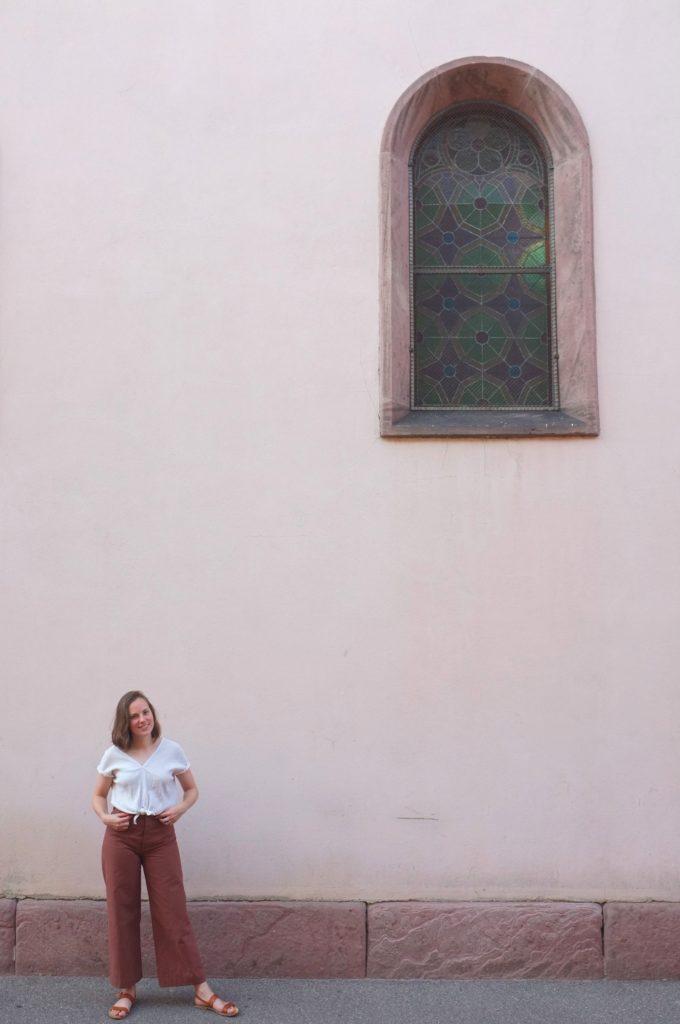
 The whole sewing scene has been going crazy about the Anna Allen Clothing Persephone Pants since they came out earlier this year and finally I know why. It really is a magical pattern that looks amazing on everyone!
When they came out, I was immediately tempted to make them; however, I already have the Lander Pant pattern in my stash and the two patterns are very similar. I’ve already made the Lander Pants this winter but struggled to make them work for me (read all about it here). I could have probably experimented more with that pattern but in the end I decided to buy the Persephone pattern, based on all the amazing reviews.
These Persephones are on my Summer of Basics list since I’ve been searching for the perfect wide-legged trousers for ages. What I love about Summer of Basics is that it forces me to really focus on garments that I actually need in my wardrobe. The fact that the challenge is spread out over three months allows me to take it slow and make them with the attention they deserve.
With these trousers I knew I had to get the fit right, so I read a lot of reviews and decided to make the shorts version as a wearable muslin. Even though a lot of people had mentioned that they had to size down with this pattern, I decided to go with the size that corresponded to my measurements in the hips (a size 12) and take it in at the waist through the darts. While the shorts are comfy and wearable, they did turn out too big as anticipated, but at least I knew it would be safe to size down for the long pair.
I did not have a vision for the cropped version in terms of colour. Initially I wanted to make them in some navy twill I had in my stash but the fabric basically disintegrated in the wash. While I was annoyed at the quality of the fabric and the waste, I’m glad I realised the issue before sewing it up. Just imagine, it could have ripped while I was wearing it! Due to the lack of bottom weight fabric in my stash I had to go to the fabric shop (the usual in my home town) to find something suitable. And there it was, the perfect medium weight twill in the most gorgeous brick/terracotta colour; not too thick but slightly stiff, ideal! Lately I have been drawn to all the earthy browns which is a departure from my normal colour palette but works perfectly with the rest of my wardrobe.
The construction of the trousers was very straight forward. Since I had already sewn the shorts version I knew all the construction techniques and changes I had to make, which included the following:
- going down by one size to a 10
- deepening the back darts
- removing 2 cm from the front rise
- swapping the straight waist band for a curved one with a centre back seam
All these changes were easy to make, but massively improved the fit. The amazing thing is that this pattern does not have any side seams but still it was possible to make these fit on my pear shape figure. Amazing!
The construction of these are a lot of fun too (thanks to very detailed instructions). I love how the button fly front comes together. The only change I made was to add horizontal seams on the inside to give it more stability. The pockets hidden at the waist seam are such a fun detail! While maybe not the most practical to reach into, they are able to hold a phone (proof below).
Since my overlocker is currently in storage, I finished the seams with a zigzag stitch and top stitched them as instructed. The only mistake I made was to not catch the belt loops in the waistband seam (I was so focused on getting the waistband fit right) but it didn’t bother me enough to unpick it. The pocket bags are from a striped cotton and the buttons are the results of my laser cutting adventures the other week. They are frosted plexiglass and actually work perfectly for this style as they don’t add too much bulk at the button front.


 So as you might have guessed from the pictures, or my spam on Instagram, it is love! This is one of these styles that I always admired on other people but wasn’t sure I could make work for me. In the end they feel very me. I love wearing them and even my husband doesn’t mind them too much. I guess that’s because they are more tight-fitting than my other “clown trousers” (as he calls them).
The fit, with only a few tweaks is great (at least in my opinion), tight enough through the hips, and no gaping at the waist! Also the fabric turned out to be perfect for the style. The outdoor pictures were taken after a full day of wear and the wrinkles aren’t too bad, the fabric holds the shape of the legs really well and most importantly they don’t bag out through wear.

 I’m loving these so much that I have included them in my Summer 10×10. The idea of the 10×10 challenge is to choose 10 items of clothing and wear them in 10 outfits over 10 days (for my picks and more details see my previous blog post). I hope this challenge helps me to become more adventurous with styling my me-mades and better figuring out my style, which has been evolving a lot lately.
So, I’m probably the last one to get on the Persephone Pants train, but I’m so glad I did! I’m already planning another pair maybe in a natural white bull denim or canvas?


These look wonderful! I have Persephone envy!
Thanks Sarah! The cure, make your own Persephones, they are so much fun to make!
Oh Edina, they are perfect! I downloaded the file a few weeks ago… but am still to intimidated to sew trousers… But seeing yours makes me want to get my act together. The Color and the fit is AMAZING!
xB
Thanks Bianca! You should really go for it. If you can master patterns in Russian and look gorgeous in the results then you can make trousers. The Persephones are seriously easy to fit, no reason to be intimidated.
You look fantastic and thanks for the “clown trousers’ reference! Can’t wait to make mine x
Thank you! Good luck with your Persephones.
They look perfect. I love how you shortened the rise and changed the waist band from straight to curved. I would love to do that – do you know of a good tutorial as I have never made pants before? Well done.
Hello! I have a question about the adjustment you made to the front rise. I, too, need to adjust the front rise, but do not want it to impact the back rise. How did you accomplish this without impacting the back rise?