Ogden and Ginger

Hi everyone. I can’t believe we still had snow when we took the pictures for my last post. Since then we’ve already had two heat waves and spring is finally and truly here. I’m so excited! My sewing list for spring and summer is super long and I have already 4 projects cut out and ready to go. Now to find the time to sew them.

Before diving into frivolous summer sewing I made sure to fit a sensible project in first. One of the things in my wardrobe that I wear to death are black skinny jeans. The two that I own are not black anymore and I’m just waiting for them to fall apart. I have been looking for a new pair in the shops for ages, but I can’t find anything that works with my hip/waist ratio. True black stretch denim, however, isn’t easy to find either. So when I saw that Fabric Godmother offered some Super Black Super Stretch Denim I immediately ordered some. The fabric when it arrived was not as stretchy as expected, though still suitable for skinny jeans. For the pattern I went with my trusted Closet Case Pattern Ginger Jeans in a medium to high rise (I amended the rise for my second pair and have stuck with it for my third and fourth). As in my previous versions I used the pocket stay version, which keeps everything nicely together. The legs are slimmed down from the straight leg version as much as comfortable, making sure I would be able to still get the leg opening over my foot. Most of the construction was straight forward (by now I’m very familiar with all the steps) the only hick-up were the back pockets. With this stretchy fabric I made sure to pin the back pockets over a tailor’s ham but when I tried them on, they were still too tight and digging in. The second attempt then was too loose and they were sticking out. I finally managed to get them right on the third go but I’m wondering if there is an easier way of doing it. Any tips?

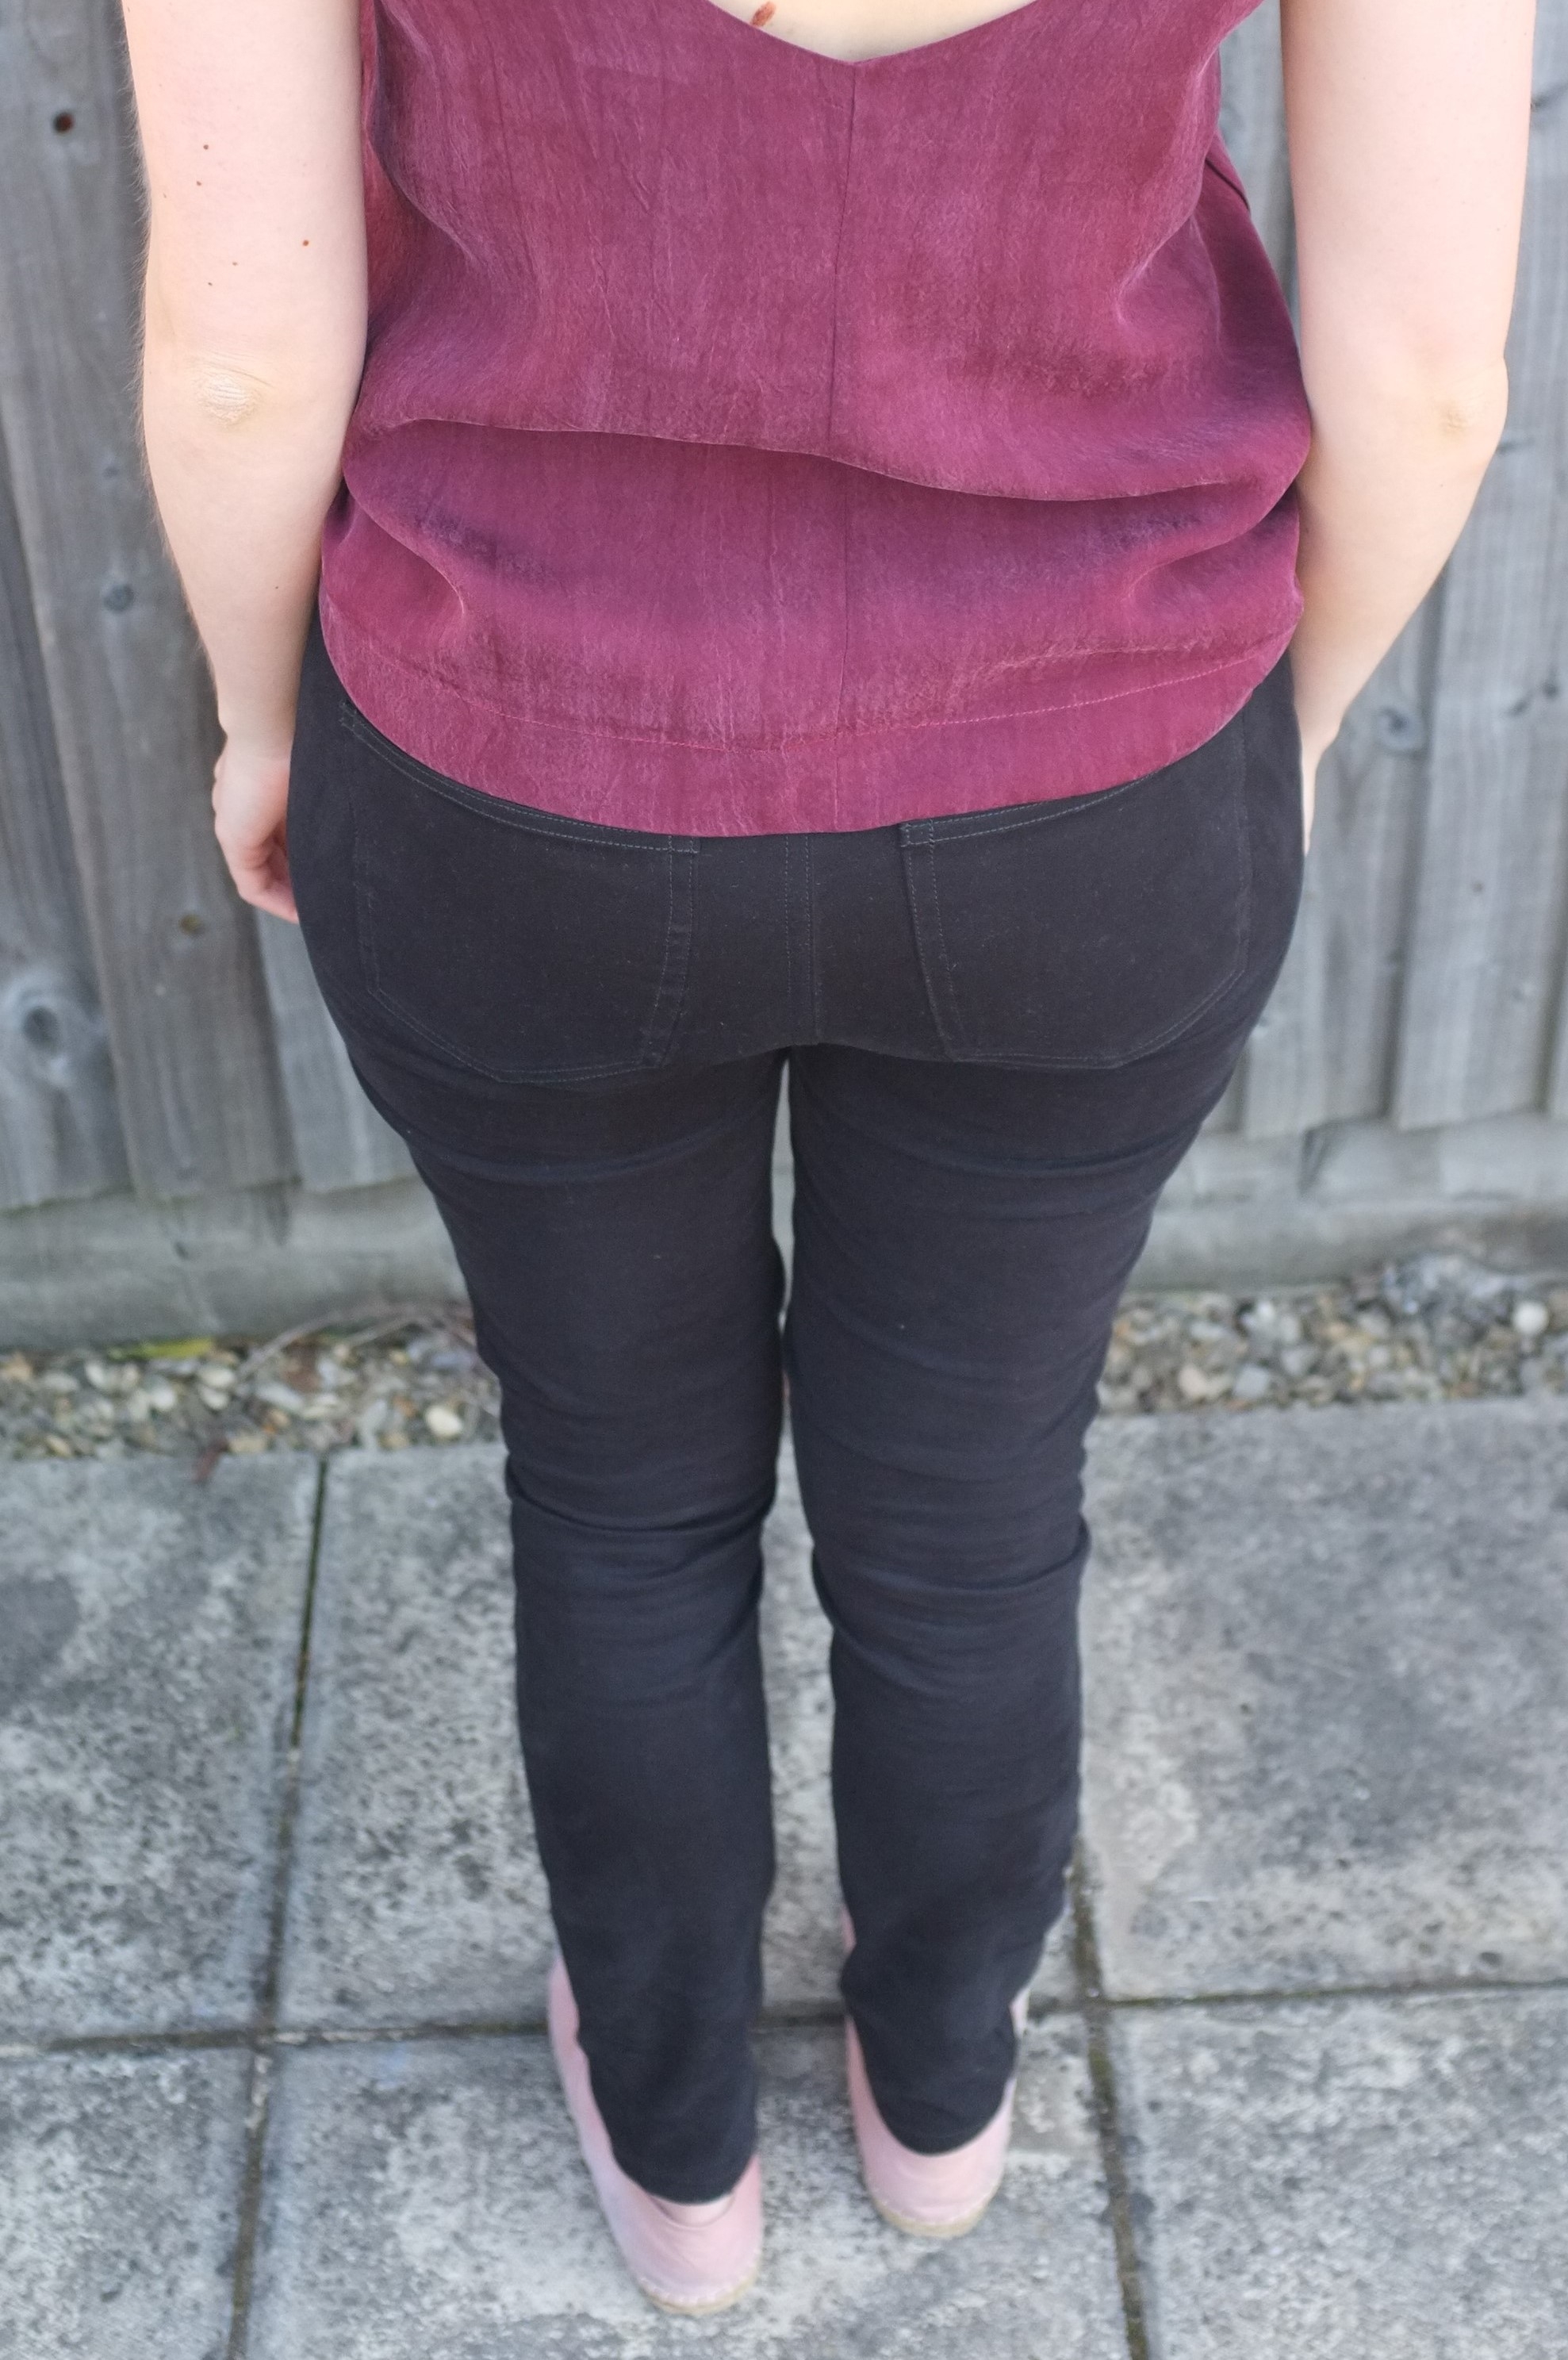
The final jeans definitely fill a gap in my wardrobe, though they are not quite perfect. There is some pulling/wrinkling at the front pockets and the back yoke and the jeans zip that I used is super chunky so the front doesn’t lie flat properly. Then there is the twisting of the leg, which I wasn’t able to get rid of by alternating the direction of the front and the back leg (which I thought I did). Finally, though not surprising with black fabric, these jeans attract lint like crazy (and are impossible to photograph). Still, I’m sure they will prove very useful and I’m glad that I ticked them off my list.

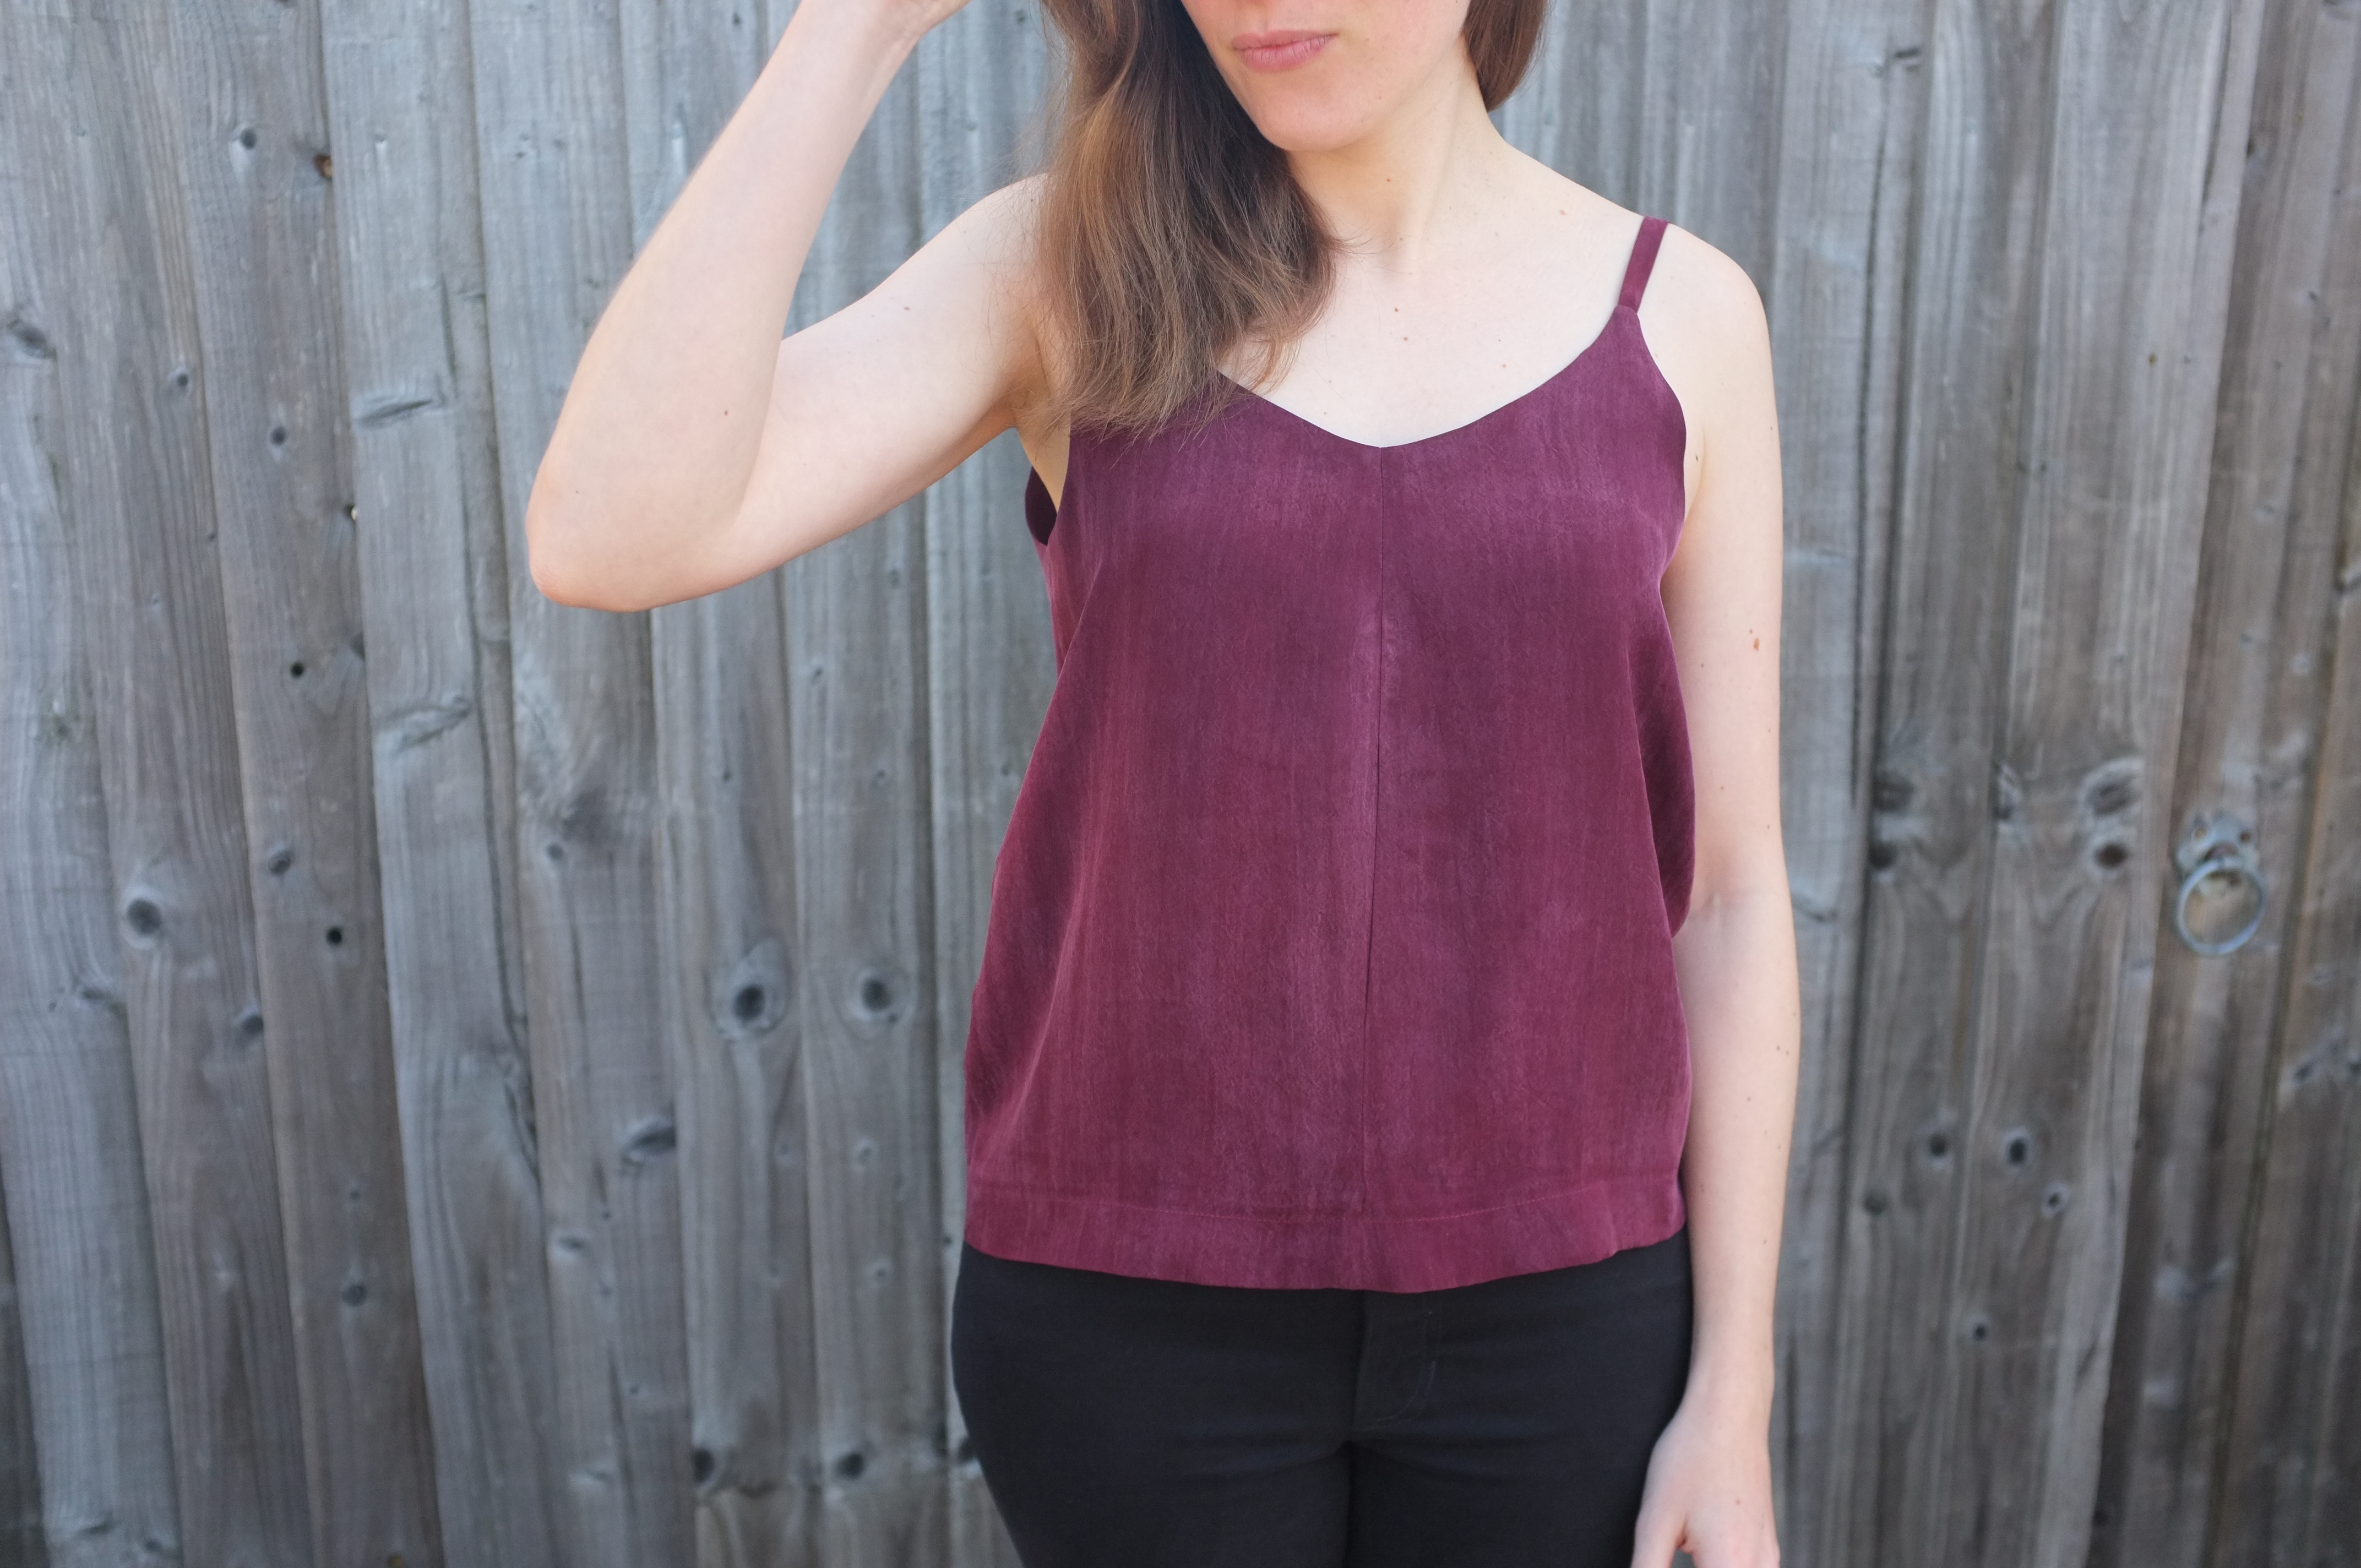
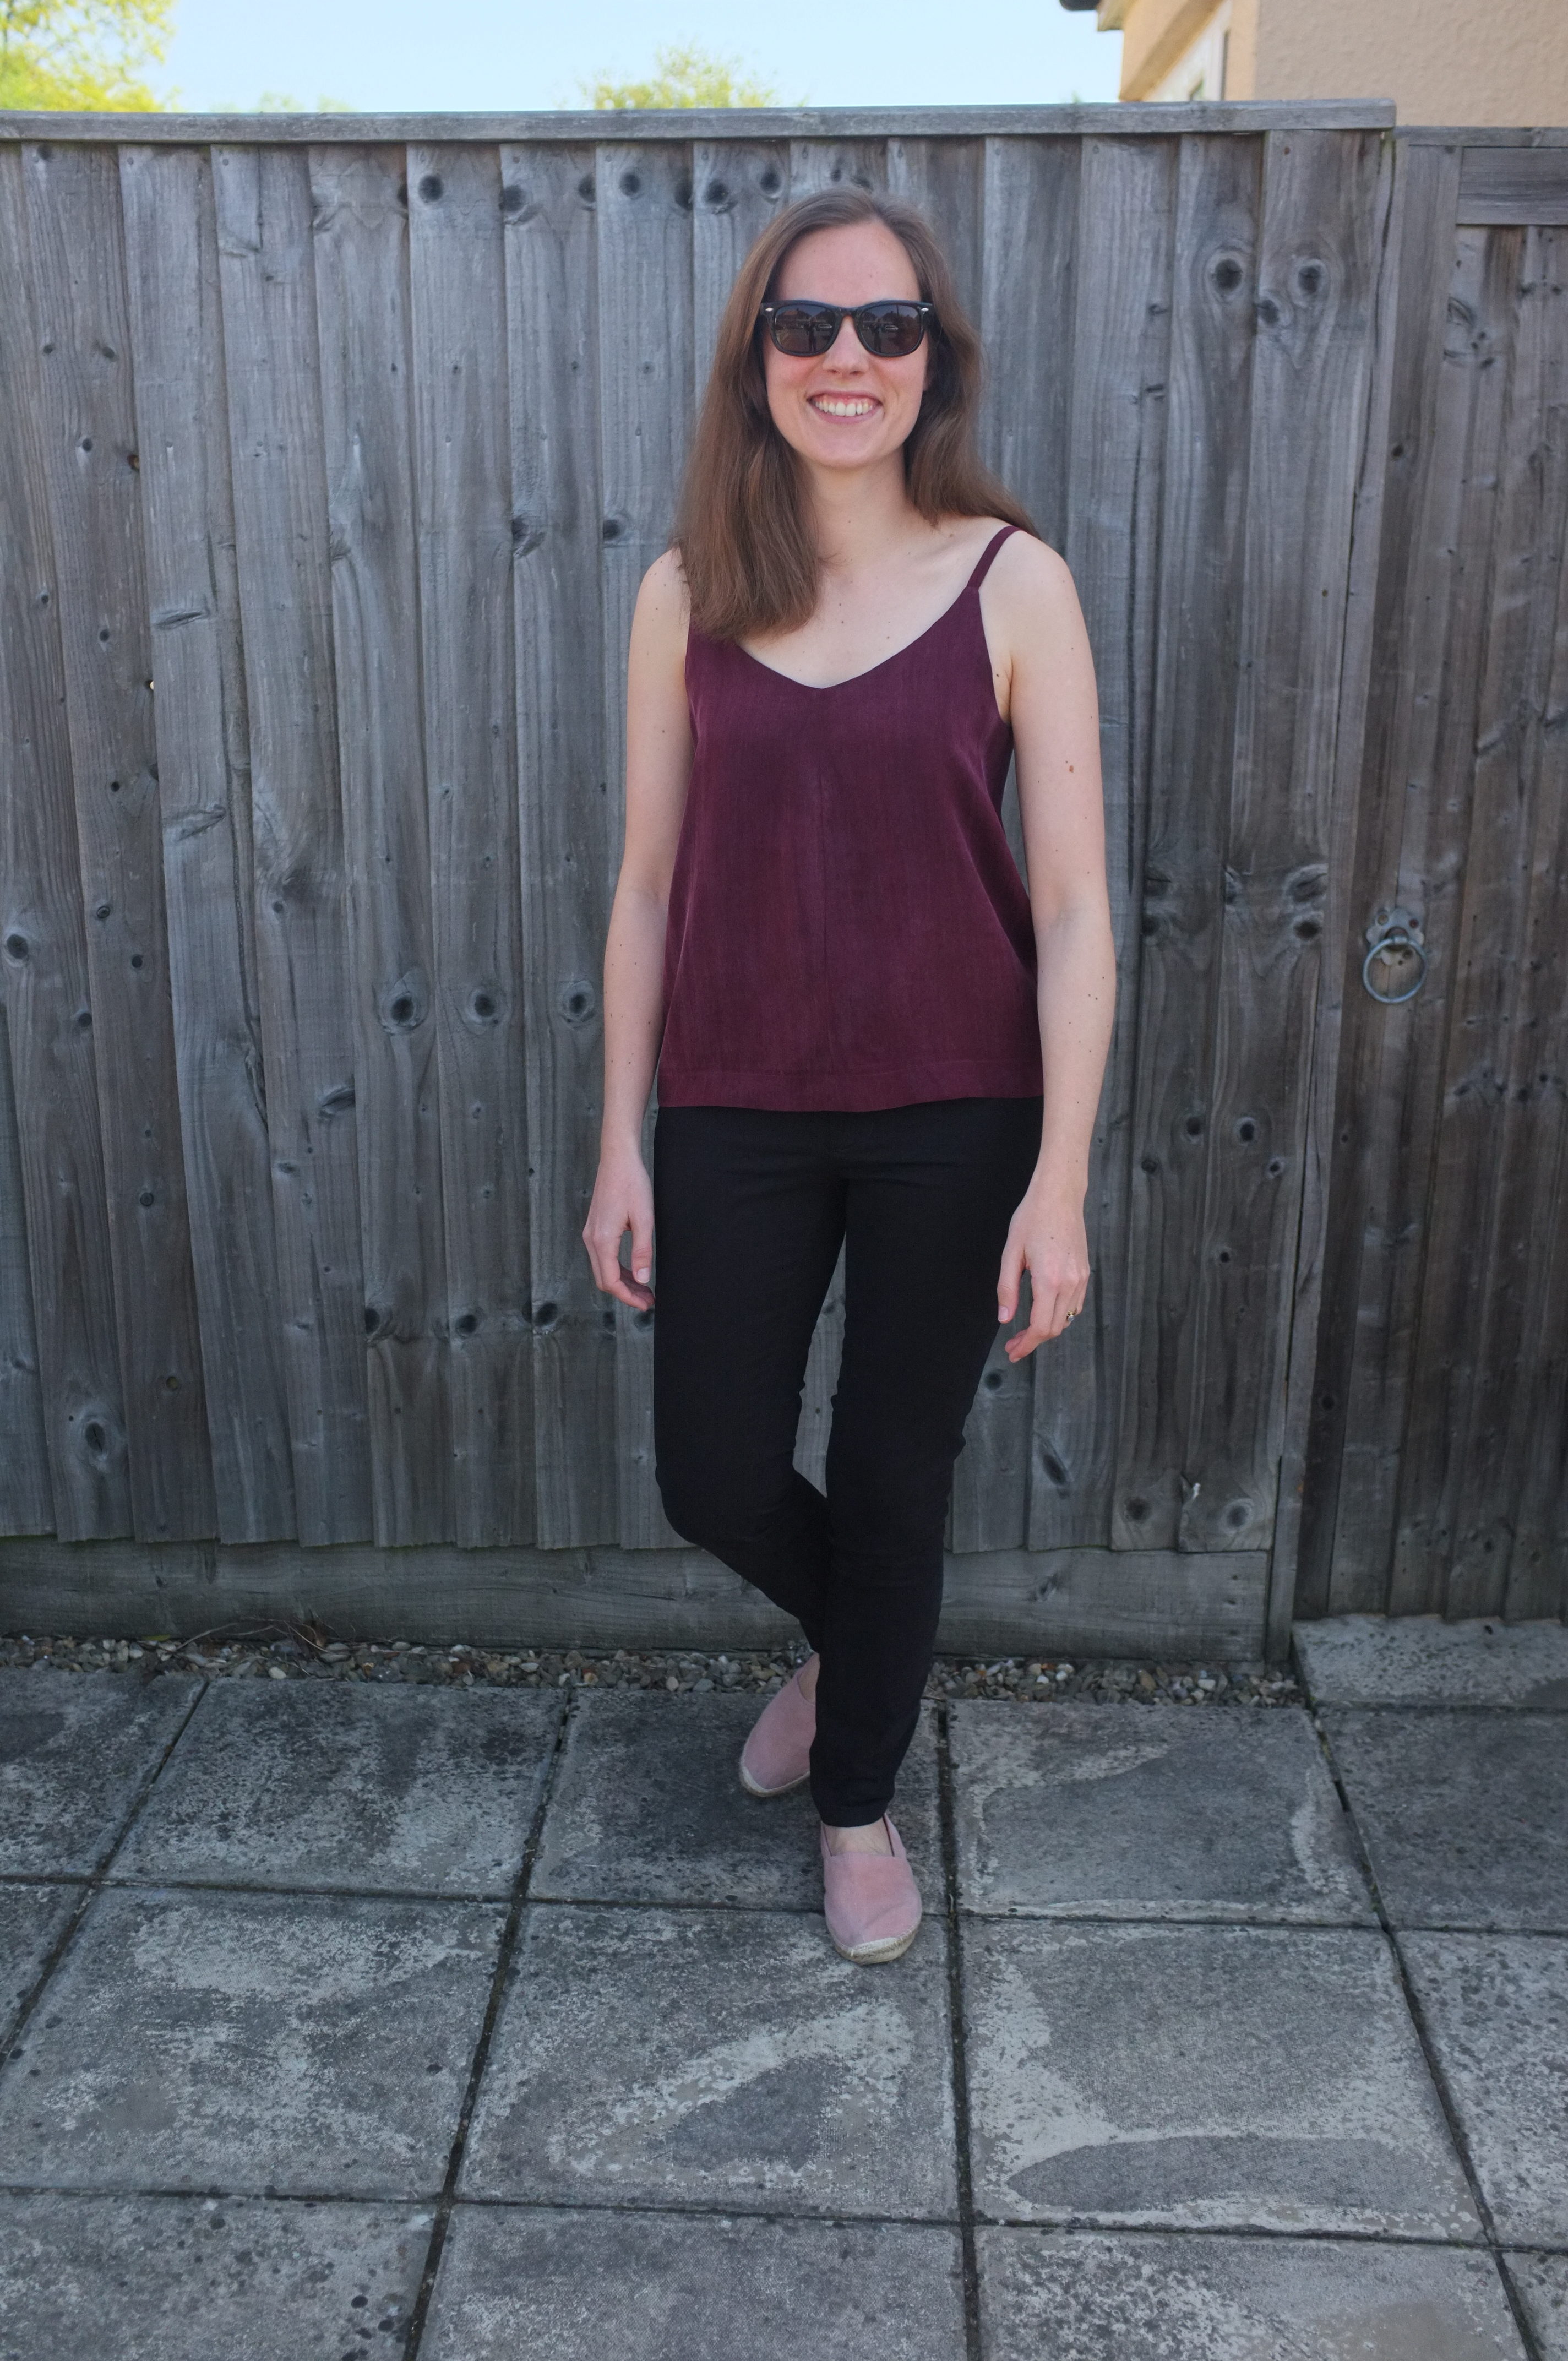
I’ve paired the jeans here with my espadrilles (a summer favourite, though I almost ruined them in a swamp excursion to see snake’s head frittilaria) and a new Ogden Cami. This cami started out as an 80s jumpsuit that I picked up at a flea market maybe 7 years ago. It was a double breasted jumpsuit in shorts length, which I could not pull off (I wish I had photos!) so I turned it into a slightly more wearable shirt dress. That got worn a couple of times but was still a bit too retro for my taste. It then recently ended up in the donation pile but got rescued in the last minute since I could not let go of this perfect sand-washed cupro. To squeeze it out I had to be creative with the centre front and back seams; also the length is slightly shorter than the original pattern but that actually works better for my short torso. The hem is preserved from the original garment. I made a straight size 6, as for my last version of that pattern, and it turned out really nicely. It’s the perfect little summer top.

I can’t wait to sew some more summer things. I’m super inspired by all the recent Me Made May posts!

Last days of winter

Hello again. So, it’s March but this week has been the coldest and snowiest I have ever experienced here in the UK (though today it started to warm up again). OK, for German standards this is not a lot of snow but over here it brought everything to a standstill. Which was fine with me, I enjoyed a couple of quiet days working from home, watching the snow fall. And while my sewing plans are already anticipating spring, I still have a backlog of garments I sewed up this winter and did not yet blog. Instead of writing individual posts I decided to throw them all together into a final winter outfit: a skirt (sewn up for Christmas), two turtlenecks, my winter coat (blogged here) and a self-knit hat.

Just a quick note about the hat (I know you are here for the sewing). This was my first knitting projects in ages (probably 5 years) but over the Christmas break I wanted to have a project that I could pick up easily, so I decided to brush up on my knitting skills. I used the free Pome Hat pattern from Ravelry which I adjusted to add a turn-up. It’s actually a really lovely pattern. While it took me a little while to familiarise myself with the English knitting abbreviations (not sure if I ever knitted in “English” before) the hat was knit up in a couple of days. I used this Landlust Merino wool which was nice to knit up (though I’m really not an expert on wool) and is not itchy at all to wear. I really love the style of the hat. Unfortunately it’s slightly too loose (I’m a very loose knitter) so it’s not as warm as I’d hoped. Still, it was a lovely project and I’m glad to know that I have not completely forgotten how to knit.

Let’s move on to the sewing. I have the feeling that this was the winter of the turtleneck. There are now so many indie patterns featuring this style that I feel like every last person in the sewing world has made one. I have always been a fan, it’s the perfect style for someone like me who is always cold and constantly wears a scarf. I have sewn some in the past (see here and here) but I decided I could really need some more in my wardrobe. The fabrics for these two I picked up at Sewbrum in Birmingham last autumn. The blush rib knit is from Barry’s Fabric (a clearance fabric, probably viscose) and the silver green one from Guthrie & Ghani (not available anymore but they have other lovely options).

For the pattern I decided to use the Papercut Rise Turtleneck. I have made the Fall version before, which has a really cool shape but the over-cut shoulders make it difficult to layer and I was looking for a more classic cut, so Rise it was. For the blush version I made a size S.  The final top is quite slouchy and the neck collapses with wear. However, is is super comfortable in this drapey rib knit and I have worn it a lot over the last few months. As expected at that price (£2/metre), the quality of the fabric is not the best and it is starting to look a little worn now. Still it’s one of the garments I reach for all the time.

For the green turtleneck I sized down by just using a larger seam allowance. It worked quite well, in particular the neck fits a lot better but I could probably size down even further. While I finished the hems with bands on the blush version, I decided to go the lazy route and leave the hems raw. On knits I am still struggling to get a nice hem, so a raw hem gives me a cleaner finish. As expected this fabric is a lot nicer quality and is holding up well so far. And the green is clearly more flattering on me than the blush which is very close to my skin tone. Still I love the other one more, I’m such a millennial!

Finally this skirt. I know what you are thinking. Did you strip a 70ies sofa to get that fabric? And I do have to agree it’s not my usual pattern and fabric choice. It’s a cotton stretch mole skin from this ebay shop here where I also got the fabric for my coat. It was super cheap and this pattern is basically a collection of all my favourite colours so it ended up in my cart. I knew it had to become a mini skirt (anything else would have been too much in that print). Realising that the new turtlenecks would go well with it, gave me the final push to actually sew it up. The shape of the pattern is loosely based on a BurdaStyle skirt (not sure anymore which one, I should file my patterns better!) and then I just played around with the darts to get the right fit. To give the fabric more body I underlined it with a sturdy polyester satin. I did not have a suitable invisible zip in my stash so I decided to use a normal one and hand-pick it for a cleaner look. The waist is finished with a gold bias binding. Originally i was planning to fold it to the inside but then Christmas was coming up and I felt it could use a little sparkle. So I left it and added a hook and eye above the zip. The hem is finished by hand.

This is quite a fun skirt to wear. The simple shape works well with the bold print and for a mini skirt it is long enough so that I can even wear it to work. I might have to make more of these, looking at my wardrobe there is clearly a lack of skirts.

So that’s it, a summary of my winter sewing. Now I really am ready for spring. I’m already dreaming up a flowy summer wardrobe in whites and blues, preferably in linen. Am I too optimistic if I start sewing now?

And here a picture with me and my new friend the snow man, looking a little sad with the rising temperatures.

Elsa dress

Another week, another blog post. I’m so excited to show you this dress!

I started this year super motivated and made a list of garments that I wanted to sew (if you watched my Instagram stories recently you might have seen them). This is already the third project to cross off my list. The dress here was one of these projects where once I had started it, I spent every free minute sewing. I worked on it during the week after work. With my husband out of town I came home, had a quick bite to eat and then went straight to my sewing machine for the rest of the evening.

This dress really started with the fabric. At the sewing course that I took last year (where I made this coat), a girl came to class with the most gorgeous burgundy tencel twill fabric. She was a complete beginner and I was amazed that she had found such a perfect fabric for her first project (her dress turned out gorgeous). Of course I immediately asked her where she got the fabric and it turned out that the Brora shop here in Oxford sells fabric cut-offs for a steal. I’ve been a couple of times since and one day they had the exact same fabric, selling it at £5 for 2 meters. It’s such a nice fabric! Medium weight with a great drape. I knew immediately that I wanted to make a shirt dress from it. I don’t own any indie shirt dress patterns but I have a lot of sewing magazines and in the end I decided to use the Elsa blouse from the Victor Maison magazine (6/2016) as a base for the dress.

I have made the pattern once before with some Atelier Brunette fabric (here a pic on Instagram). That initial version did highlight some issues: too tight across the shoulders and upper arms and a collar that was way too big and also not really sitting flat. However, the pattern has some really nice details (like the deep pleat in the back) and I knew that with some adjustments it would be a good base for a loose fitting shirt dress. To address the tightness I actually went up two sizes (to a 42 from a 38); I much prefer a slightly oversized shirt over something too fitted. To address the collar issue I decided to use the neck curve and the collar from the Style Arc Blaire Shirt. I’ve made it a couple of times before and really like how the collar sits.

To turn it into a dress I shortened the blouse to slightly below my waist and added skirt pieces roughly based on one of my existing dresses. The length of the skirt was really determined by the amount of fabric that I had available. To give the dress some shaping I added a drawstring at the waist. I created the channel by simply stitching down the overlocked seam allowance of the waist seams. A draw string of self fabric and two small button holes at the front to slot it through completed it. For some visual interest I also added two simple breast pockets which I drafted myself.

The construction generally was straight forward since I had made the pattern before. Also the fabric presses really well, which helped with the details. I had to unpick the bias bound sleeve placket a couple of times to get a neat finish (I somehow find tower plackets a lot easier). All seams except for the waist seam are finished with french seams and the yoke is constructed with the burrito method. In hindsight, the shoulder seams are probably slightly too bulky in a french seam but it is not too noticeable. The only issue with the construction really was how the sleeves are attached. The instructions tell you to attach the sleeve pieces flat and then join the side seams. Already with the last version I noticed the tightness in the shoulder and also that the sleeve pieces did not line up at the underarm. However, for some reason I didn’t really question it and thought the issues were just down to sizing. This time around I also just blindly followed the instructions to only afterwards realise that I had the same issues. So while the instructions tell you to install the sleeves on the flat, the sleeves seem to be drafted with ease through the head. So I’m not sure if there is a way to add ease by installing a sleeve flat (I only ever do that with set-in sleeves) or if the instructions just don’t match the drafting. In any case it’s really my fault for not thinking while sewing and making the exact same mistake twice. In this version there is enough width across the shoulders so I can just get away with it.

The buttons for this dress were a happy coincidence. I generally don’t have a button stash (apart from buttons rescued from my husbands worn-out shirts) and I just buy buttons for each individual project. I was expecting to do that here too and already started looking for buttons in the shops but couldn’t find anything that matched. Only when I started sewing I realised that I had bought some vintage buttons at a car boot sale last summer and by pure luck they matched perfectly. I love when that happens.

So all in all this was a very satisfying project; amazing fabric to work with and an end product that I am super excited about. I’m always looking for easy to wear dresses that work for the office and outside of work. Long sleeves are always a bonus since I’m always freezing at the office. So this fits the bill perfectly.

Once I have addressed the sleeve head issue, I think the Elsa blouse could be a staple work blouse pattern. I already have some white linen crepe lined up for a third version.