Me-Made-May 2016 Recap

This year I decided to take part in Me-Made-May for the first time. I love the concept of wearing as many me-mades as possible and investigating which ones work and which ones don’t and why. I quite enthusiastically signed up and pledged to wear one item of me-made or refashioned clothing  as well as to try and wear each of my me-mades (except one fancy dress) at least once. I thought the first part would be easy but that I would struggle with the second part, as I felt that I had some unloved me-mades in my closet. I didn’t take into consideration that just a couple of weeks before I had used the KonMari method to get rid of a lot of unloved clothes. When I did my me-made inventory I realised that in total I only had 16 me-mades left (over the course of the month however I added another two) and that I actually really liked all of them. I don’t seem to be holding onto me-mades for only sentimental value anymore, which was a good start for this challenge. The limited number of garments; however, would mean that I had to work with a lot of repetitions to be able to wear at least one me-made a day.

MMMay00.pngThen I had to figure out if and how I wanted to document my daily outfits. I’m not a fan of constantly taking pictures of myself but when I took part in #bpSewember last year I used outfit pictures to determine my style and realised that photos really are the best way to determine what you love wearing. With my photographer of choice being out of town for a good part of the month I had to get creative with the picture-taking process. I decided to mount our camera on top of my dress form (maybe it is finally time to invest in a tripod) and took the pictures with a self-timer. The pictures didn’t turn out great but at least they give a good idea of the outfits and I love seeing them all in a row.

MMMay01MMMay02MMMay03MMMay04
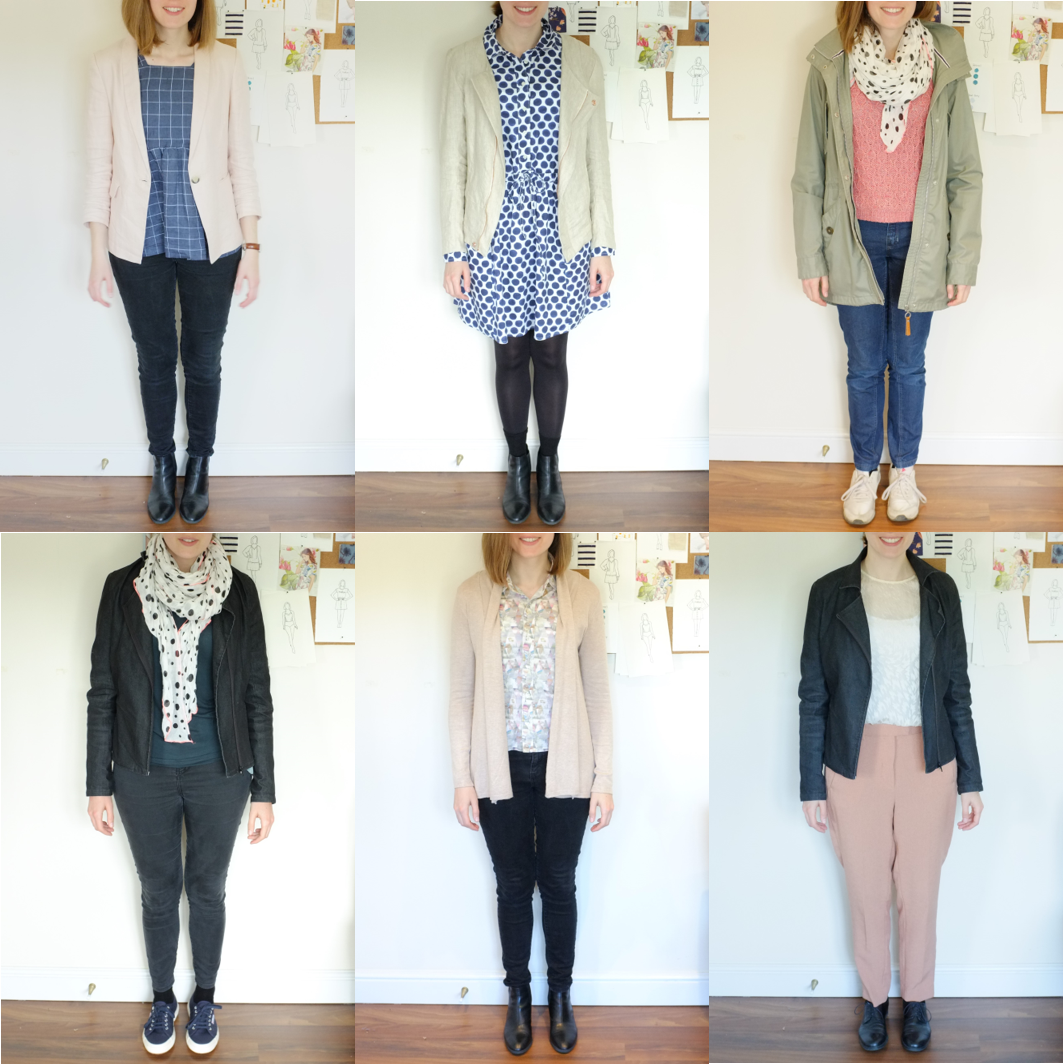
Outfit details: Day 1-6, Day 7-12, Day 13-18, Day 19-24

As I kept the camera in the same place and just had to take a quick picture before I left for work it was actually not that difficult to take a picture each day. In the last week of May; however, I left for a hiking trip in the Austrian Alps. I briefly considered to quickly sew something for the trip (I don’t have me-made active wear) but then I decided that I didn’t really need anything new for the couple of days a year that I actually go hiking and decided that 24 days of Me-Made-May were enough.

So what did I learn?

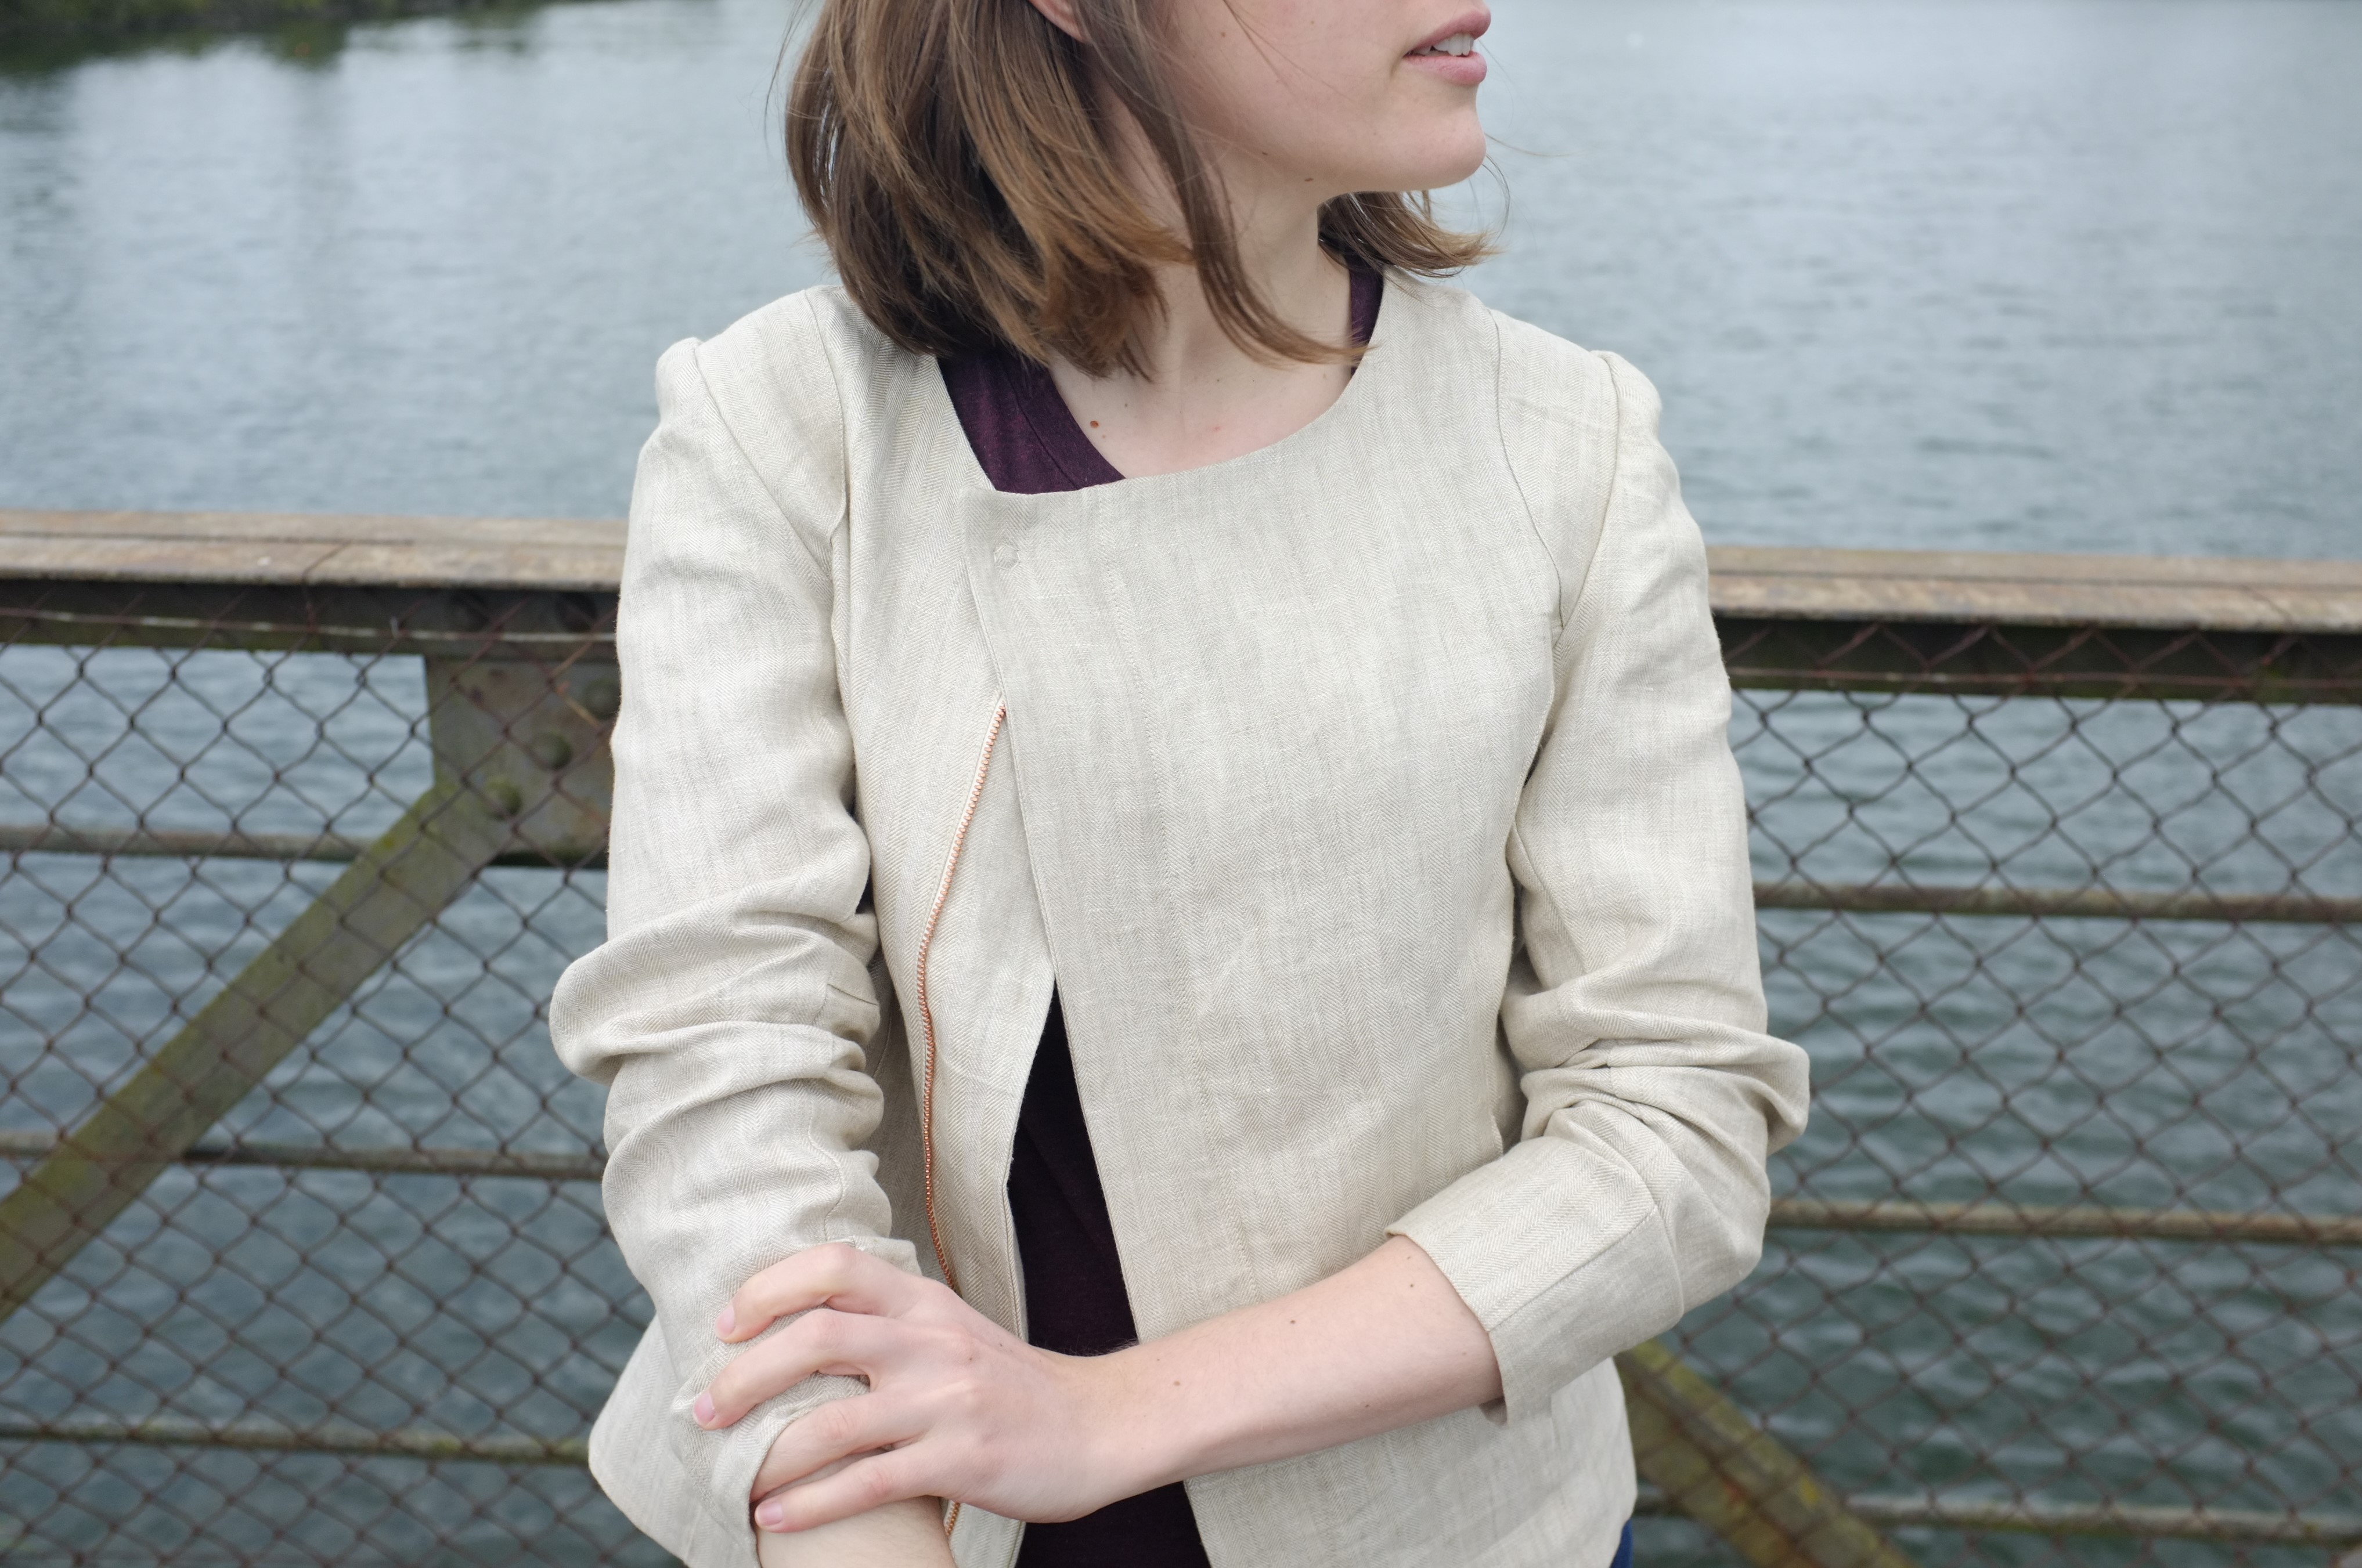
  • I love the design of all my me-mades. The only reason that I don’t wear some of them very often is that they are uncomfortable or don’t sit right. This includes the denim shift dress (day 3) that is too rigid and two tops (the pleated silk top (day 12) and a liberty print blouse (day 10)) that have sleeves and don’t sit well under cardigans and blazers. I’ll think about ways of making them more wearable.
  • I don’t mind wearing repeats as I often reach for the same few garments anyway. I only need to get better at making/buying clothes that mix and match easily.
  • I definitely prefer trousers over skirts and dresses. Apart from my two Ginger Jeans I currently don’t have any me-made trousers. I need to change that.
  • I own a lot of me-made wardrobe staples (Ginger Jeans, jackets, jersey tops) that make it very easy to wear me-mades everyday. Also my work wardrobe seems to be well equipped with me-mades. The only category where I lack me-made garments is fun casual clothes. I’m currently working on filling that gap.
  • I love the colour blush/pink when I sew and when I shop. This obsession has been going on for almost two years now and I need to stop and explore other colours!
  • Garments that I love to wear don’t necessarily look good in pictures. Example: I love wearing the salmon/blush cropped trousers but I really do look frumpy in them. I tell myself that they look a lot better in real life than they do in pictures.

All in all I learned a lot over the course of this month. In general I think I’m on the right track of developing a wardrobe that I love. Already I own a lot of me-mades that I really love. I don’t think my wardrobe will ever be 100% handmade. I love second-hand clothes and buying a well made garment here and there too much. But what I love so much about sewing is that I have the possibility to create my excact dream wardrobe, one that is thought-through and unique. It’s such a fun journey!

Linen Biker Jacket

Linen Jacket_0Just in time for Me Made May 2016 I’ve added another staple to my wardrobe, a cream coloured light weight biker jacket.

I’ve had this lovely herringbone linen sitting in my stash for quite a while. My mother picked it out for me and I’ve been looking for the perfect pattern since to do this gorgeous fabric justice. When my friend brought me back a Patrones sewing magazine from Spain last year and I saw the biker jacket on the cover I knew I had found the perfect match.

Since I hadn’t sewn anything from a Patrones pattern before I decided to do a full muslin. It’s very rare that I actually make muslins; in most cases I just use cheap fabric to try out a pattern. In this case I actually really enjoyed the muslin process. It’s a lot more fun when it’s a complex garment and the muslining feels like proper engineering. The fit actually wasn’t too bad from the start. I made a Spanish size 42. As expected I had to lengthen the sleeves and the body. I also took in the shoulders and added more room around the hips. Thanks to the princess seams at the front and back it was very simple to make adjustments to the pattern.

The construction itself unfortunately didn’t go that smoothly. The linen as well as the Cupro Bemberg lining were very shifty and it was impossible to be exact in the cutting. Instead of using some stabilizer, I decided to just forge ahead; after all I was going for the crumpled linen look which should allow for some inaccuracies.

The instructions, like Burda Style instructions, were very sparse, so I abandoned them quite quickly and treated the pattern like a jigsaw puzzle. As I had figured out the basic construction when doing the muslin I thought it wouldn’t be very difficult to sew up the final garment. I was wrong… Only after 2 hours of pocket construction and topstitching I realised that I had mixed up the front and back side pieces. I had to take the whole thing apart and re-do it. The positive thing though, I can now construct princess seam pockets in my sleep ;-) For some reason I also managed to attach the sleeves the wrong way round, making the whole thing look like a straitjacket. Oh and when I put in the zipper I realised that the jacket closes the wrong way round. Why? Because I used the photo on the cover of the magazine to figure out the construction of the zip and not the technical drawing. The photo, I only later realised, was back to front. I should really learn to label my fabric pieces properly, especially with a fabric that looks the same on both sides!

To finish the jacket I attached the lining at the hems by hand. For the fastenings I used a copper metal zipper and coordinating sew-on snaps which I got from MacCulloch & Wallis, together with the lining. I just love the copper against the cream fabric!

It is a little bit hard to see in the photos, but the jacket has lovely curved seams which I highlighted with some subtle topstitching. I especially like the little detail where the shoulder piece meets the princess seam. The pockets are tiny, as expected since they are sitting in the princess seams. I still decided to keep them as I love how the pale blue lining peeks out and I like to be able to put my hands somewhere.

Linen Jacket_1Linen Jacket_2Linen Jacket_3Linen Jacket_4Linen Jacket_5Linen Jacket_6aWhile this jacket definitely was not my smoothest and most accurate make I ended up with a lovely summer jacket. I know I will get a lot of wear out of it now that it is warming up here in the UK. Yay, to versatile garments, that you can add to any outfit! Here I paired it with a rtw t-shirt and my favourite high-waisted Ginger Jeans.

Happy Me Made May everyone!

Linen Jacket_7

Office wear

Silk Top_1Workwear, never the most exiting topic. I’m happy to report though that I am in love with this top. It’s made from lovely sand-washed silk that I picked up at Goldhawk Road with such a great texture (I can’t stop stroking it). I love this copper colour, particularly when paired with this cream RTW skirt. The pattern is the Sleeveless Shell Top from The Great British Sewing Bee – Fashion with Fabric book. As I wanted a loose top, I sized up to a UK 12 but removed some width at the centre front as the neckline was slightly too wide in my muslin.

I really like this pattern. The neckline and the armholes are finished with a facing, which gives it a very clean finish, ideal for a silk top like this. The seams are finished with my pinking shears. It’s probably not ideal for the longevity of this piece but since I am washing this by hand it shouldn’t be such a problem.

Design-wise, the top has a very pronounced high-low hem. I do like it in this top, but might make the hemline on the next one slightly less dramatic. The original pattern has a keyhole design at the back which I omitted.

I’ve already gotten a lot of wear out of this top. It’s light and floaty and I love how it looks tucked into a skirt.

Silk Top_4Silk Top_2Silk Top_3

The next project was the Sewaholic Granville Shirt. I’ve had this pattern sitting in my stash for quite a while now. I love a good button-down and have not yet found the perfect pattern. The Granville sounded promising as it is designed for pear shapes like me. And true, according to my measurements I only fell in one category, size 8. Happy to not have to grade I decided to sew it up as it is without any adjustments. Once sewn up, I have to say the shirt is quite on the roomy side. It’s very tapered at the waist, which becomes clear from the pattern drawing, but I didn’t expect it to flare out that much at the hip. Surprisingly also the sleeves were very long. Normally I have to add length to the sleeves (my extremities seem to be longer than average, my boyfriend lovingly calls them my orang-utan arms). In this case the sleeves, with the cuff as intended, were actually too long. As I didn’t like them as they were (too wide and with the interfacing too stiff), I decided to take them apart and half the cuff piece that wasn’t interfaced. I like them a lot better now, they look more casual and are more comfortable. The sleeve placket came together quickly. I really liked constructing them and for the tricky pointy bit I just used a glue stick to keep it in place. Worked like a charm.

One thing that I realised when I sewed on the last button was that the collar was overlapping when the top button was closed. I don’t know if that is an issue with the pattern or if I just messed up and didn’t trace the collar pieces correctly. It’s a shame as I like to wear my shirts completely buttoned up.

The fabric that I used for this shirt is some lightweight cotton from Miss Matatabi. The fabric has a very interesting texture which creates this stripey/checked pattern. I was intrigued when I saw it online and ordered it without a specific project in mind. After giving it some thought I decided it could look nice as a shirt. When it then sat on my dress form, however, it looked really drab. I don’t know what it is with navy shirts, they always look a little bit outdated. Originally I had planned to add navy buttons but to brighten the shirt up a bit I decided to go for shell buttons. I’m glad I did, it looks more fun that way.

If I was sewing this shirt again, I would slim it down a bit, including the sleeves and take in the shoulders. Oh and I would make sure to not mess up the collar, so that I can close the upper button.

I do think this is a nice basic work shirt pattern, especially for someone that likes figure-hugging shirts. The instructions were clear and thorough.

I might not be in love with this shirt due to the fitting issues and the pattern/colour combination, but it’s really comfortable to wear. And tucked into a shirt or some high waisted trousers it looks quite nice. I’m sure I’ll get some wear out of this.

Granville Shirt_1Granville Shirt_2Granville Shirt_3Granville Shirt_4Granville Shirt_5Granville Shirt_6Granville Shirt_7