 Sometimes you see a new trend and first you don’t really like it, but then you see it all the time and slowly it starts growing on you. I had this experience with the high-neck cut-away-shoulders neckline. I thought it looked to sporty, but the more I kept seeing it on other people, the more I liked it. I still wasn’t sure if it would suit me, but the beauty of sewing is that it allows you to easily try out new trends and explore new shapes and silhouettes.


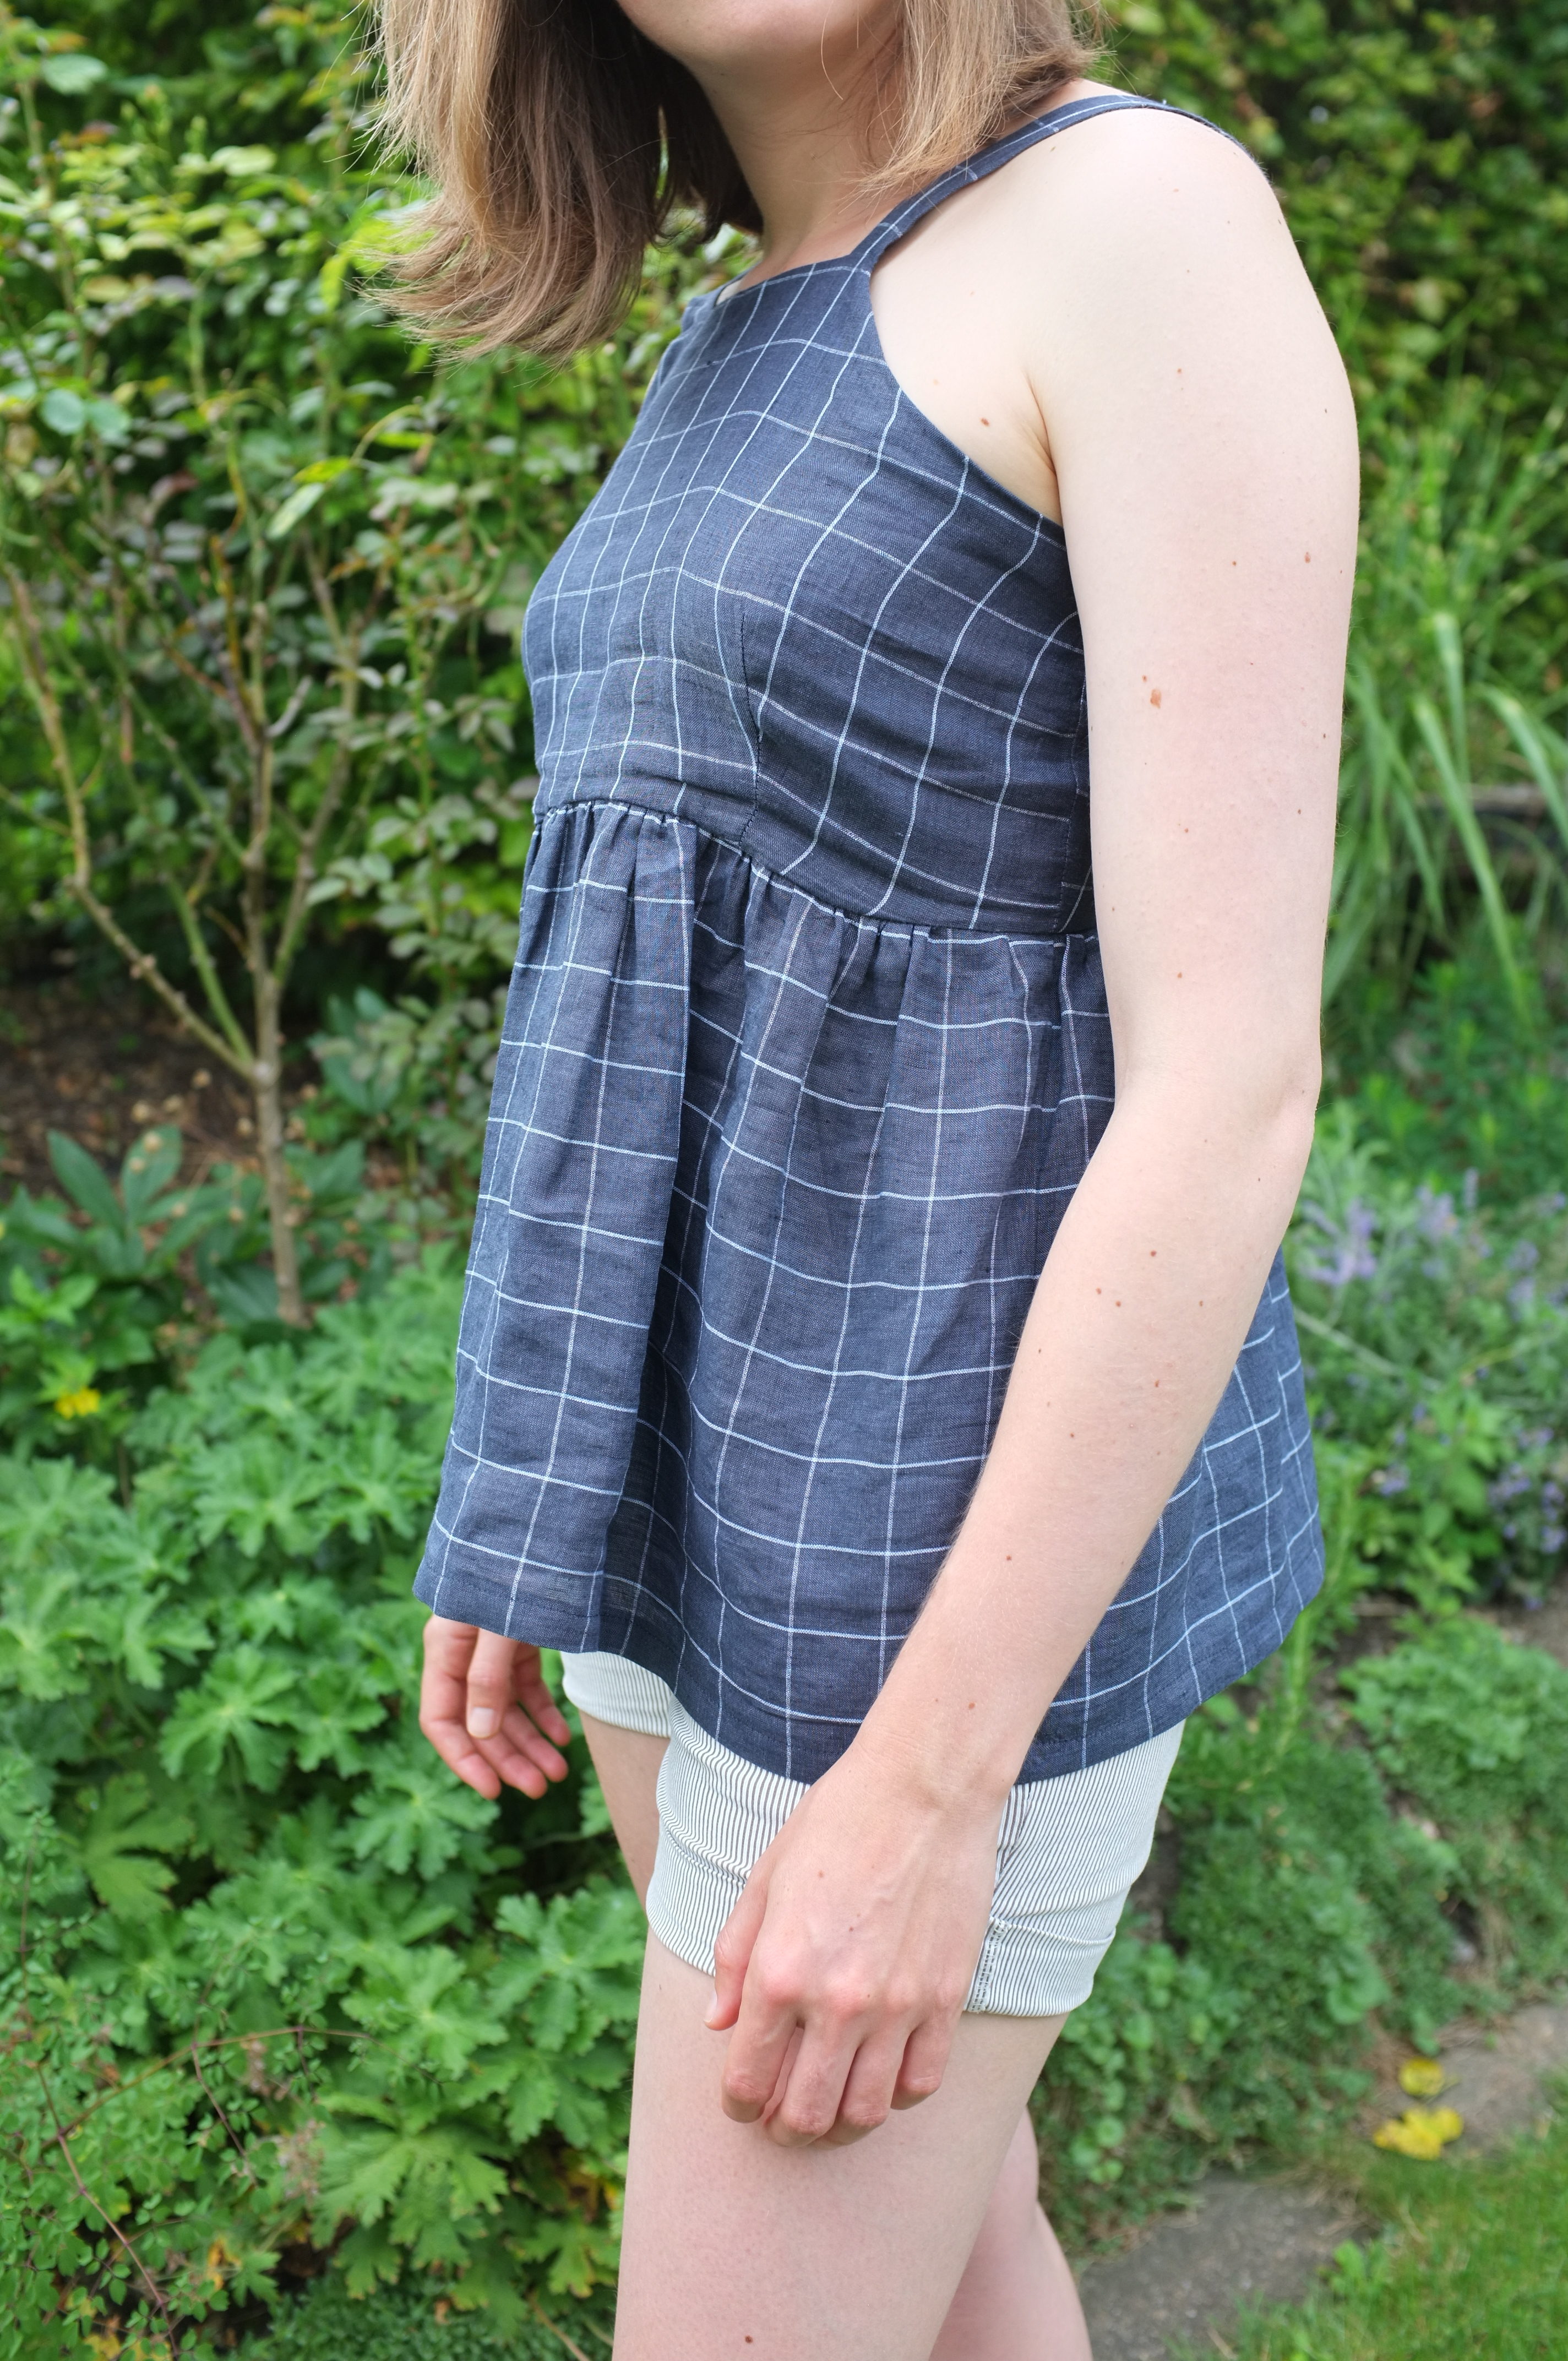

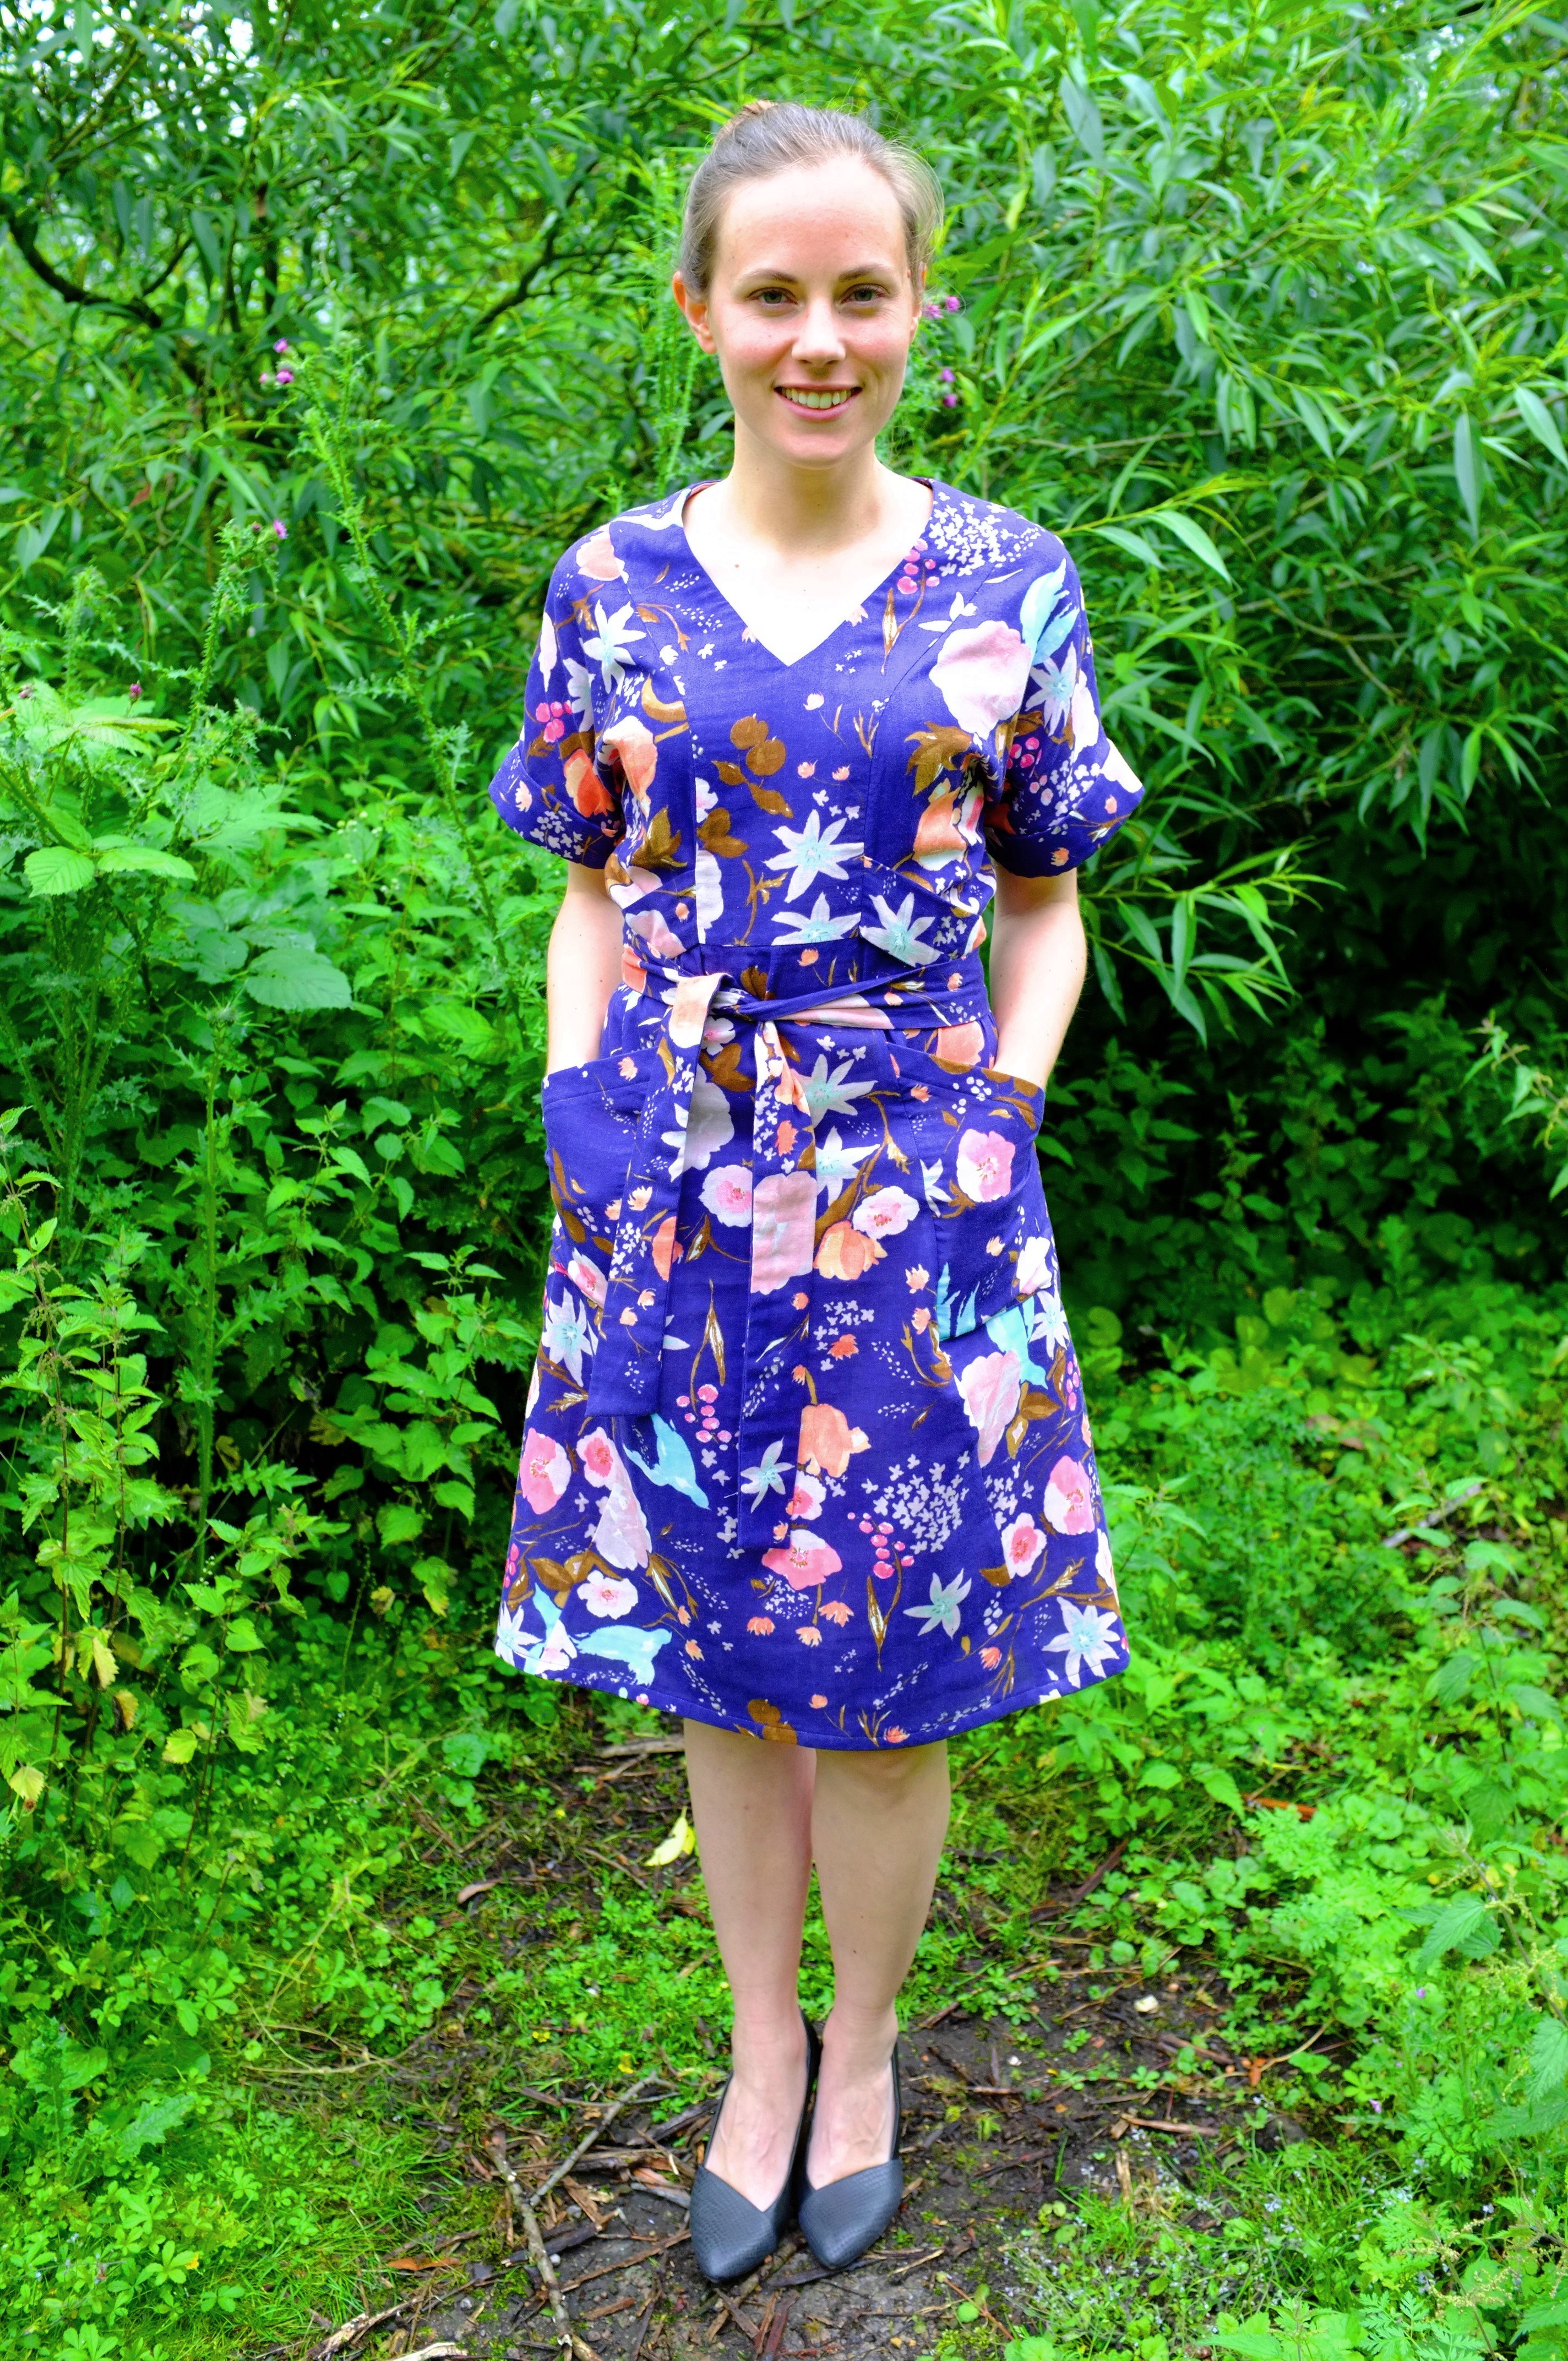
 This first top was inspired by the Tessuti Annie dress. When it came out, I immediately dismissed it, as not being my style. But when I saw so many beautiful versions cropping up online (e.g. here, here and here) I started to like the style more and more. Not knowing if I would like the look on myself, I didn’t want to spend a lot of money on a new pattern, so I looked through my stash and found a dress with a similar neckline in the Belgian Veritas magazine that I had picked up in Brussels. I decided to make a top so that in case it went wrong, not too much fabric would be wasted. I combined the top of the dress with a simple gathered panel sitting under the bust (another silouhette I never tried before). I used a navy blue and white windowpane mystery fabric (possibly a mixture of linen and polyester) that I picked up for cheap and had already used for another experiment trying out this neckline. That first try somehow went horribly wrong, an unflattering shape and stretched out armholes, and has already left my closet. So I knew the fabric wasn’t the best but I wanted to make the shape and the fabric work. I had been on the lookout for a cool windowpane print for a while now. I was really happy when I found this, even though after by boyfriend mentioned it, I can’t unsee how much it looks like a tea towel. Oh well…
The pattern in theory would have been super easy. The body is self lined, two darts, two straps, some gathering and that’s it. Shouldn’t be too hard right? Well, it was hard… unexpectedly hard and I nearly gave up. I just didn’t feel the fabric and the shape while I was working on it. So what went wrong? When I first tried it on, the straps at the neck were way too close together and angled outwards to fit around my neck (they still do a little bit). Lazy as I am, I then decided to just take off a piece of the top part, forgetting that I still had to move out the straps, then the arm cycle was gaping and on top of all, the top bit was too small. I’m not sure what went wrong, I thought I had chosen a bigger size to account for leaving off the zipper, but still it was way too small. I let out the seam allowance as much as possible, but still can only get it over my had with a wiggle dance. I really had to force myself to not throw it all in a corner, so by the time I attached the gathered panel, I just didn’t have the patience anymore for even gathers, and just did a quick and dirty job.
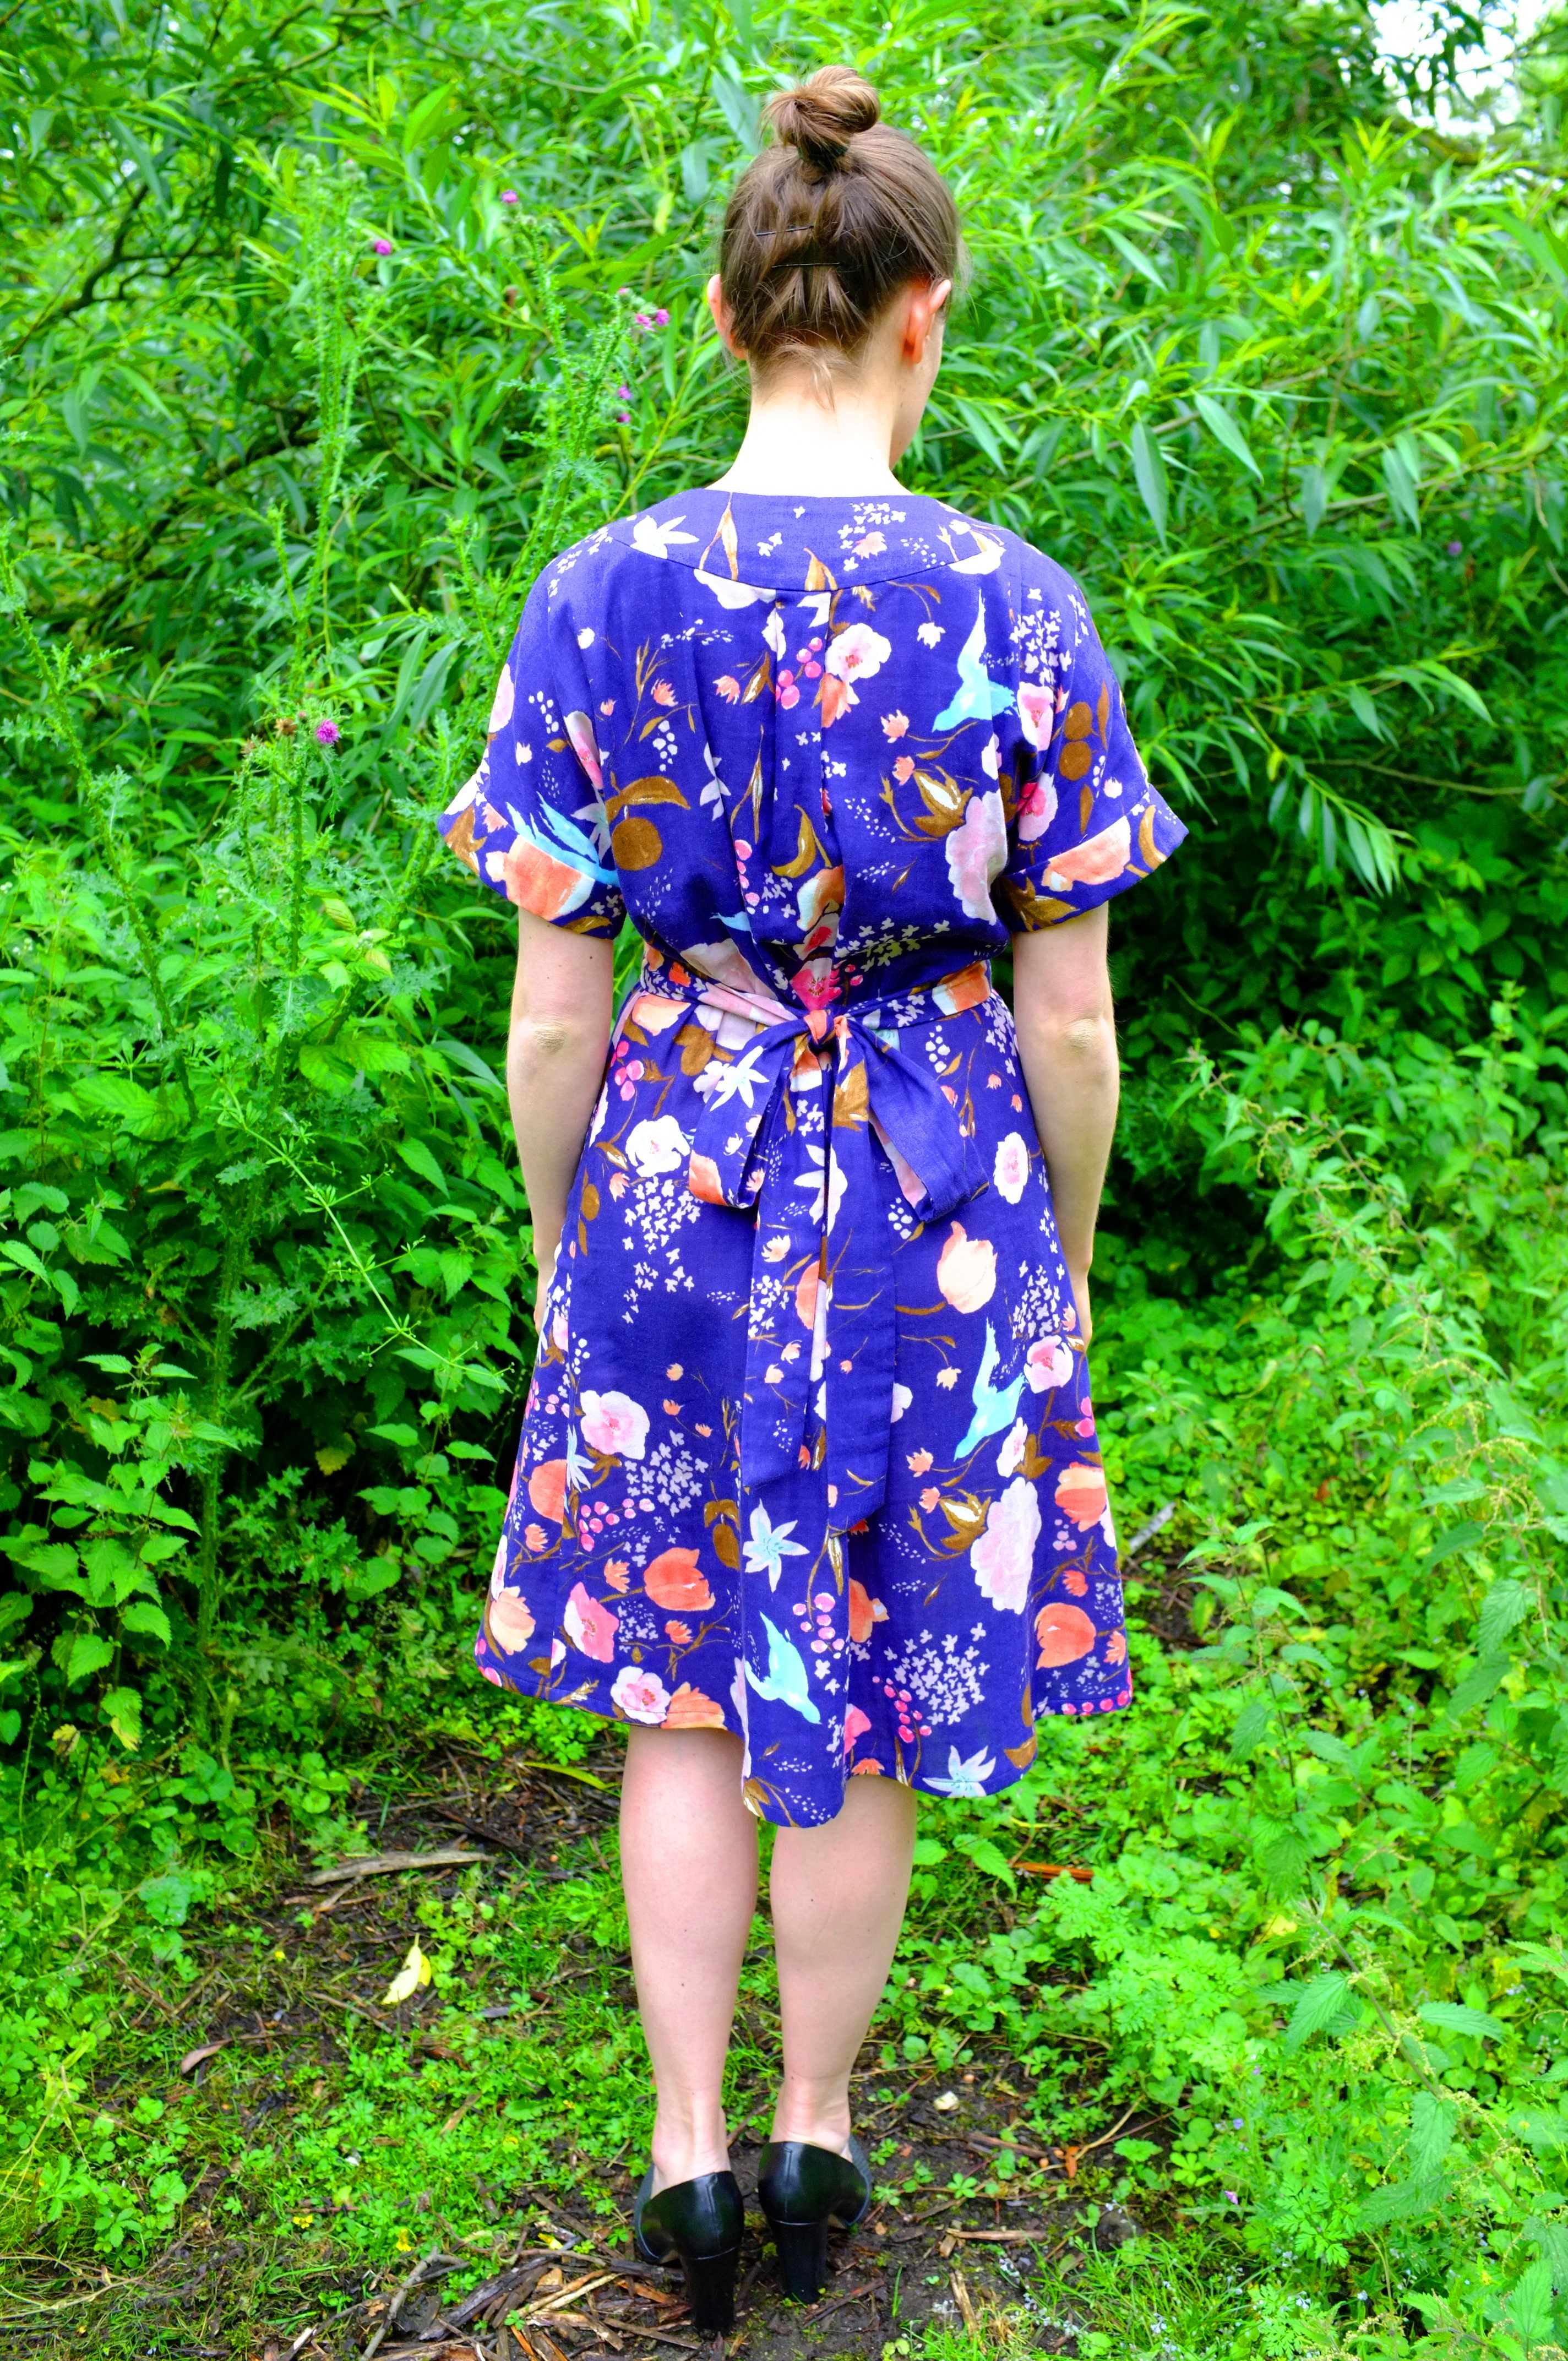
So what about the end result? I have to say, that I do like the neckline, and could see myself making maybe a casual dress with it. I am not sure about the gathers under the bust though. It could look quite cute, but I always feel like I’m pregnant when I wear something like this. Due to the many changes that I made to the pattern, the sewing itself is not the neatest, and there is some weird pulling where the facing and the shell are not exactly the same size. All in all, I think this experiment fulfilled it’s purpose of helping me figure out how flattering such a neckline would be on me. It’s also wearable, and looks especially good under a loose blazer, that tames the gathers a little bit. Next time, though, I might invest in a good pattern, to avoid having to fight so much to get the fit right.
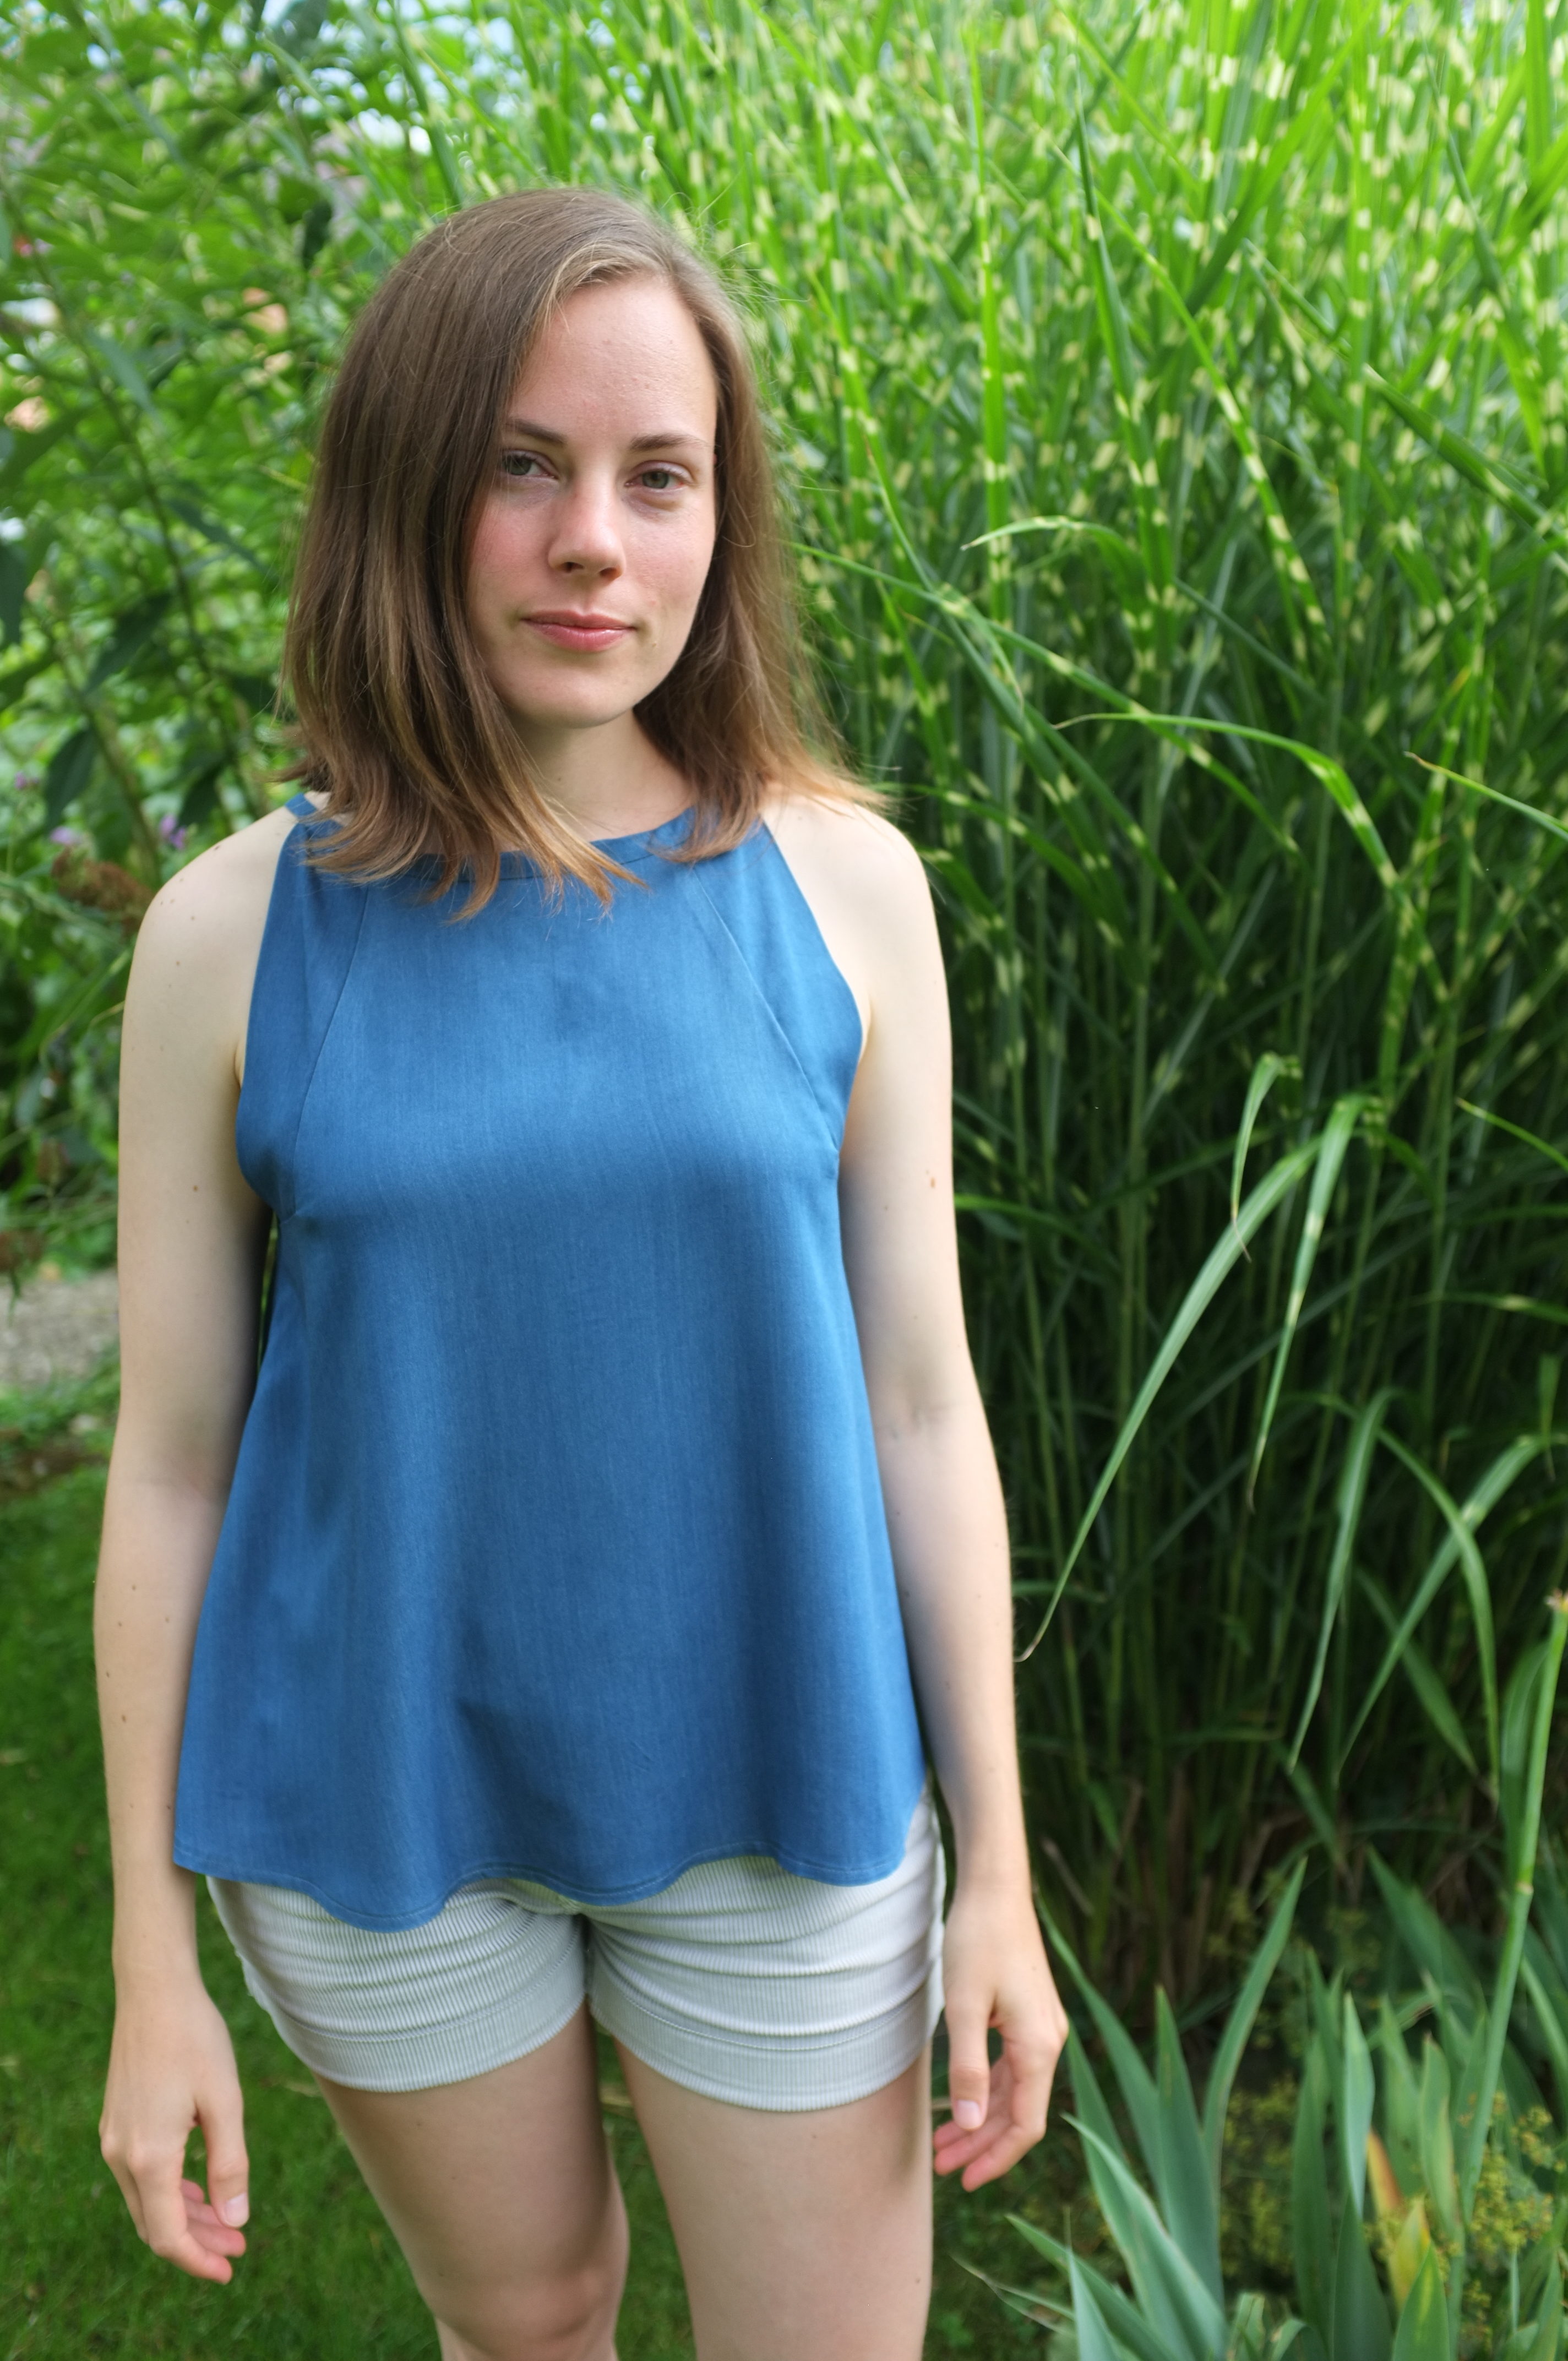

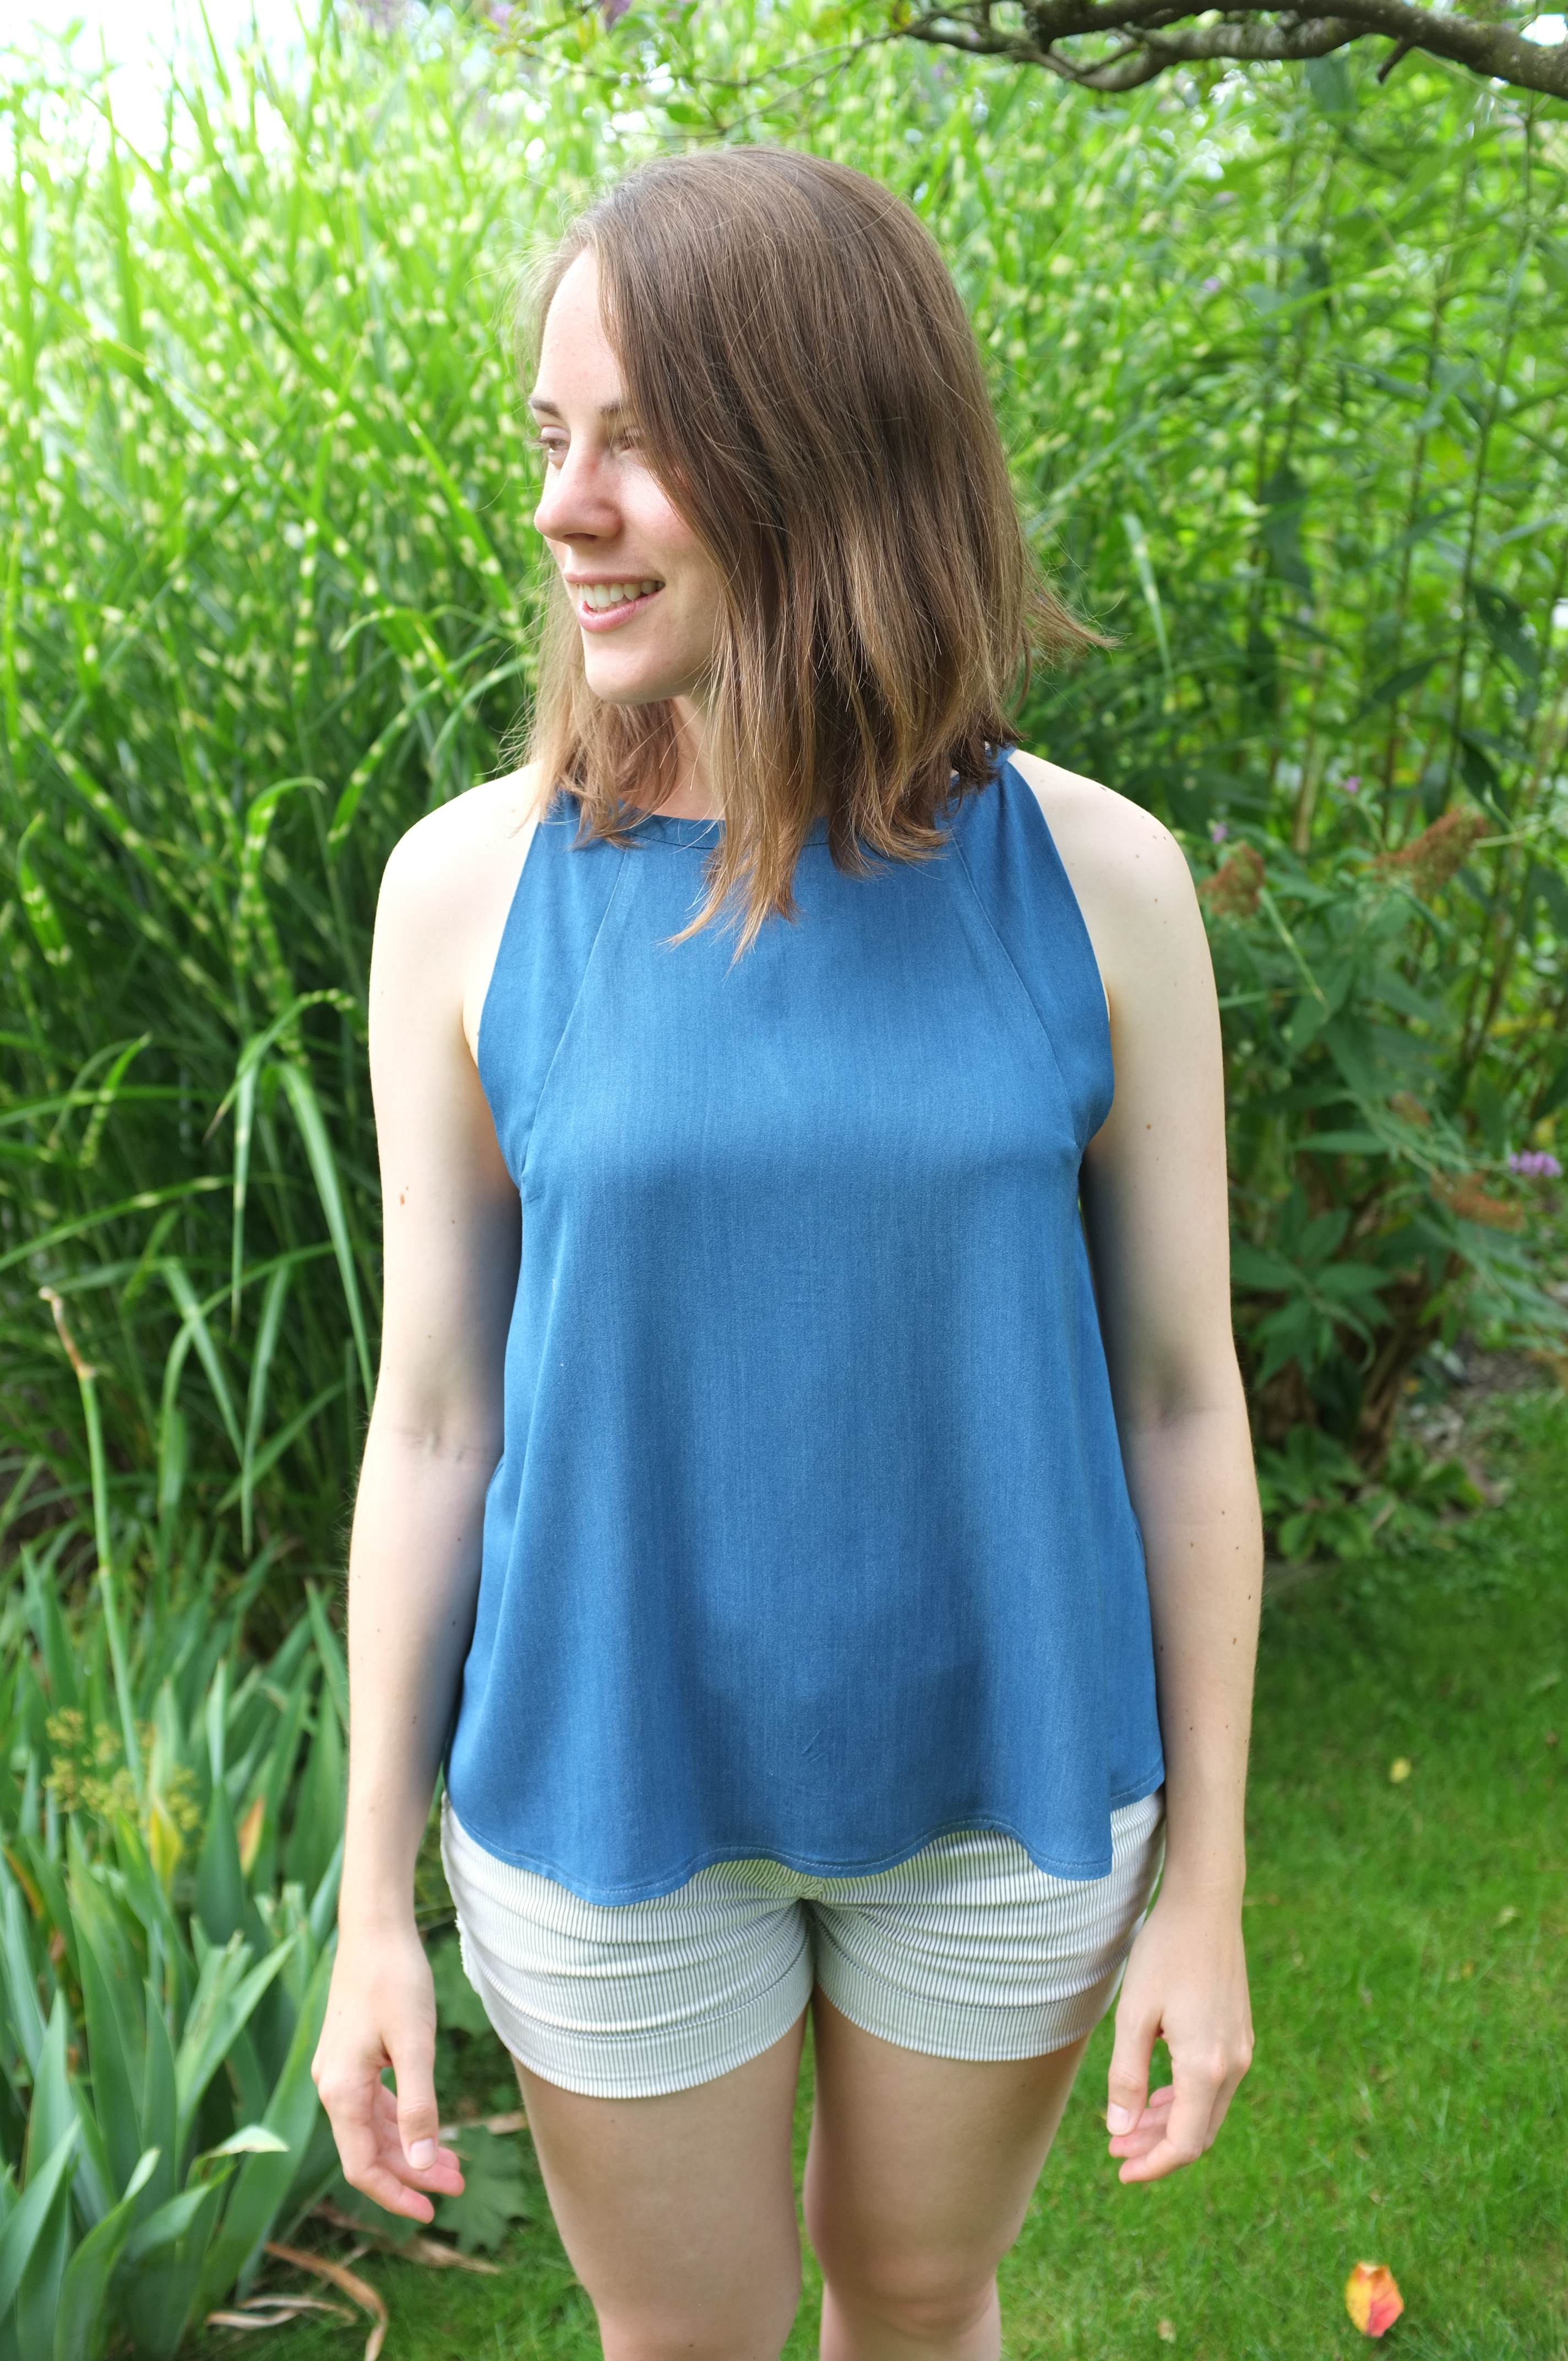
 The next top I made a couple of months later. Originally I had bought this blue lyocell to make some summery loose trousers. Then I found a pair of navy linen trousers at the charity shop, and this gap in my wardrobe was suddenly filled. I then decided to make a top from this gorgeous material (I decided I should only live in lyocell and linen from now on). For a pattern I chose a top from the nähtrends magazine, the German version of the Spanish Patrones. The top has a cute bias bound neckline and a keyhole detail in the back. It’s designed for two layers of sheer fabric, but as the lyocell is not see-through, I omitted the second layer. I had to change some steps of the construction to do that, but it wasn’t too difficult to figure out. I serged the seams and finished the neckline by hand to give it a clean finish. The keyhole is closed with a copper button and a simple thread chain (finally learned how to do that). In terms of fit, the only change I had to make was to take in the side seams by 3cm! on each side. There was some serious side boob action going on. Still the armhole is relatively low and some of the bra shows, but I don’t mind it too much. Maybe I should use that as an excuse to sew a new cute bra.
Overall, I love how this top turned out. The neckline looks cute and it’s so lovely to wear thanks to the trapeze cut and the floaty fabric. I especially love the inserts at the armholes. It’s such a nice design detail, and the folded-over fabric gives the garment such a beautiful finish. If I sew this again, I would shorten the shoulder straps a little bit as the key hole is not held up properly. I also would raise the armhole slightly, just to make it more modest. Nevertheless, I already have gotten a lot of wear out of it, especially last week when I spent some summery days in Germany.
So what’s the conclusion from this experiment with raised necklines? I decided that I definitely like this neckline on me. I think it’s very flattering on a small chested person like me. I’m already dreaming up a short jumpsuit with a gathered high neck. Let’s see if I will manage to fit that into my sewing plan for this summer. If not, let’s just hope it’s still on trend next season.