Simple Silk Dress

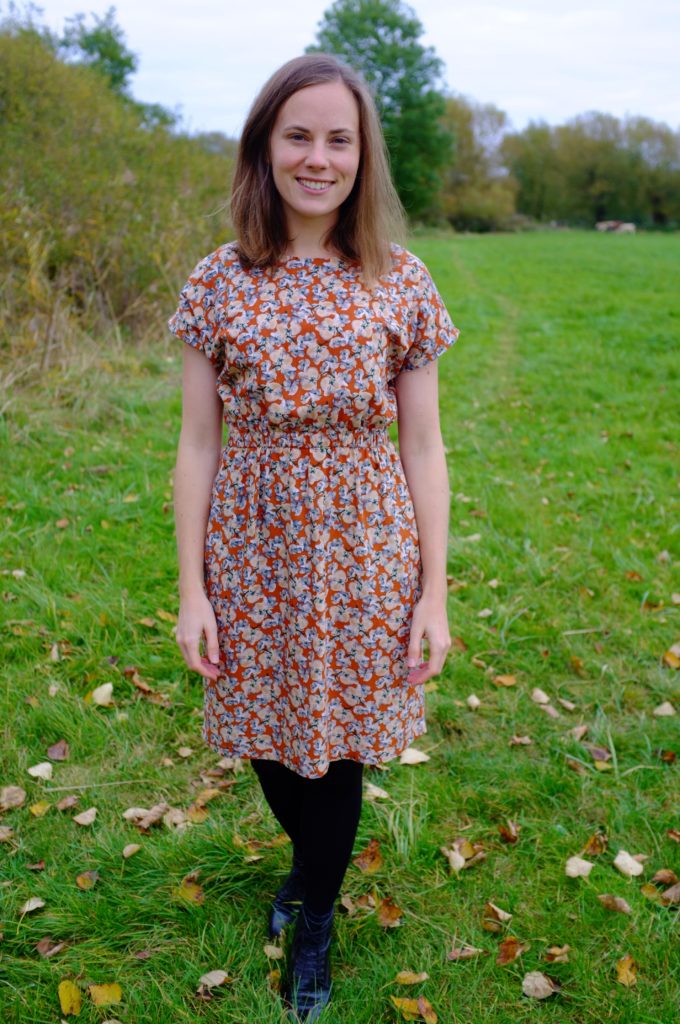
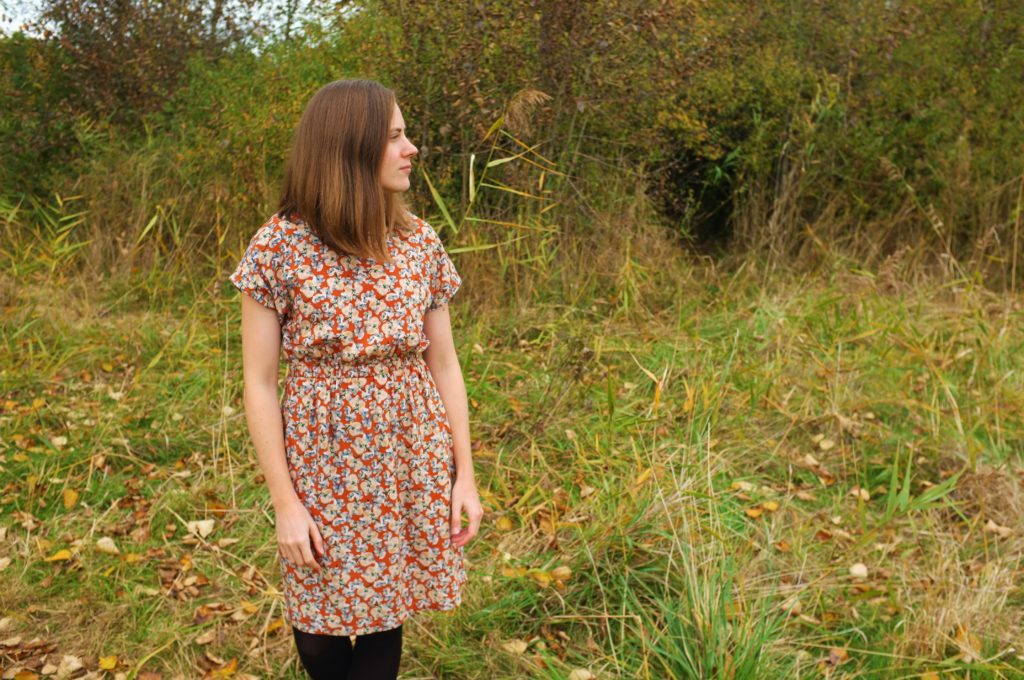
Hi everyone, I can’t believe that this is my first proper blog post of the year! Where did time go? Apart from being super busy, I’m currently working on several garments that need muslining and I don’t have any final garments to show yet. So this little dress is the only thing that I actually made this year. I probably finished it a month ago but thanks to the rubbish weather in the UK I didn’t get a chance to take pictures of it until today. The good thing about that  is though that I have already worn it quite a bit and I can attest that it’s love. It’s exactly the simple versatile dress that I was looking for.

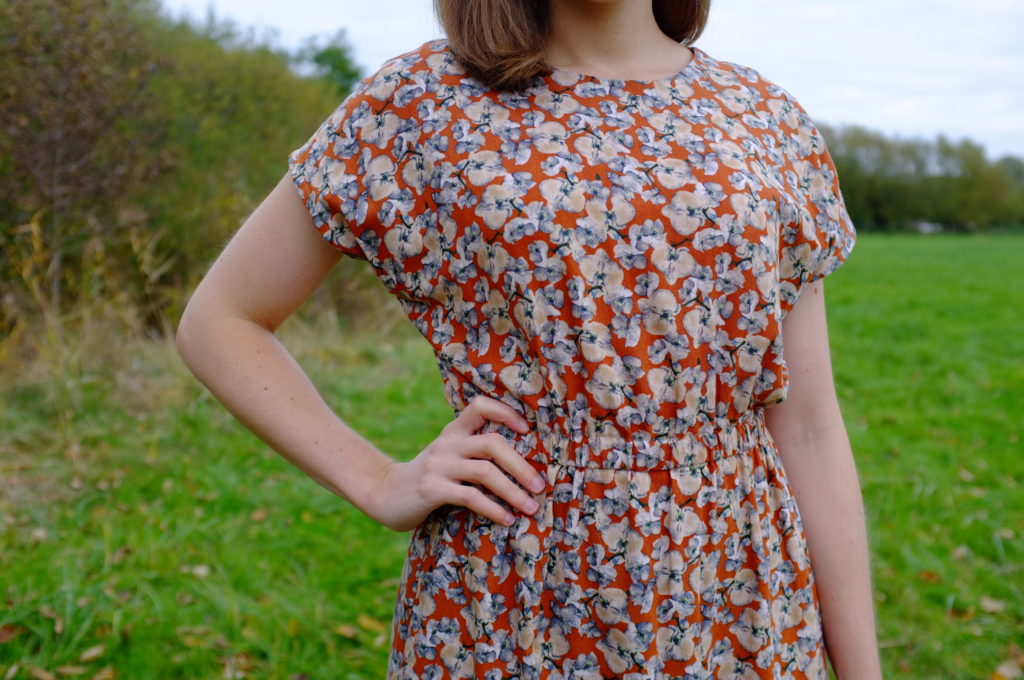
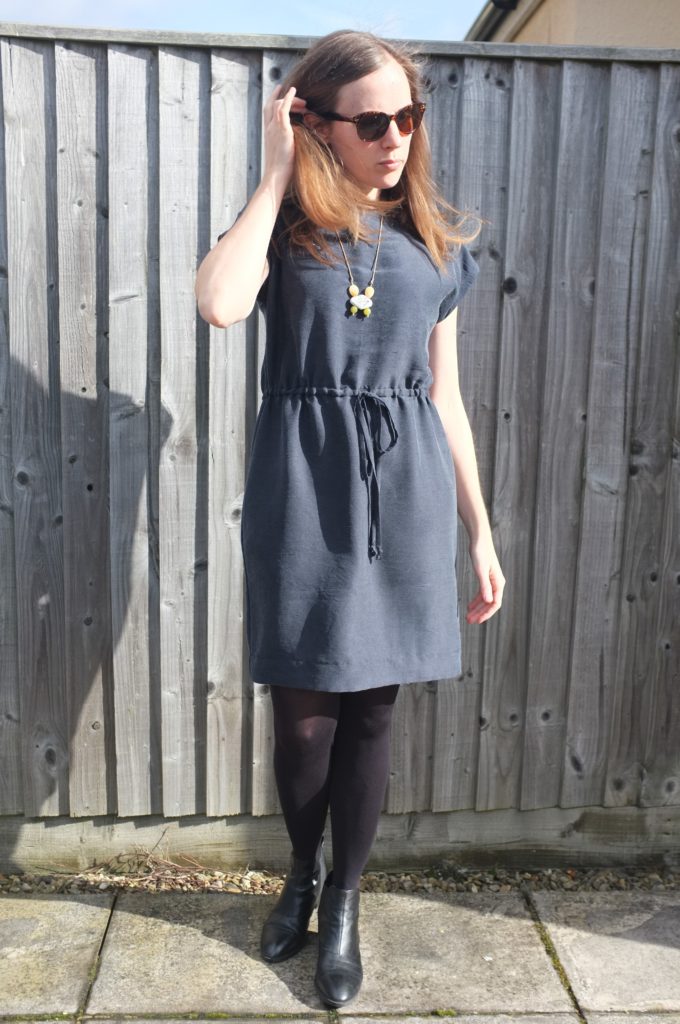
First let’s talk about this fabric. It’s one of the fabrics that I picked up on Goldhawk Road on my birthday. The seller called it sand-washed silk satin and it has the most amazing weight and texture. While it feels luxurious to wear, the irregular structures in the fabric make it look quite casual. Thanks to it’s thickness, it’s the perfect fabric for a dress. It machine-washes and presses beautifully and is almost wrinkle-free. I took these photos after travelling with it to Colombia (it was perfect for the unpredictable weather in Bogotá) and haven’t ironed it since, I just let it hang for a day. I love fabrics like that!

As for the pattern, I used the same as for this orchid-print dress, which was basically the wearable muslin for this dress. It’s a slightly hacked dress pattern from the French sewing magazine fashion Style N°9, which I’ve now realised is just a translation of the Dutch KnipMode magazine (June 2016 edition). I only made minor changes to the pattern compared to the the last dress. I widened the neckline (which is finished with a facing) slightly and slimmed down the sleeves a little bit. Instead of the elasticated waist I added a draw string from the same fabric. I love how it looks and I like being able to wear the waist looser if I want to.

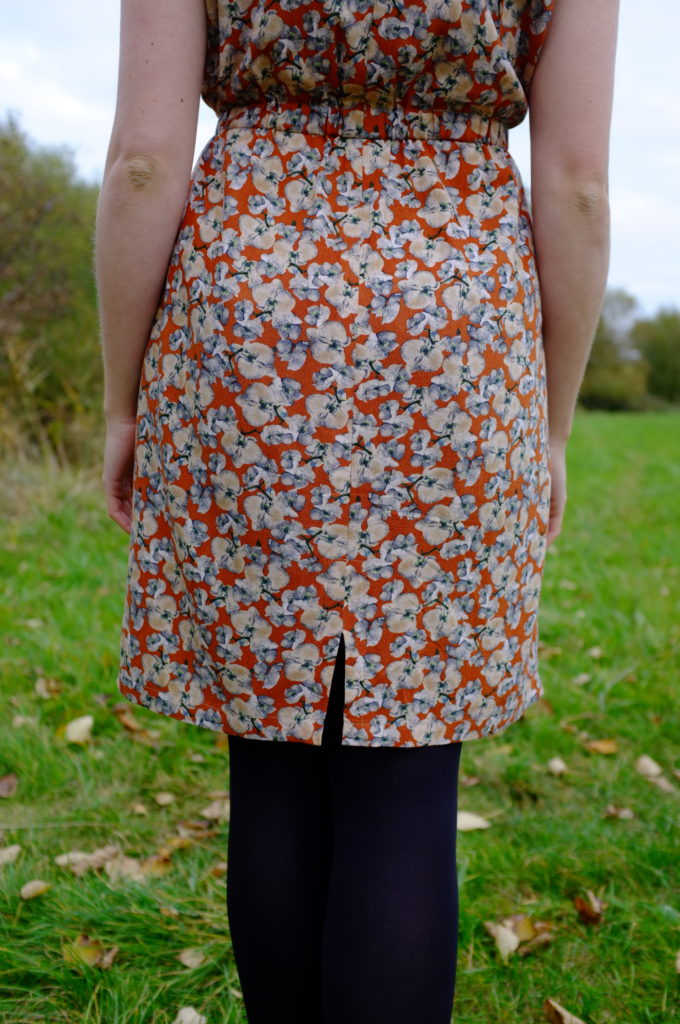
The back of the dress has a centre seam with a keyhole detail at the neck and a simple slit at the skirt. It’s not the most sophisticated version of a vent, but I love how the tip stitching detail of the keyhole is mirrored in the vent.

All in all, it’s quite a simple dress, but I love it. It’s super versatile, I can wear it to work with a blazer and more casually with a cardigan. In case you are not a fan of sewing magazine patterns, I think this dress could be easily recreated with Marilla Walker’s Maya Dress pattern.

Oh, and the necklace that I’m wearing was my 2017 Secret Valentine Exchange present from the lovely Rachel at Freckle & Co. Isn’t it the perfect match?


Autumn dress

orchid-dress_00This is a very quick post about a simple autumn dress…

Analysing my wardrobe, I realised that I needed more simple, throw-on dresses. This project started with inspiration from a dress that a friend wore on holiday, made from black lyocell twill; the perfect thing to dress up or down. Searching online for black twill (if anyone knows where to get black viscose or lyocell twill, please let me know!) I came across this lovely orchid-print viscose twill from Abakhan. I’m not the biggest fan of autumn (I find the dark evenings depressing) and needed an excuse to get excited about cold-weather sewing. This rust/cream print definitely helped me to get a little bit more excited about the colder months.

For the pattern, I found a dress very similar to my friend’s dress in a French sewing magazine (fashion Style N°9). I only had to change the front neck slit to a back key-hole design and I had the perfect pattern.

It’s a very simple dress. Kimono sleeves, an elasticated waist, a simple slit at the skirt and the added keyhole at the back of the neck. The neck is finished with a facing, which I attached to the shoulder seams with some top stitching. Thanks to the busy print the stitches are barely noticeable. All seams are finished with my overlock, which was super quick and clean. All in all it took no time to put together but the final dress is really nice and super comfy.

The fabric was very easy to work with. It’s the first time I actually worked with viscose twill, and I really like it. It has enough body for a dress but still drapes really well. Even though it’s viscose, it doesn’t wrinkle too badly either. And I just love this print, the colours are just perfect!

So all in all a great little dress. Can you believe that this is my first dress with an elasticated waist? What took me so long?

I might tweak the pattern slightly next time (remove some of the volume of the sleeves, lower the waist a tiny bit) and once I’ve found the perfect fabric, I will hopefully recreate the little black dress of my dreams.

I hope you are all inspired to do some autumn sewing!

orchid-dress_02

orchid-dress_03

orchid-dress_04

orchid-dress_05

orchid-dress_06

Tea House Dress

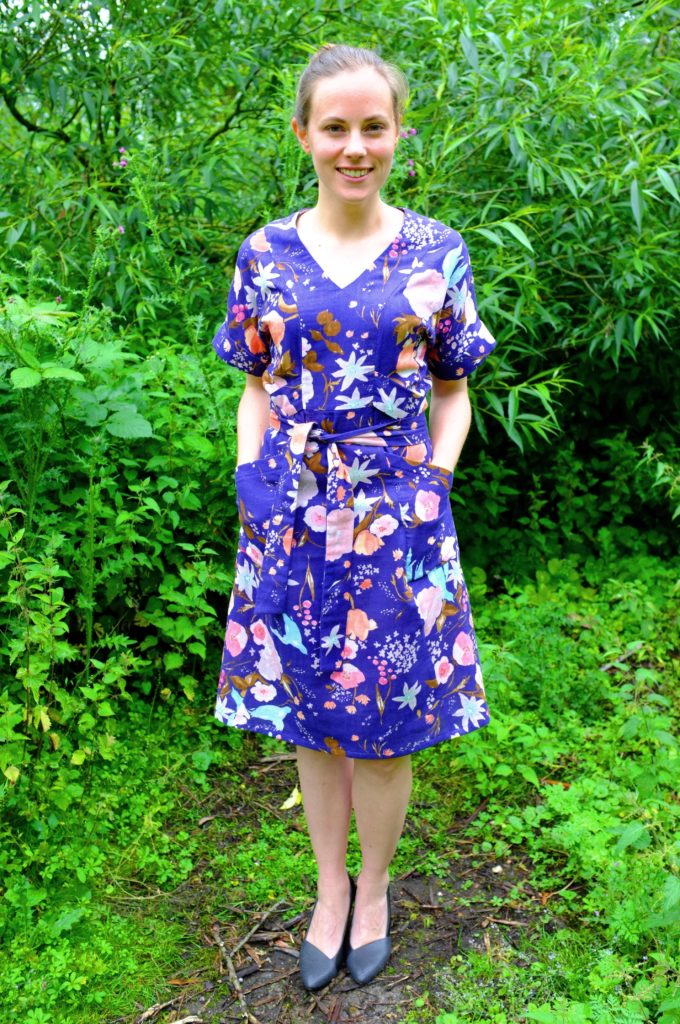
I am so excited to show you this one! Sometimes a pattern and a fabric just click and result in the perfect garment.

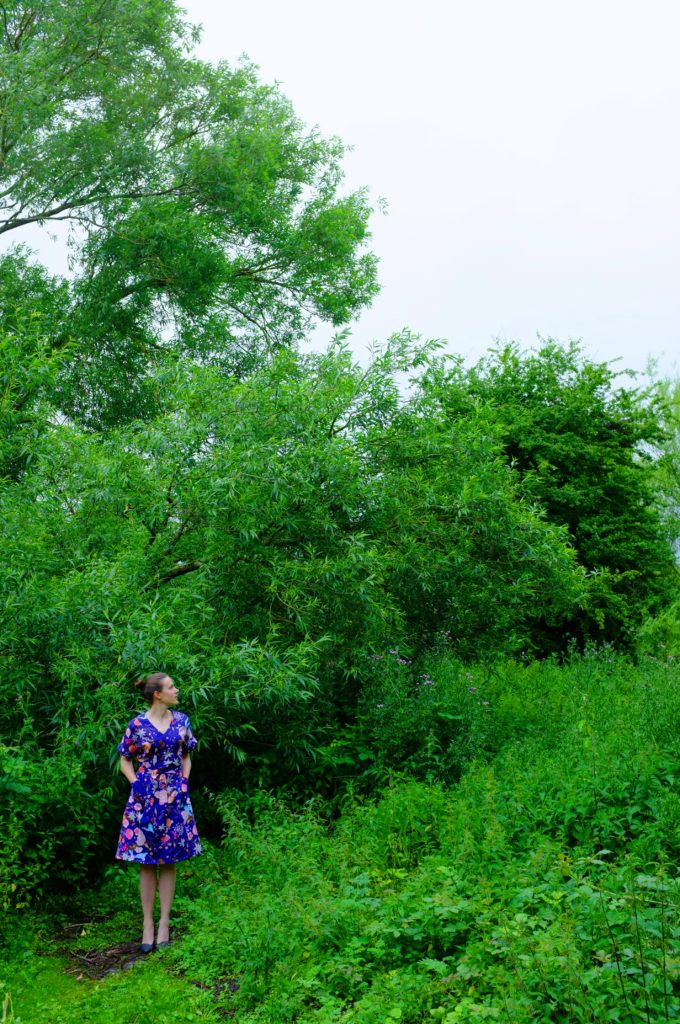
Tea Room Dress_01Apologies for the weird colours and facial expressions in these photos. The British weather for the last week decided to stay as grim as the mood around here after the EU referendum. Very weird times to be living in the UK right now. Nevertheless I wanted to get this blogged, something colourful and joyful. For some reason I had this vision of shooting this in a jungle (I seem to be too strongly influenced by the cool Australian bloggers out there). An actual jungle is quite hard to come by here in the UK, but just around the corner we have some green wilderness which had to do. I even had to wade through stinging nettles and thistles to get there, that’s how determined I was to get my jungle shot. I quite like how the pictures turned out. Not as exotic as a real jungle but still  a nice scenery.

Tea Room Dress_03

Tea Room Dress_02Let’s start with the fabric. When I first saw this nani IRO double gauze fabric from a few seasons back (available in another colourway here), I completely fell in love. The pattern and the colours just spoke to me. I don’t wear a lot of bold patterns though and was not exactly sure how it would fit in my wardrobe, so I didn’t buy it immediately. But it haunted me, and over Christmas, with a push from my mother, I finally decided to place an order for some Japanese fabrics from Miss Matatabi. With several weddings coming up, I knew I had the perfect occasions to wear this print.

I was super excited when the fabric arrived. It was as gorgeous as I hoped it to be. My original plan had been to make an Inari T-Dress from it, after seeing some lovely versions made from the same fabric. However, after an only mildly successful attempt at the Inari, I wanted to explore other options. One of the first things that I did when the fabric arrived, was to drape it over my dressform and I realised I needed to make something more drapey and feminine with it. I browsed Pinterest and looked through my pattern stash but nothing seemed to fit. I was already sketching some designs to develop my own pattern, when I saw the announcement for the Tea House Dress by Sew House Seven. Again I fell in love and knew immediately that it would be the perfect dress pattern for my nani IRO, which was still patiently sitting in my stash . So I immediately snatched the pattern up and got to work. The main challenge here was to squeeze the dress out of the fabric that I had. Even though I had bought 3 m of the fabric, the fabric width of only 106 cm meant that I barely could fit my pattern pieces on the fabric. I wanted to have a hem length somewhere between view B and E to have it at knee-length. I thus cut view B in size 6 for the top, grading out to  size 10 at the hips, using the hem length of size 20. It just about fit, leaving no room; however, for pattern matching. With the print being very irregular, this doesn’t really matter though.

I made version B with the sashes caught in the front facing. The construction was super straight forward and quick (I love dresses that don’t need fastenings!). The instructions are very thorough and clear and the pattern is drafted well to ensure a professional finish. The neckline is finished with a facing which I stitched down by hand to give it a clean look. The hem is just finished with a double fold.

The only thing that I would change construction-wise is to clip the neckline facing in more places next time before folding it in. The instructions tell you to clip at the V and once each side, which in my case resulted in a slightly distorted V-line.

In terms of design, the only change (other than lengthening the hem) was to even out the hem. The pattern pieces and the photos of the finished garment suggest that the front hem is supposed to be slightly shorter than the back hem. I decided to hem it all at the same length which meant shaving off some fabric at the back hem.

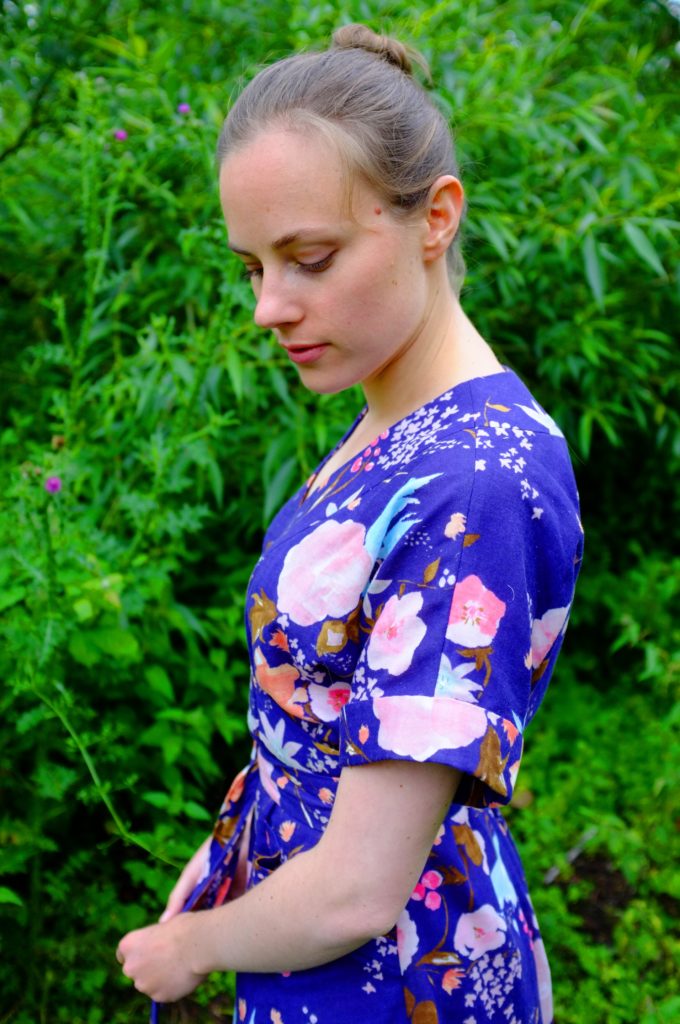
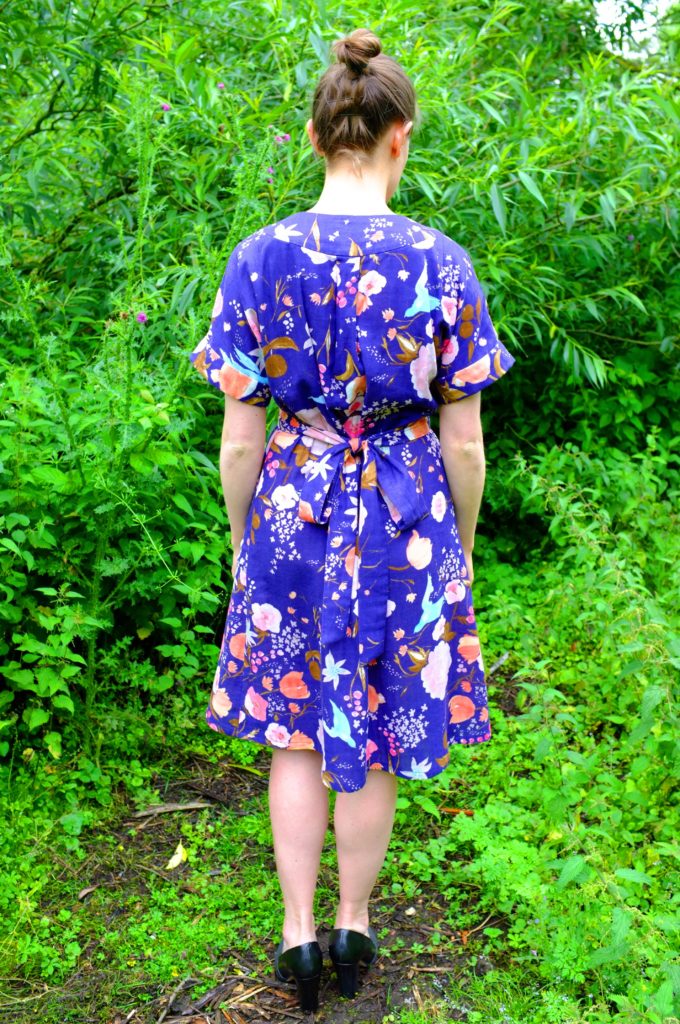
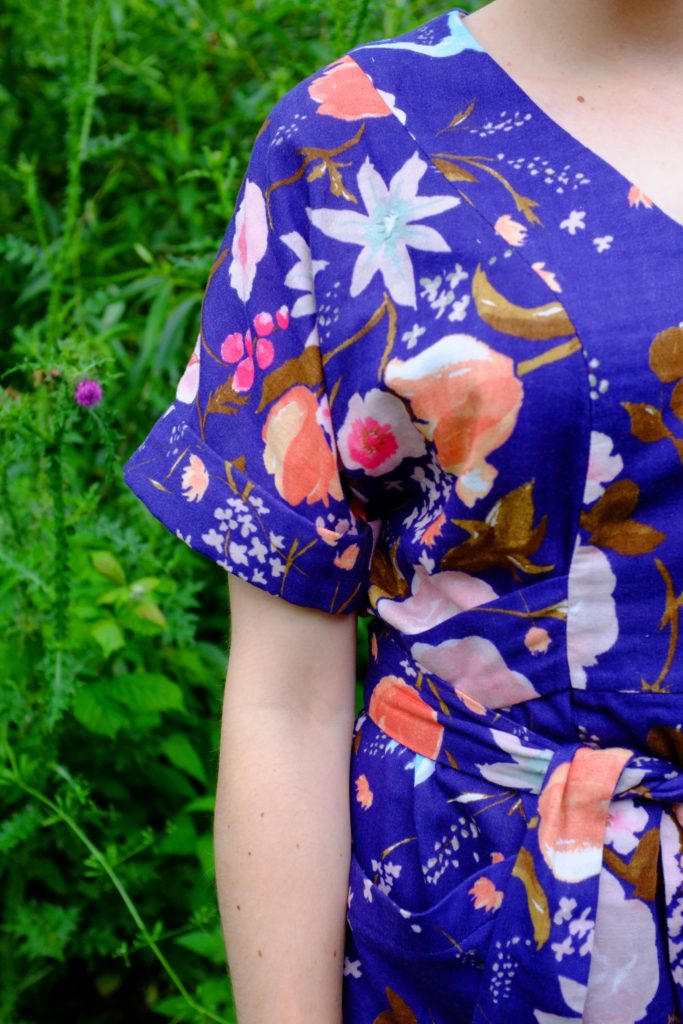
Tea Room Dress_04Tea Room Dress_05Tea Room Dress_06Tea Room Dress_07Tea Room Dress_08Overall I am very happy with the final garment. The fit of the top is spot-on. The neckline has a lovely shape and I love the sleeves (which give it a slightly Japanese vibe). Around the hips, I might add a little bit more ease next time. The double gauze gives the skirt some structure and makes it look more A-line than in the product photos, emphasised by the triangular front piece. In the belly area there is a little bit of fabric pooling, which makes me look slightly pregnant, but as I am planing to wear the tie in the front, it’s covered up anyway.

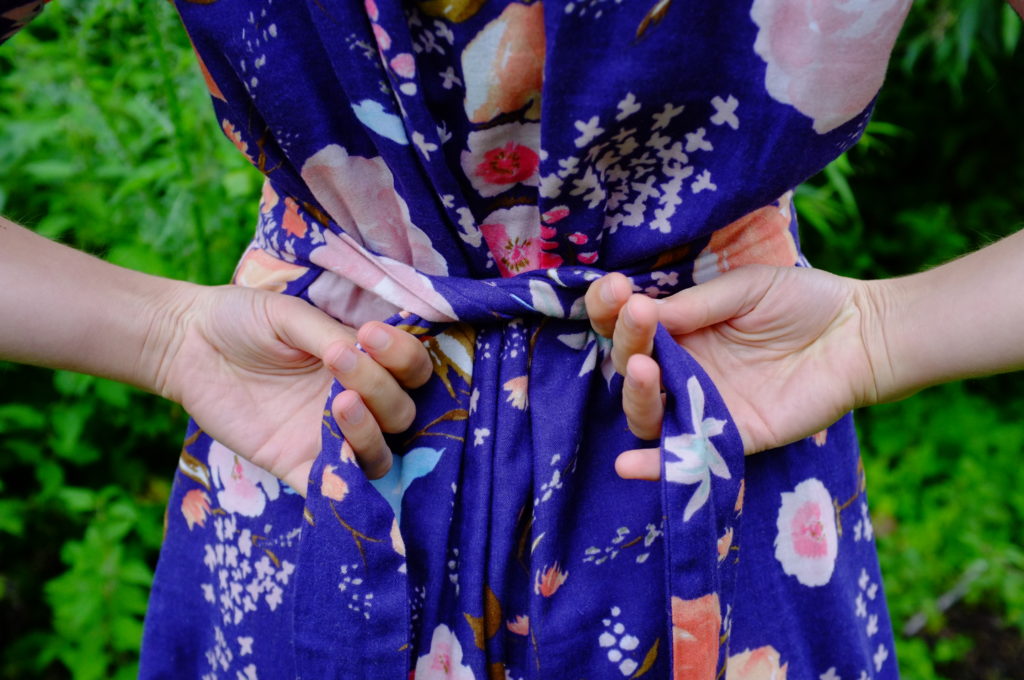
My favourite details of the dress are of course the pockets and the sashes. The pockets are huge and quite prominent as they stick out a little when the sash is tied. I do love them as a feature and they will come in particularly handy for the upcoming weddings. I always struggle to find a purse that goes well with my dresses and as much as I love clutches, they are not very practical. The sashes help to make the dress look very feminine and I love how the cinched-in waist gives the back some blouseiness, which looks rather cool.

Tea Room Dress_09You can see, I am really happy with this dress. Let the wedding season commence!Tea Room Dress_10

Merken