[Self-advertisement]
Hello there, I hope everyone is doing well. While I am writing this it is snowing again (in April!) but I’m more than ready for spring!
I wanted to check in to share some news (if you haven’t seen them already on Instagram): we started an online shop for deadstock fabric! It is called Stoffkollektiv and went live last week. The idea behind the shop is to make interesting fashion fabric available to home sewists. For a more sustainable approach we are only selling deadstock fabric, i.e. fabric that is left over from the fashion industry. Most of the fabric that I personally use is deadstock, but during the pandemic I wasn’t able to visit my favourite shops anymore. That is why we decided to offer fabric online. “We”, that’s my husband and I, my brother and his partner. With curated fabric collections and lots of sewing inspiration on the website, we hope to encourage more people to sew their own clothes. I would love for you to check out the shop!
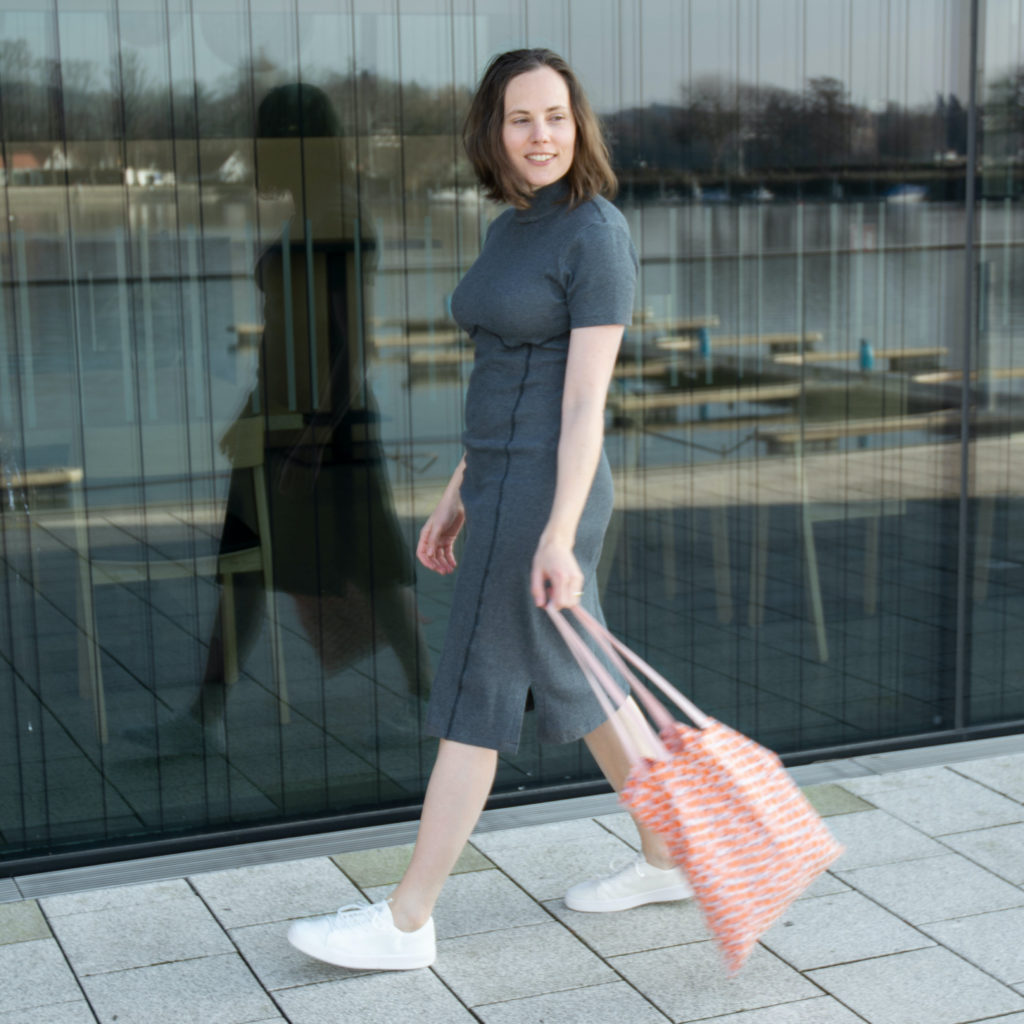
While this will stay my private blog, where I will share all sorts of projects, once in a while I will blog about garments that I made from our fabric. This dress is part of our first collection “let’s go!”, a colourful collection of stretch fabrics. If you have been following me for a while, you know that I mainly sew with woven fabric in neutral or earthy colours, so this collection is a bit outside of my comfort zone. When Miri and I looked through samples at our supplier, we were drawn to the bright and optimistic colours, desperately needed after a long winter. Pushing ourselves to explore new shapes and colours was so much fun and I love how the collection came out!
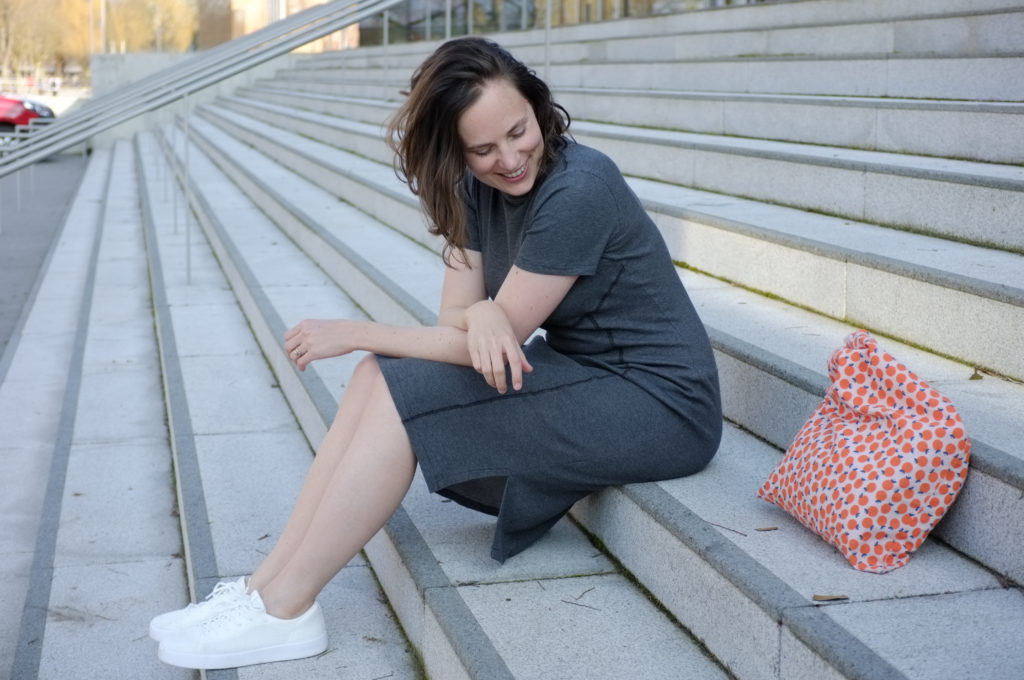
This dress is the most neutral of the bunch. I used our cotton rib knit in stone grey, which is a medium weight rib knit with great recovery thanks to a small amount of spandex. The two sides of the fabric are different shades of grey and I went with the darker one. Even though the fabric is lighter than our other rib knits it works perfectly for both tops and bottoms. Make sure to go on our website to see the pair of leggings that Miri made from it.
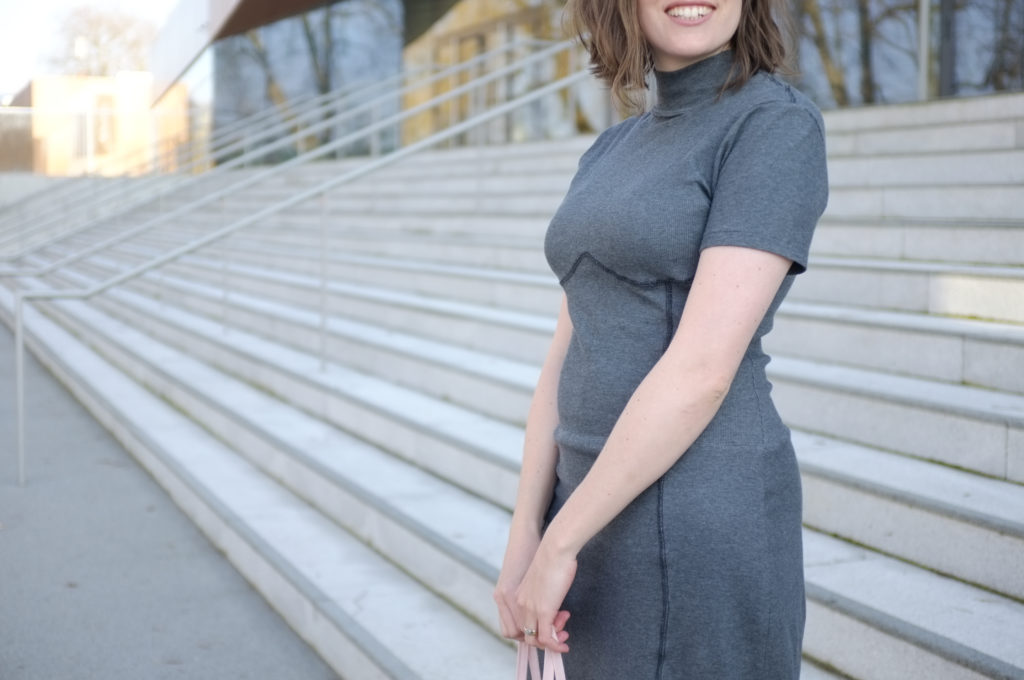
I’ve been wanting to make the Eva Top by Cool Stitches since it came out; I’ve seen so many great versions online! I thought it would be fun to extend it into a dress using the Nikko Dress by True Bias Patterns as the base for the skirt portion. The Eva Top has a bustier design with exposed seams, which I had never tried before. I didn’t want to make a muslin, so I decided to first make the top on its own and see if I needed to tweak it before committing to a dress. The pattern only consisted of pattern pieces and a YouTube video for instructions when I made it. I found that completely sufficient to make the top, I know though that Nicole has since then updated the pattern with an instruction booklet. The trickiest bit when making this top is the curved seam under the bust. As recommended, I basted it first and then overlocked it, which worked perfectly. To make the overlocked seams lay flat I stitched them down with a zigzag stitch within the overlocked seam, which isn’t really visible but gives a cleaner look.
Luckily enough, the top fit quite well without any adjustments (I made a size 42 based on my bust measurements). I am still breastfeeding and my bust is a few sizes larger than usual. Fitting that area is thus a bit of a challenge, as my size will change again in the near future. That’s why I decided not to spend too much time on fitting. If you want the perfect fit though I would recommend making a quick muslin. You want that under bust seam to sit in the right place.
Once I knew the top fit, I moved on to the skirt. Ideally, I would have added it at the waist but I was short on fabric (For a fabric shop owner that’s quite ironic right? But you have to know that our fabric storage is not here in Karlsruhe but with Miri in Albstadt and we need to send fabric back and forth for projects). Anyways, I wanted to keep the skirt as long as possible, so I attached it where the top ended. To make that slightly awkward waist/hip seem sit as flat as possible I topstitched it down with grey thread. Now it’s not that obvious anymore.
I wanted the exposed seam detail to run through the skirt as well, so I cut the front skirt in three pieces, transferring the seams from the top and extending them to the hem by following the side seams (and adding seam allowances). I assembled it the same way as the top and then joined the two, making sure to align the exposed seams.
The sleeves, the hem and the side slits were all finished with a narrow zigzag stitch, which is my preferred method for sewing knits. All inside seams are finished with my overlocker. Sewing this fabric was surprisingly painless. I’ve had terrible experiences with rib knits in the past, but this one here is actually easy to handle. My top tips for sewing rib knits: steam seams back into shape and use a walking foot. I’ve had my machine for 7 years now and only recently got a walking foot. I have no idea what took me so long! It really helps to avoid stretched out seams.
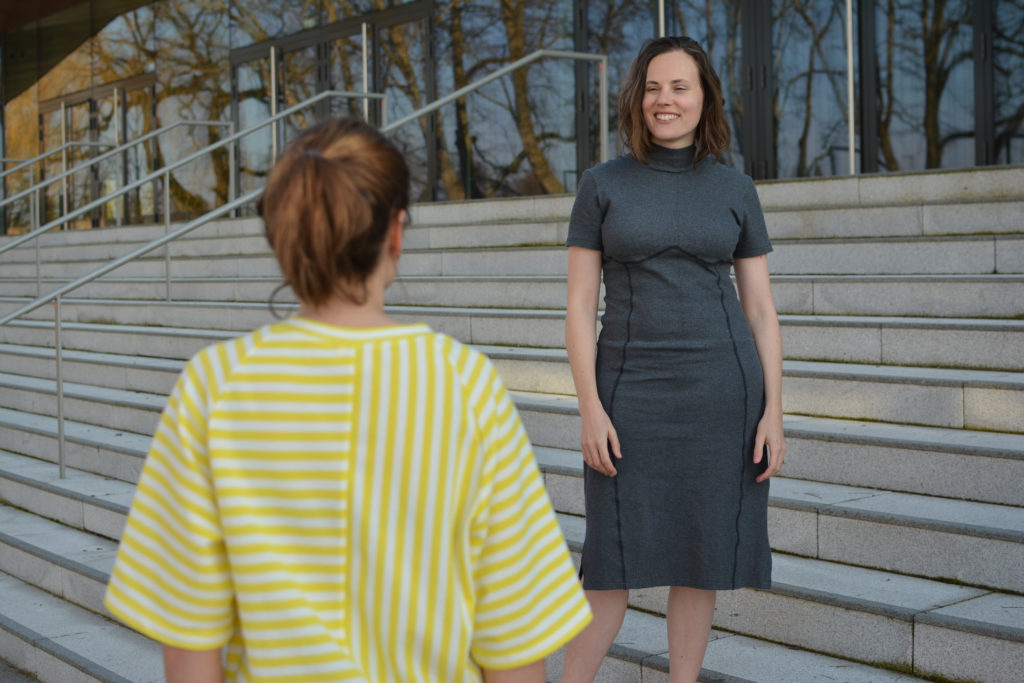
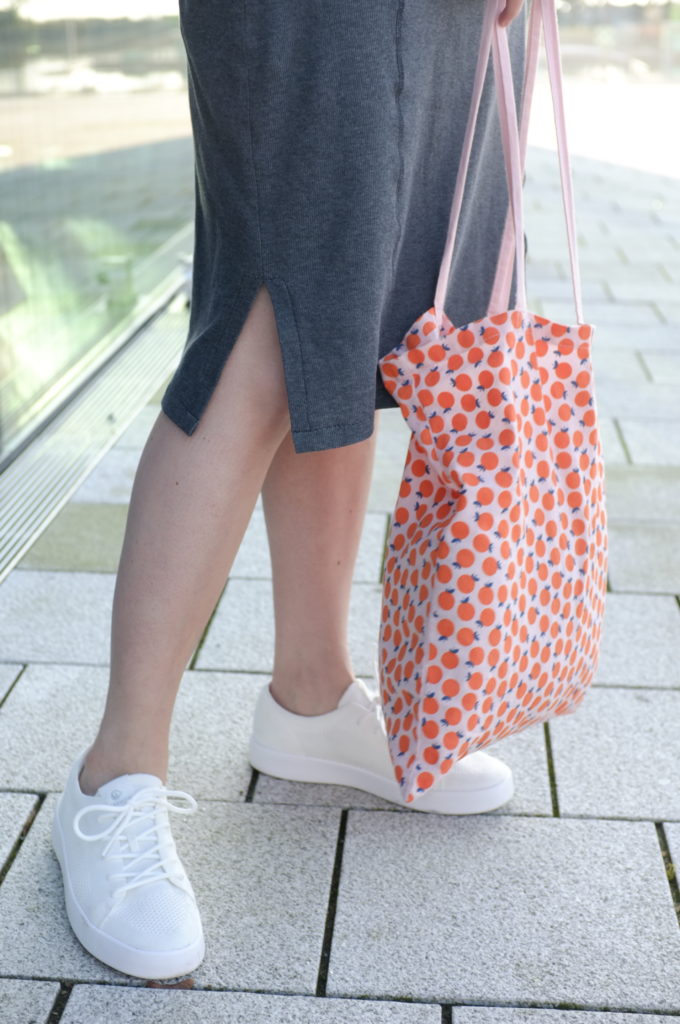
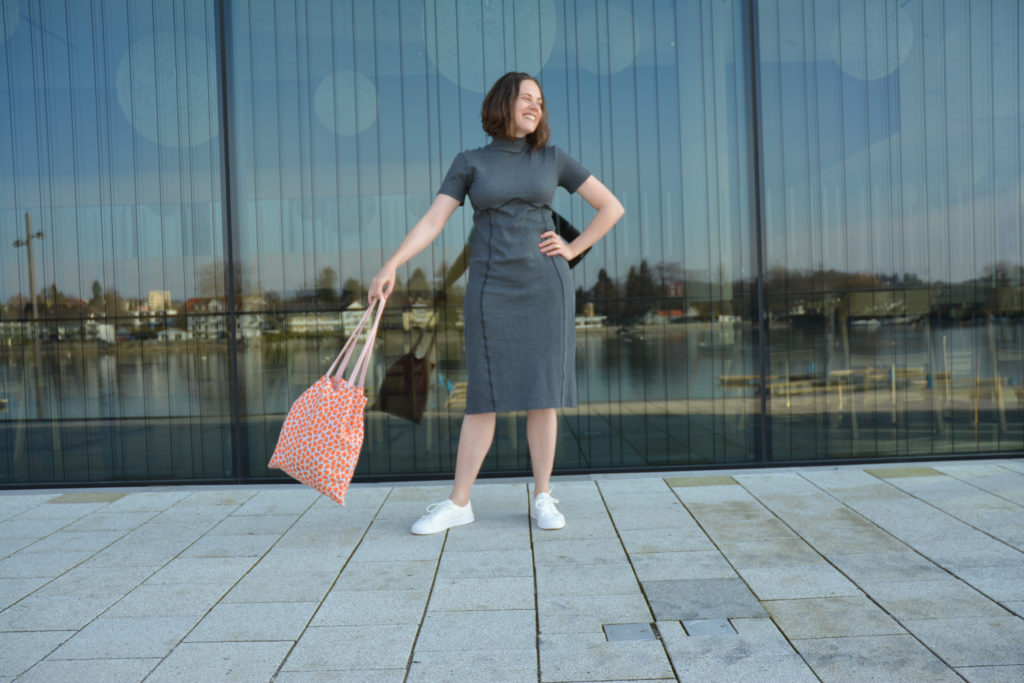
I really like this dress. Despite its extravagant seam lines it’s actually really easy to wear. Dressed down with a pair of sneakers it looks sporty but cool.
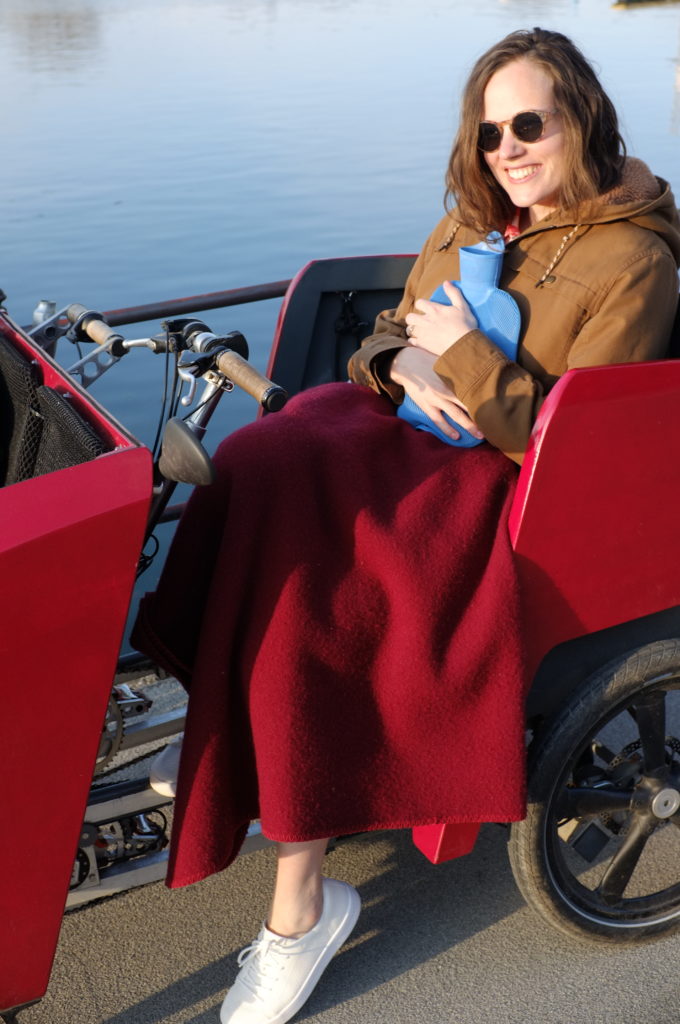
Shooting this collection was quite an adventure. Don’t be fooled by the pictures; it was freezing cold! But the light was lovely and thanks to our two photographers (my husband and my brother) we were able to wrap up the shooting quickly. I’ll leave you with this behind-the-scenes picture of me warming up between outfits with blankets and a hot-water bottle.
So cute! Well done!!!