So, I hope you are prepared for a long blog post; the tale of these handmade clogs is a long one, spanning two summers and many hours of work. For anyone not interested in the long version, here as short summary: it’s been an interesting ride. I learned a ton and, despite my amateurism, ended up with a pair of clogs that are pretty and wearable, which is a great win. I especially loved seeing the wooden soles form, from a tree branch, to actual shoes, so cool!
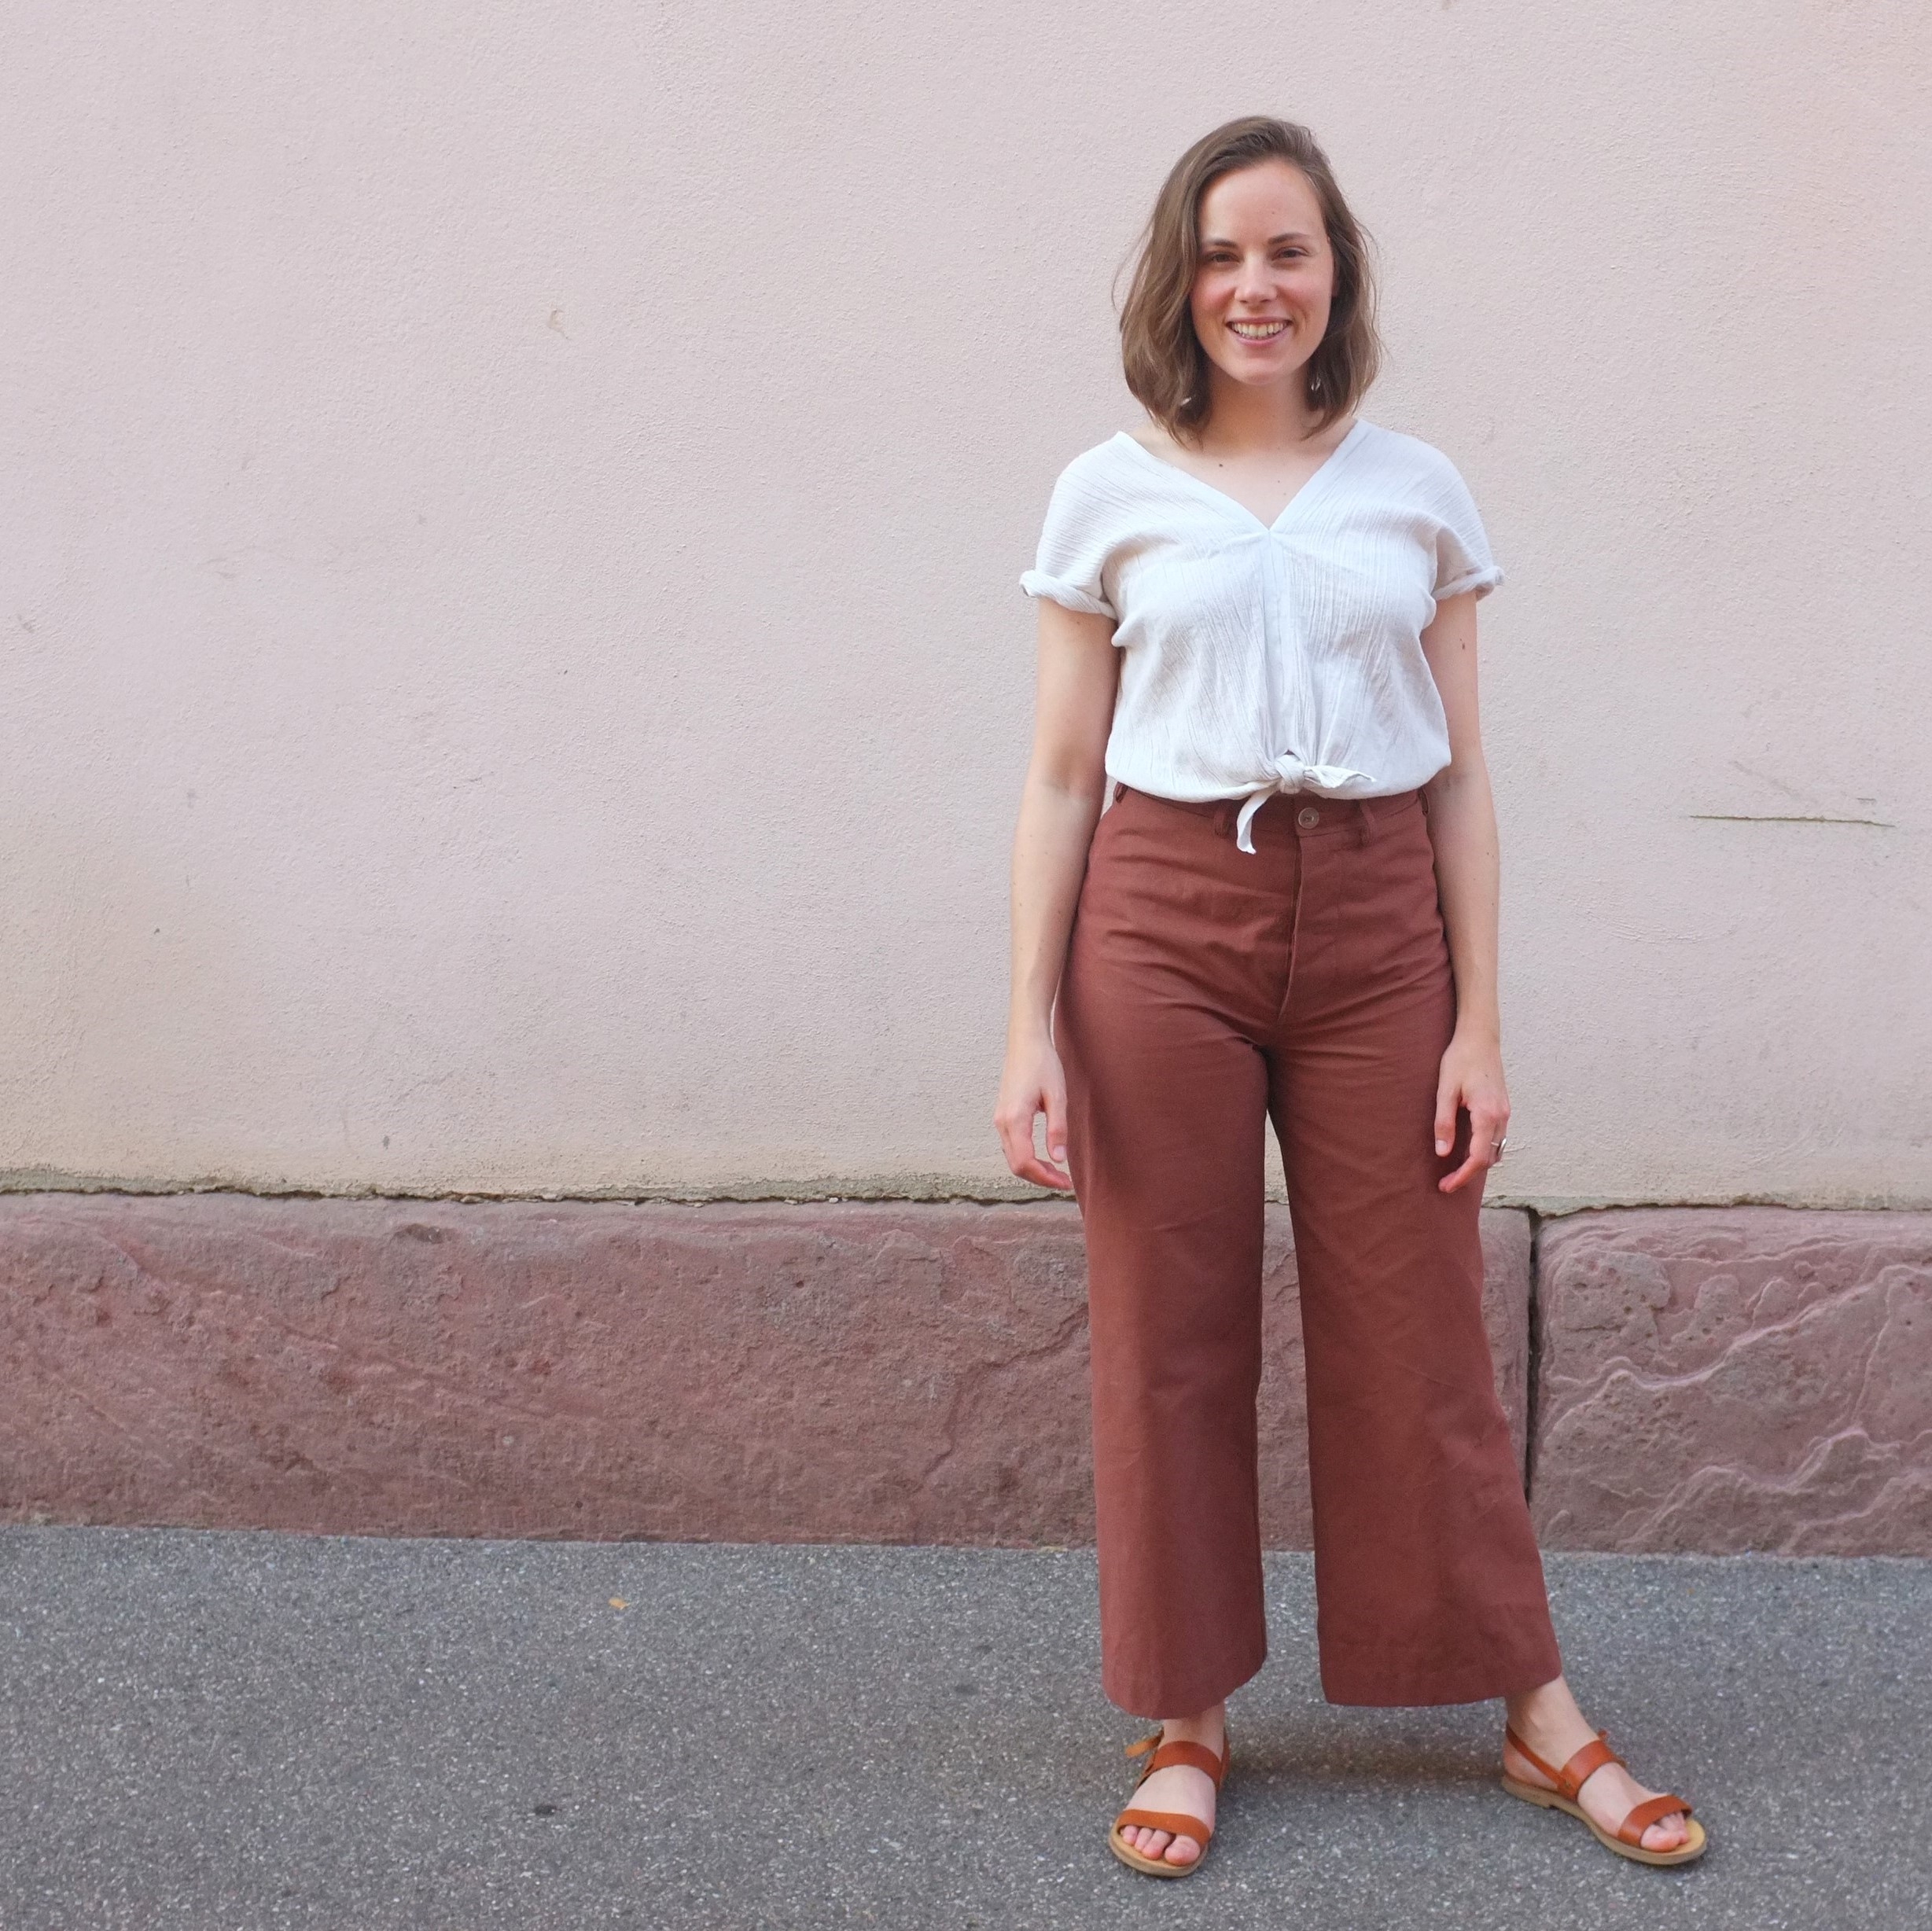
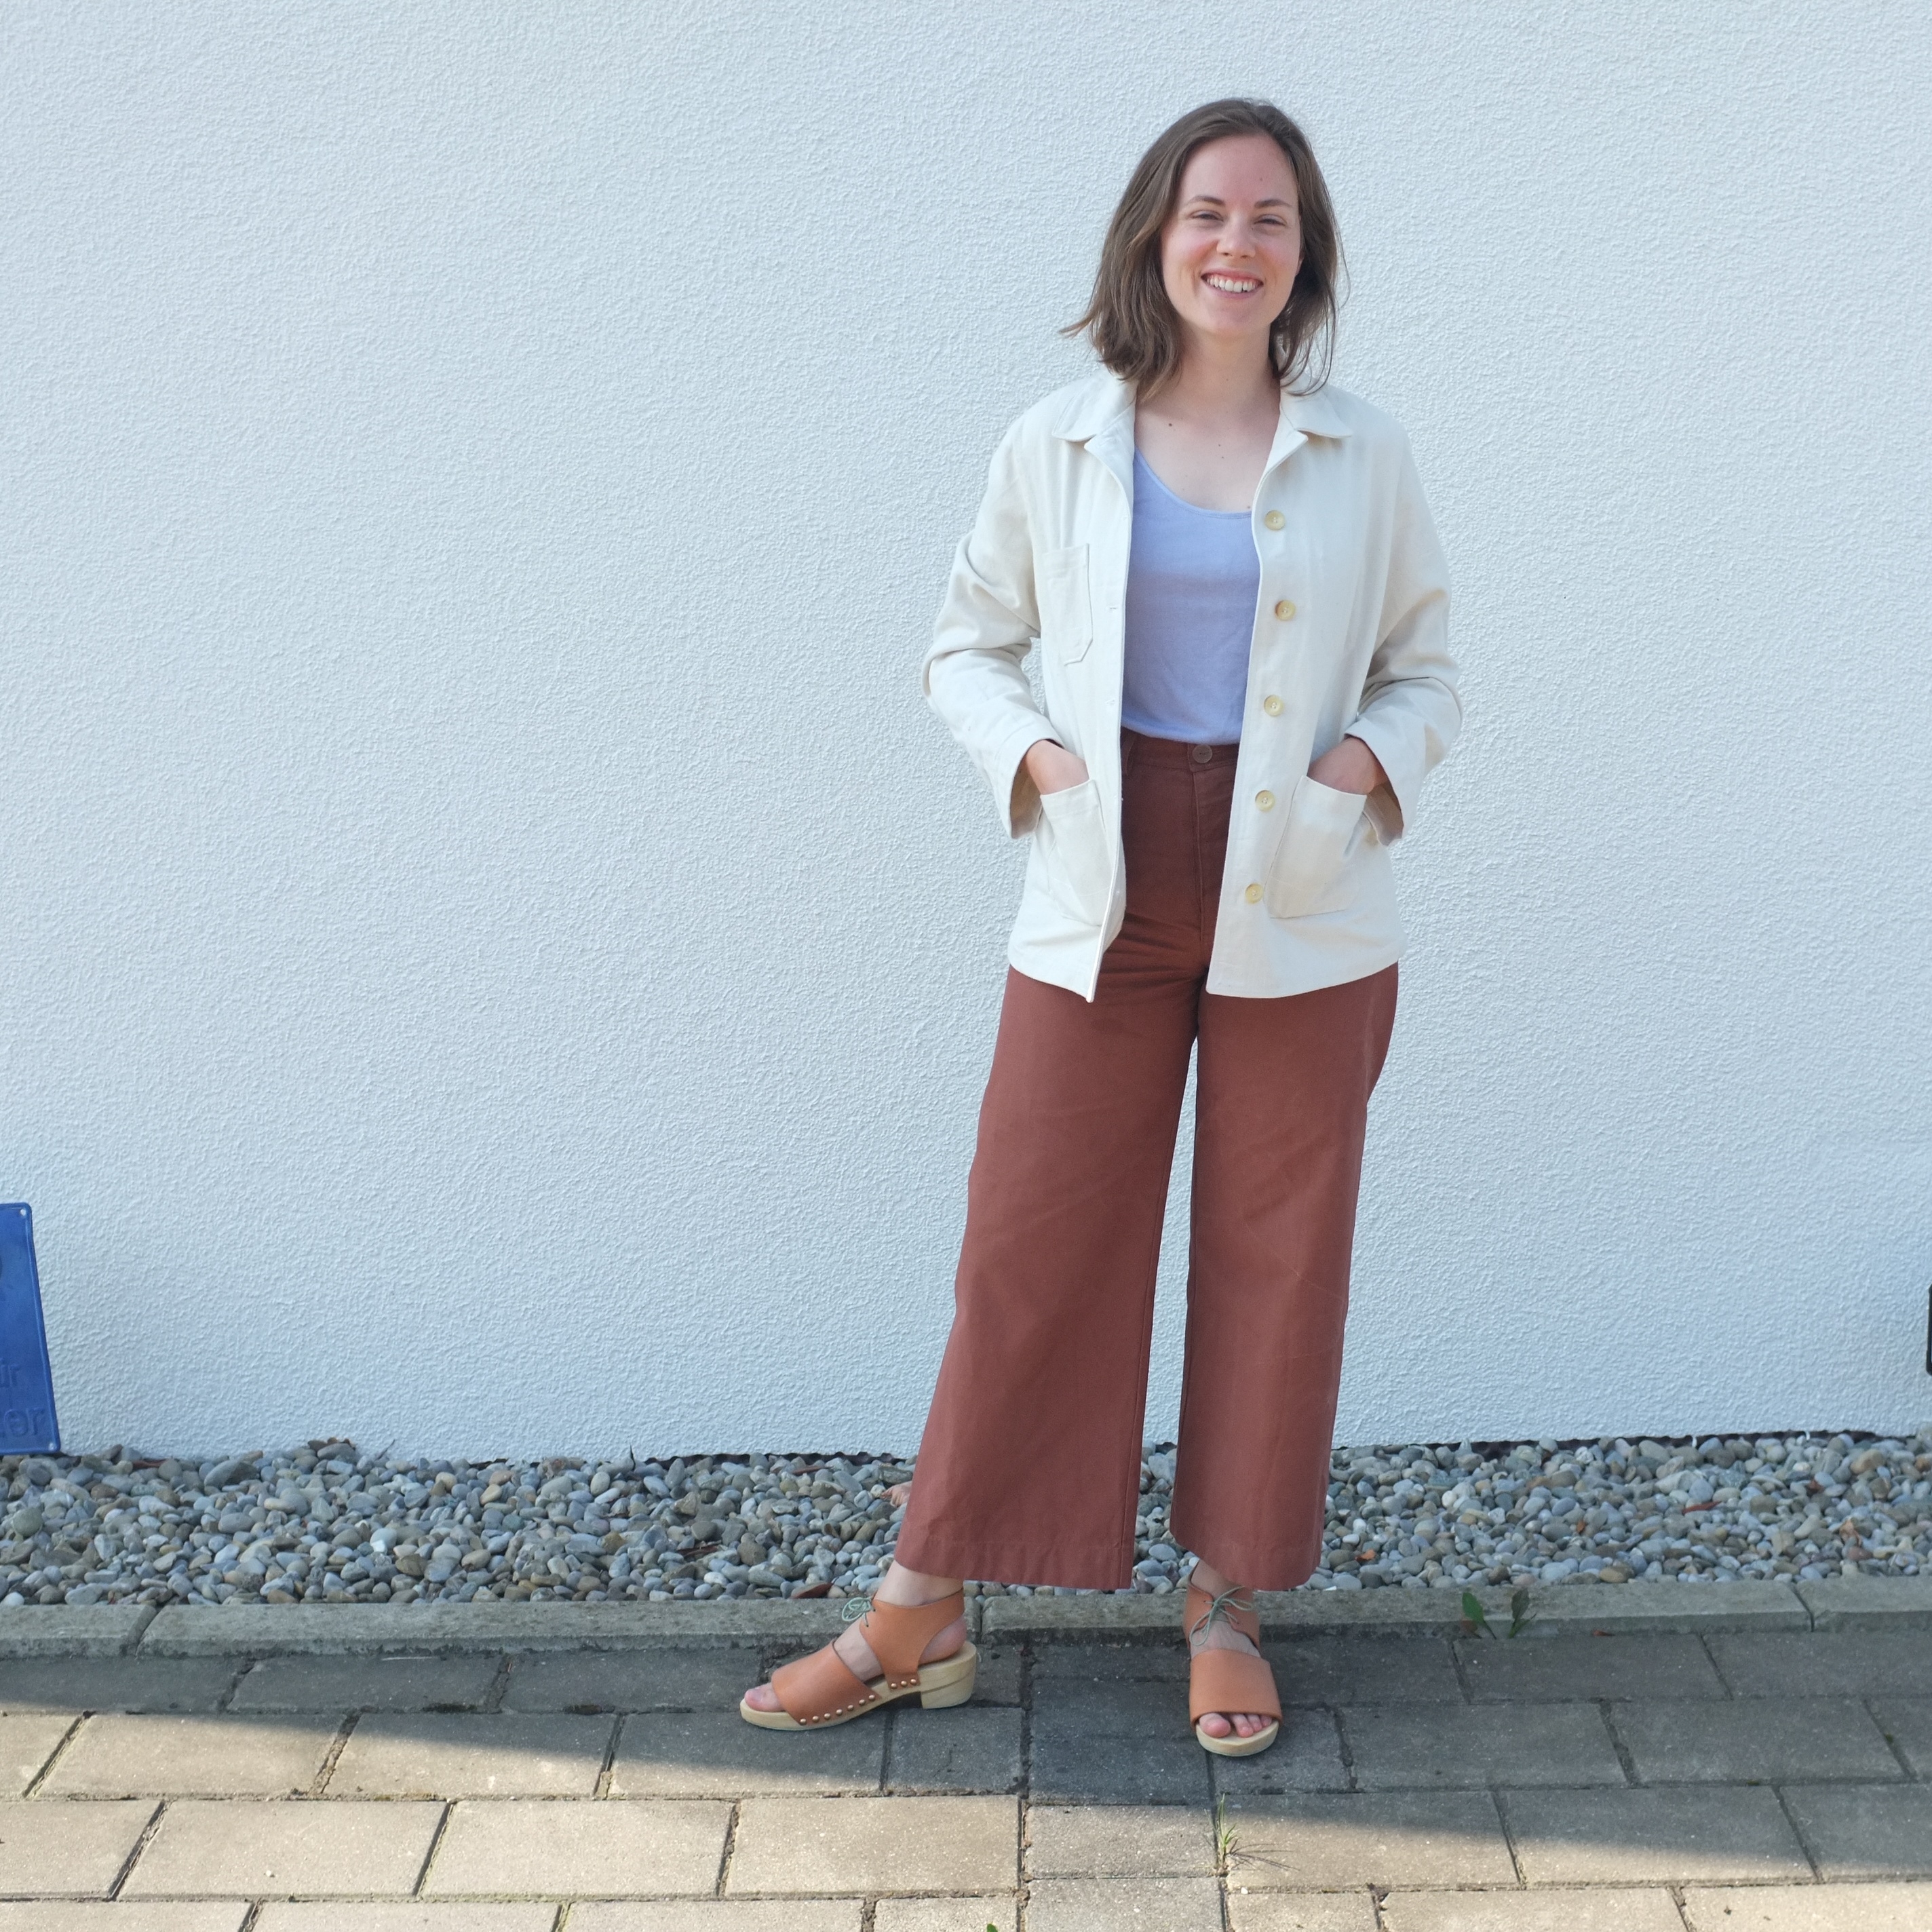
These clogs were the final piece of my Summer of Basics wardrobe. Check out the photos at the end of the post for the full look.
The inspiration
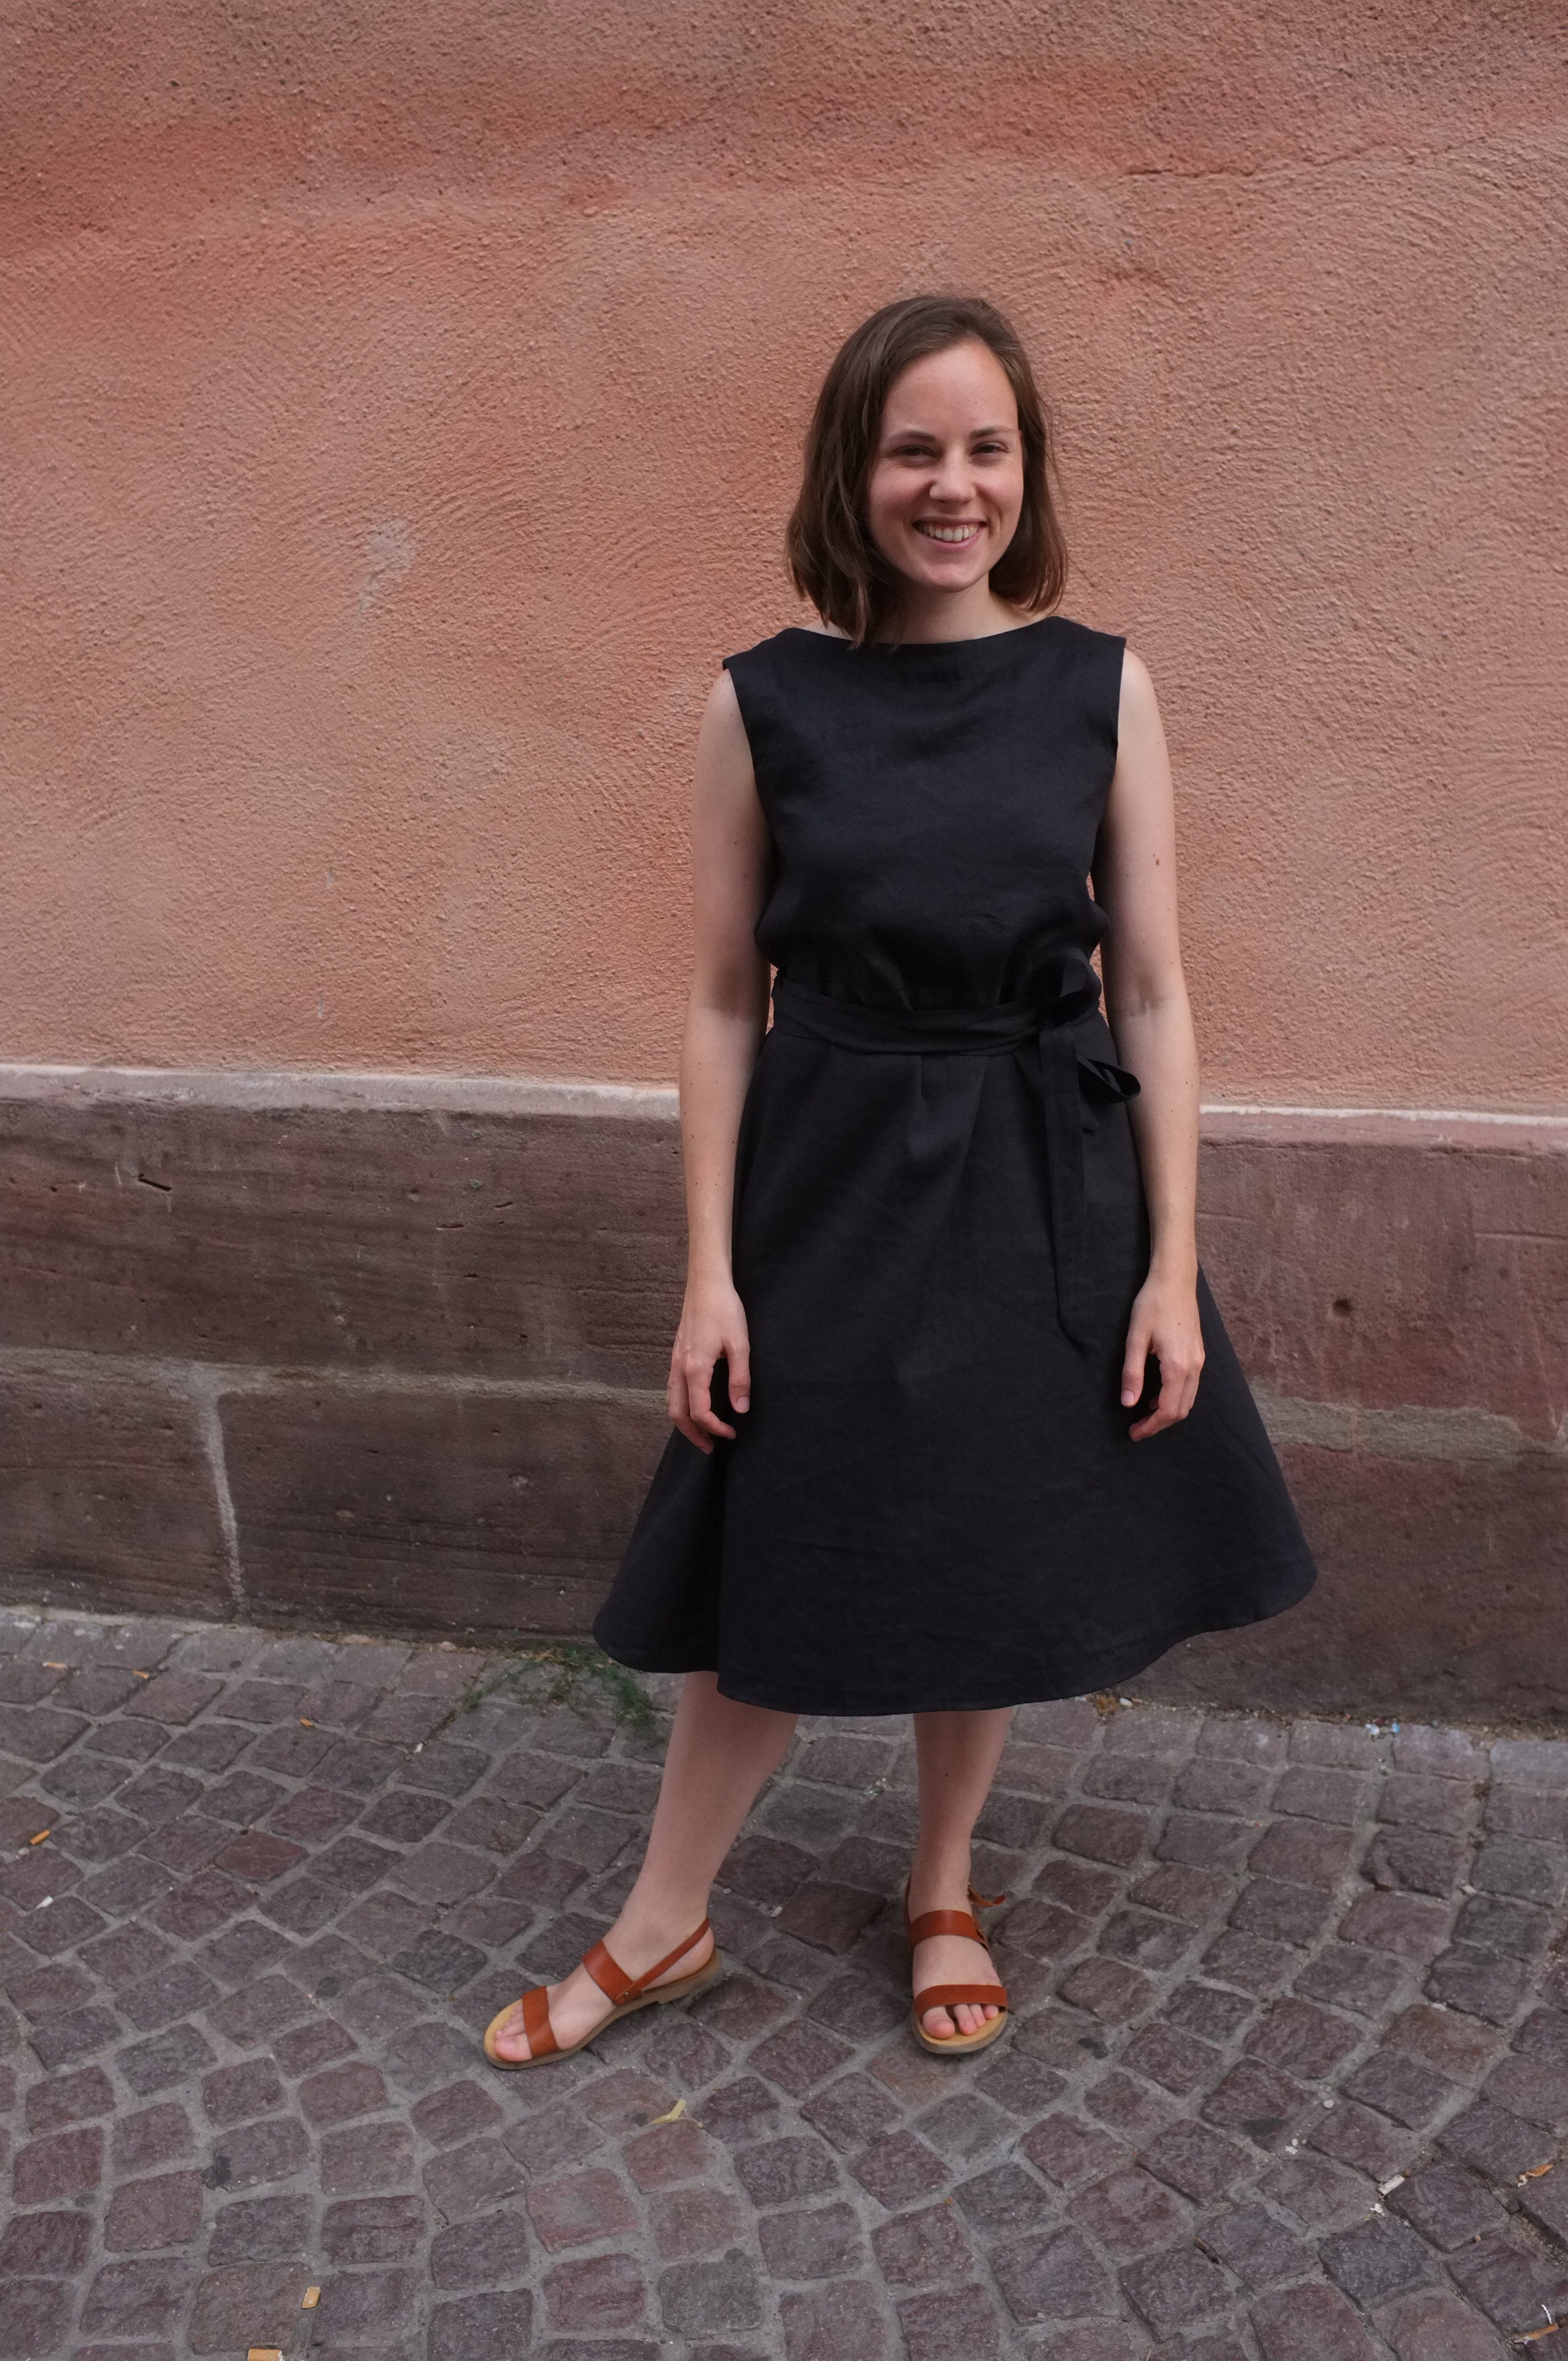
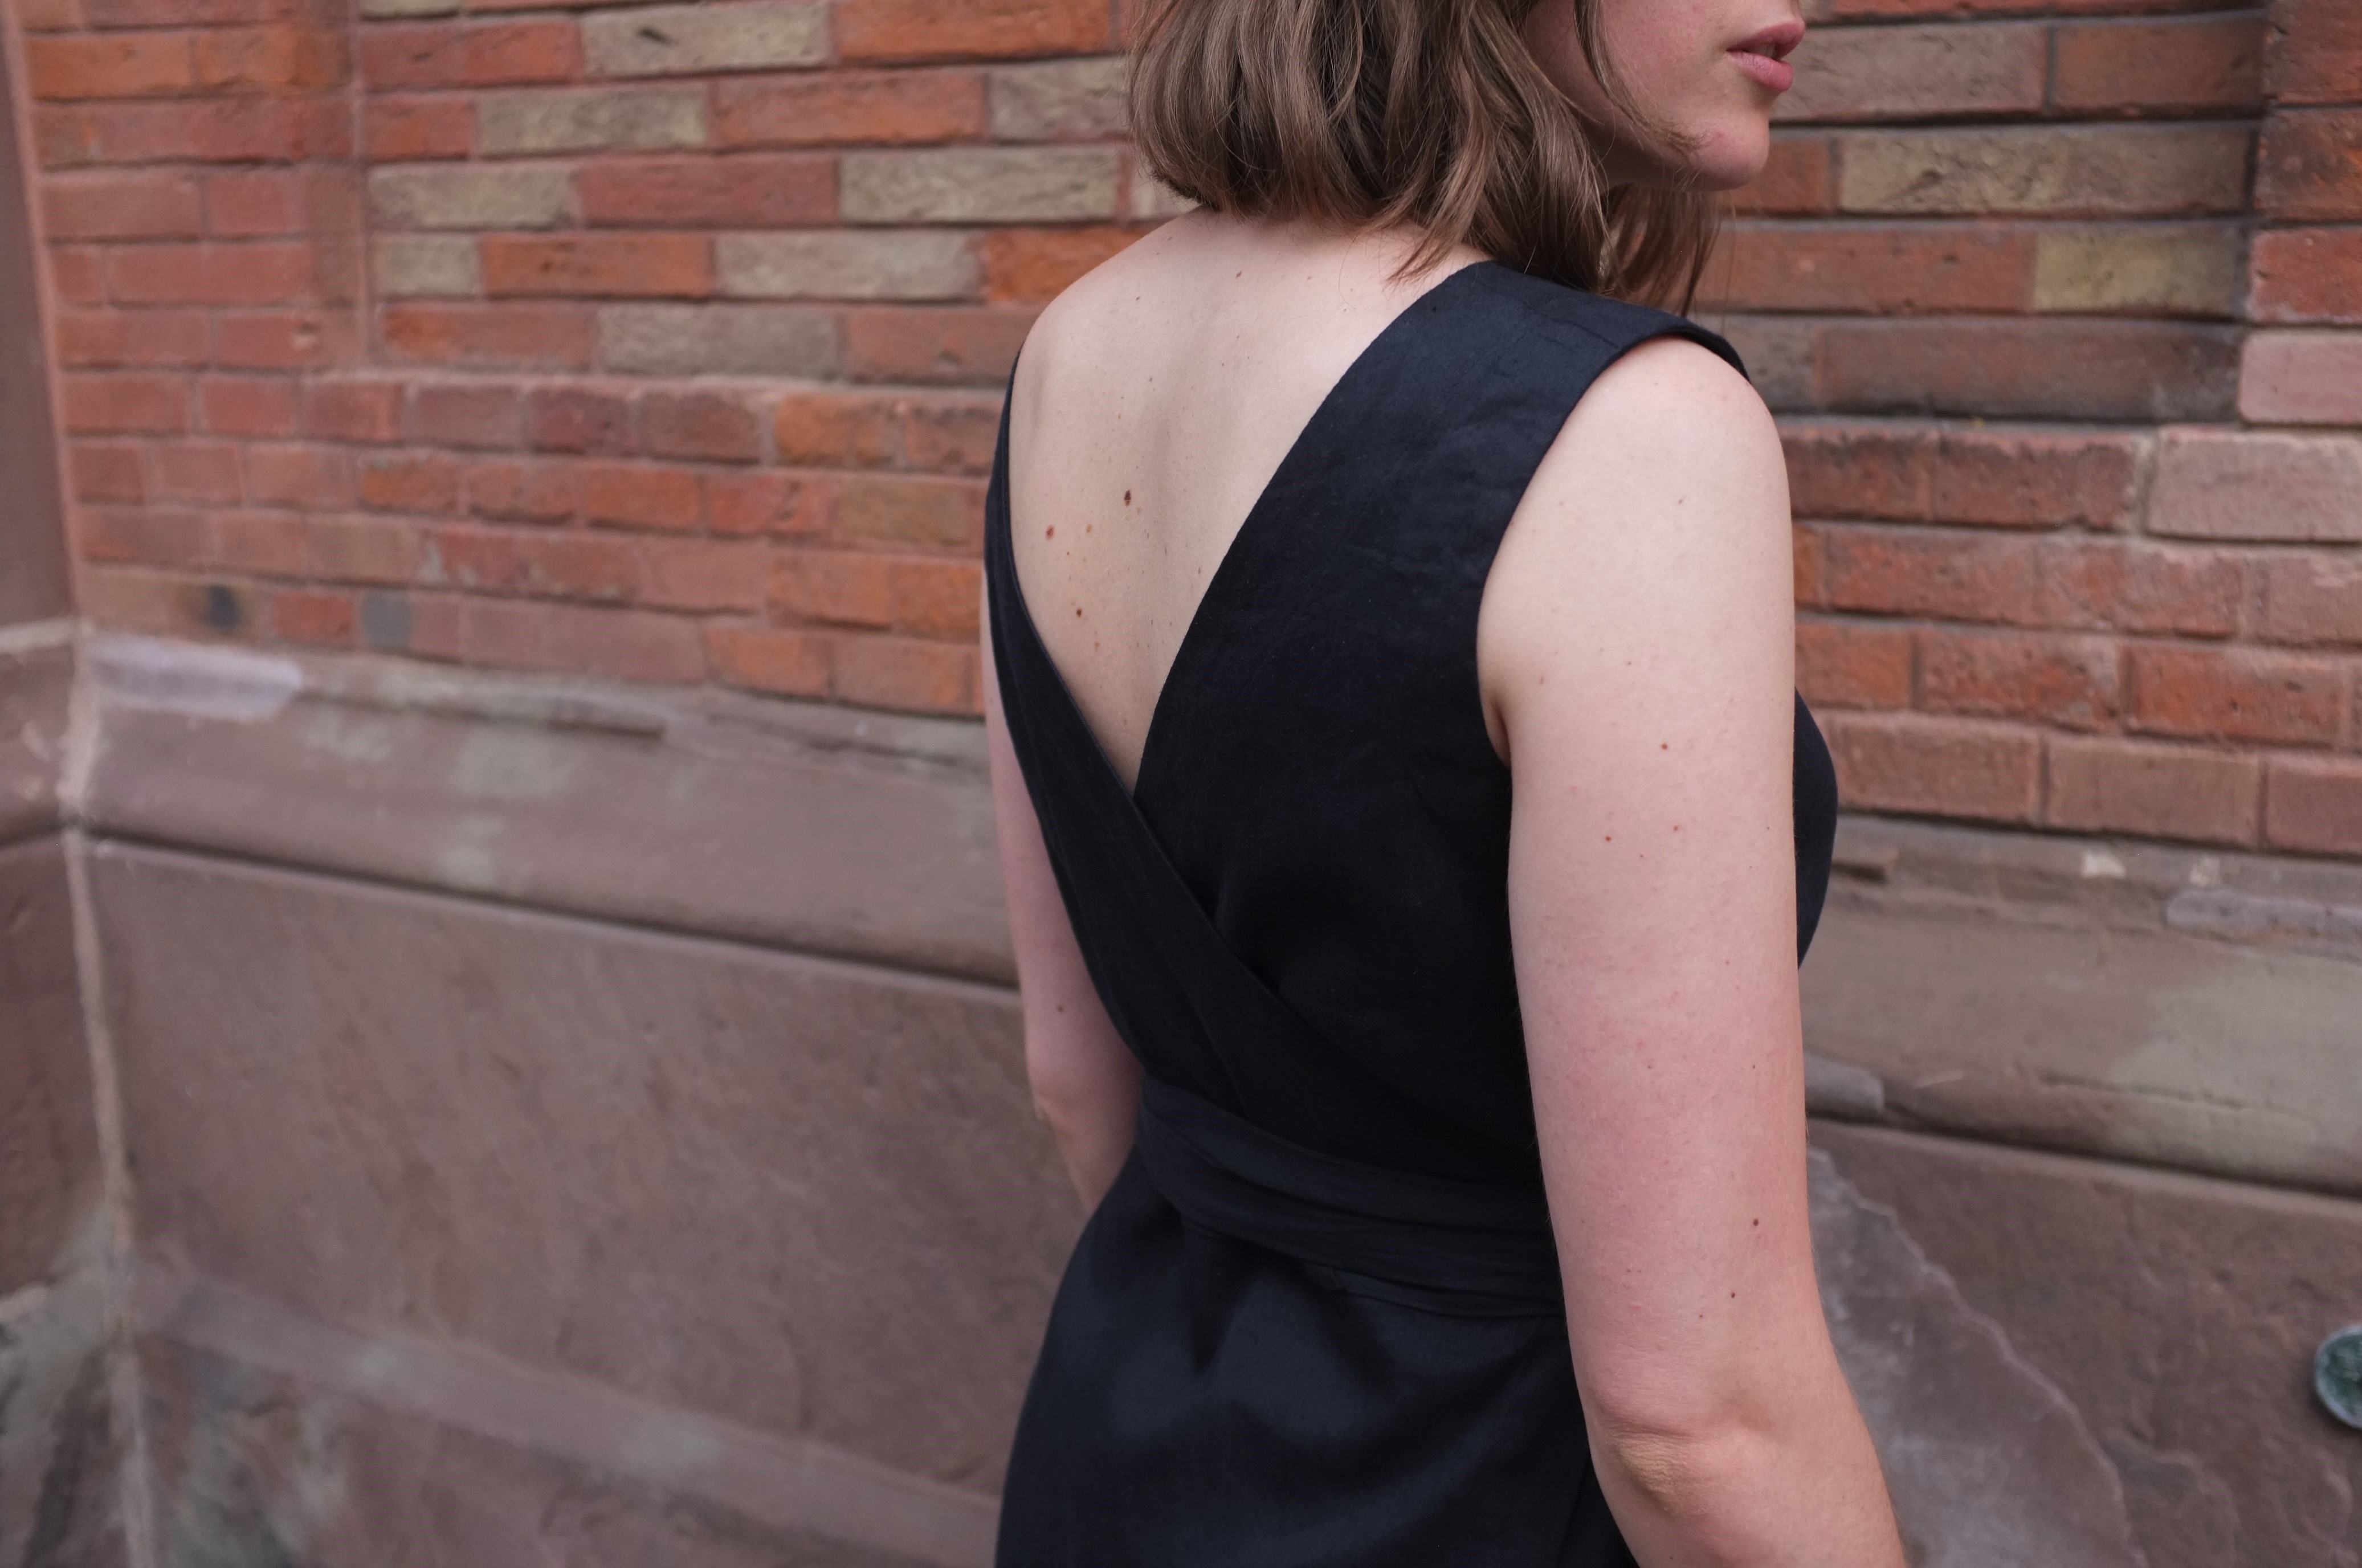
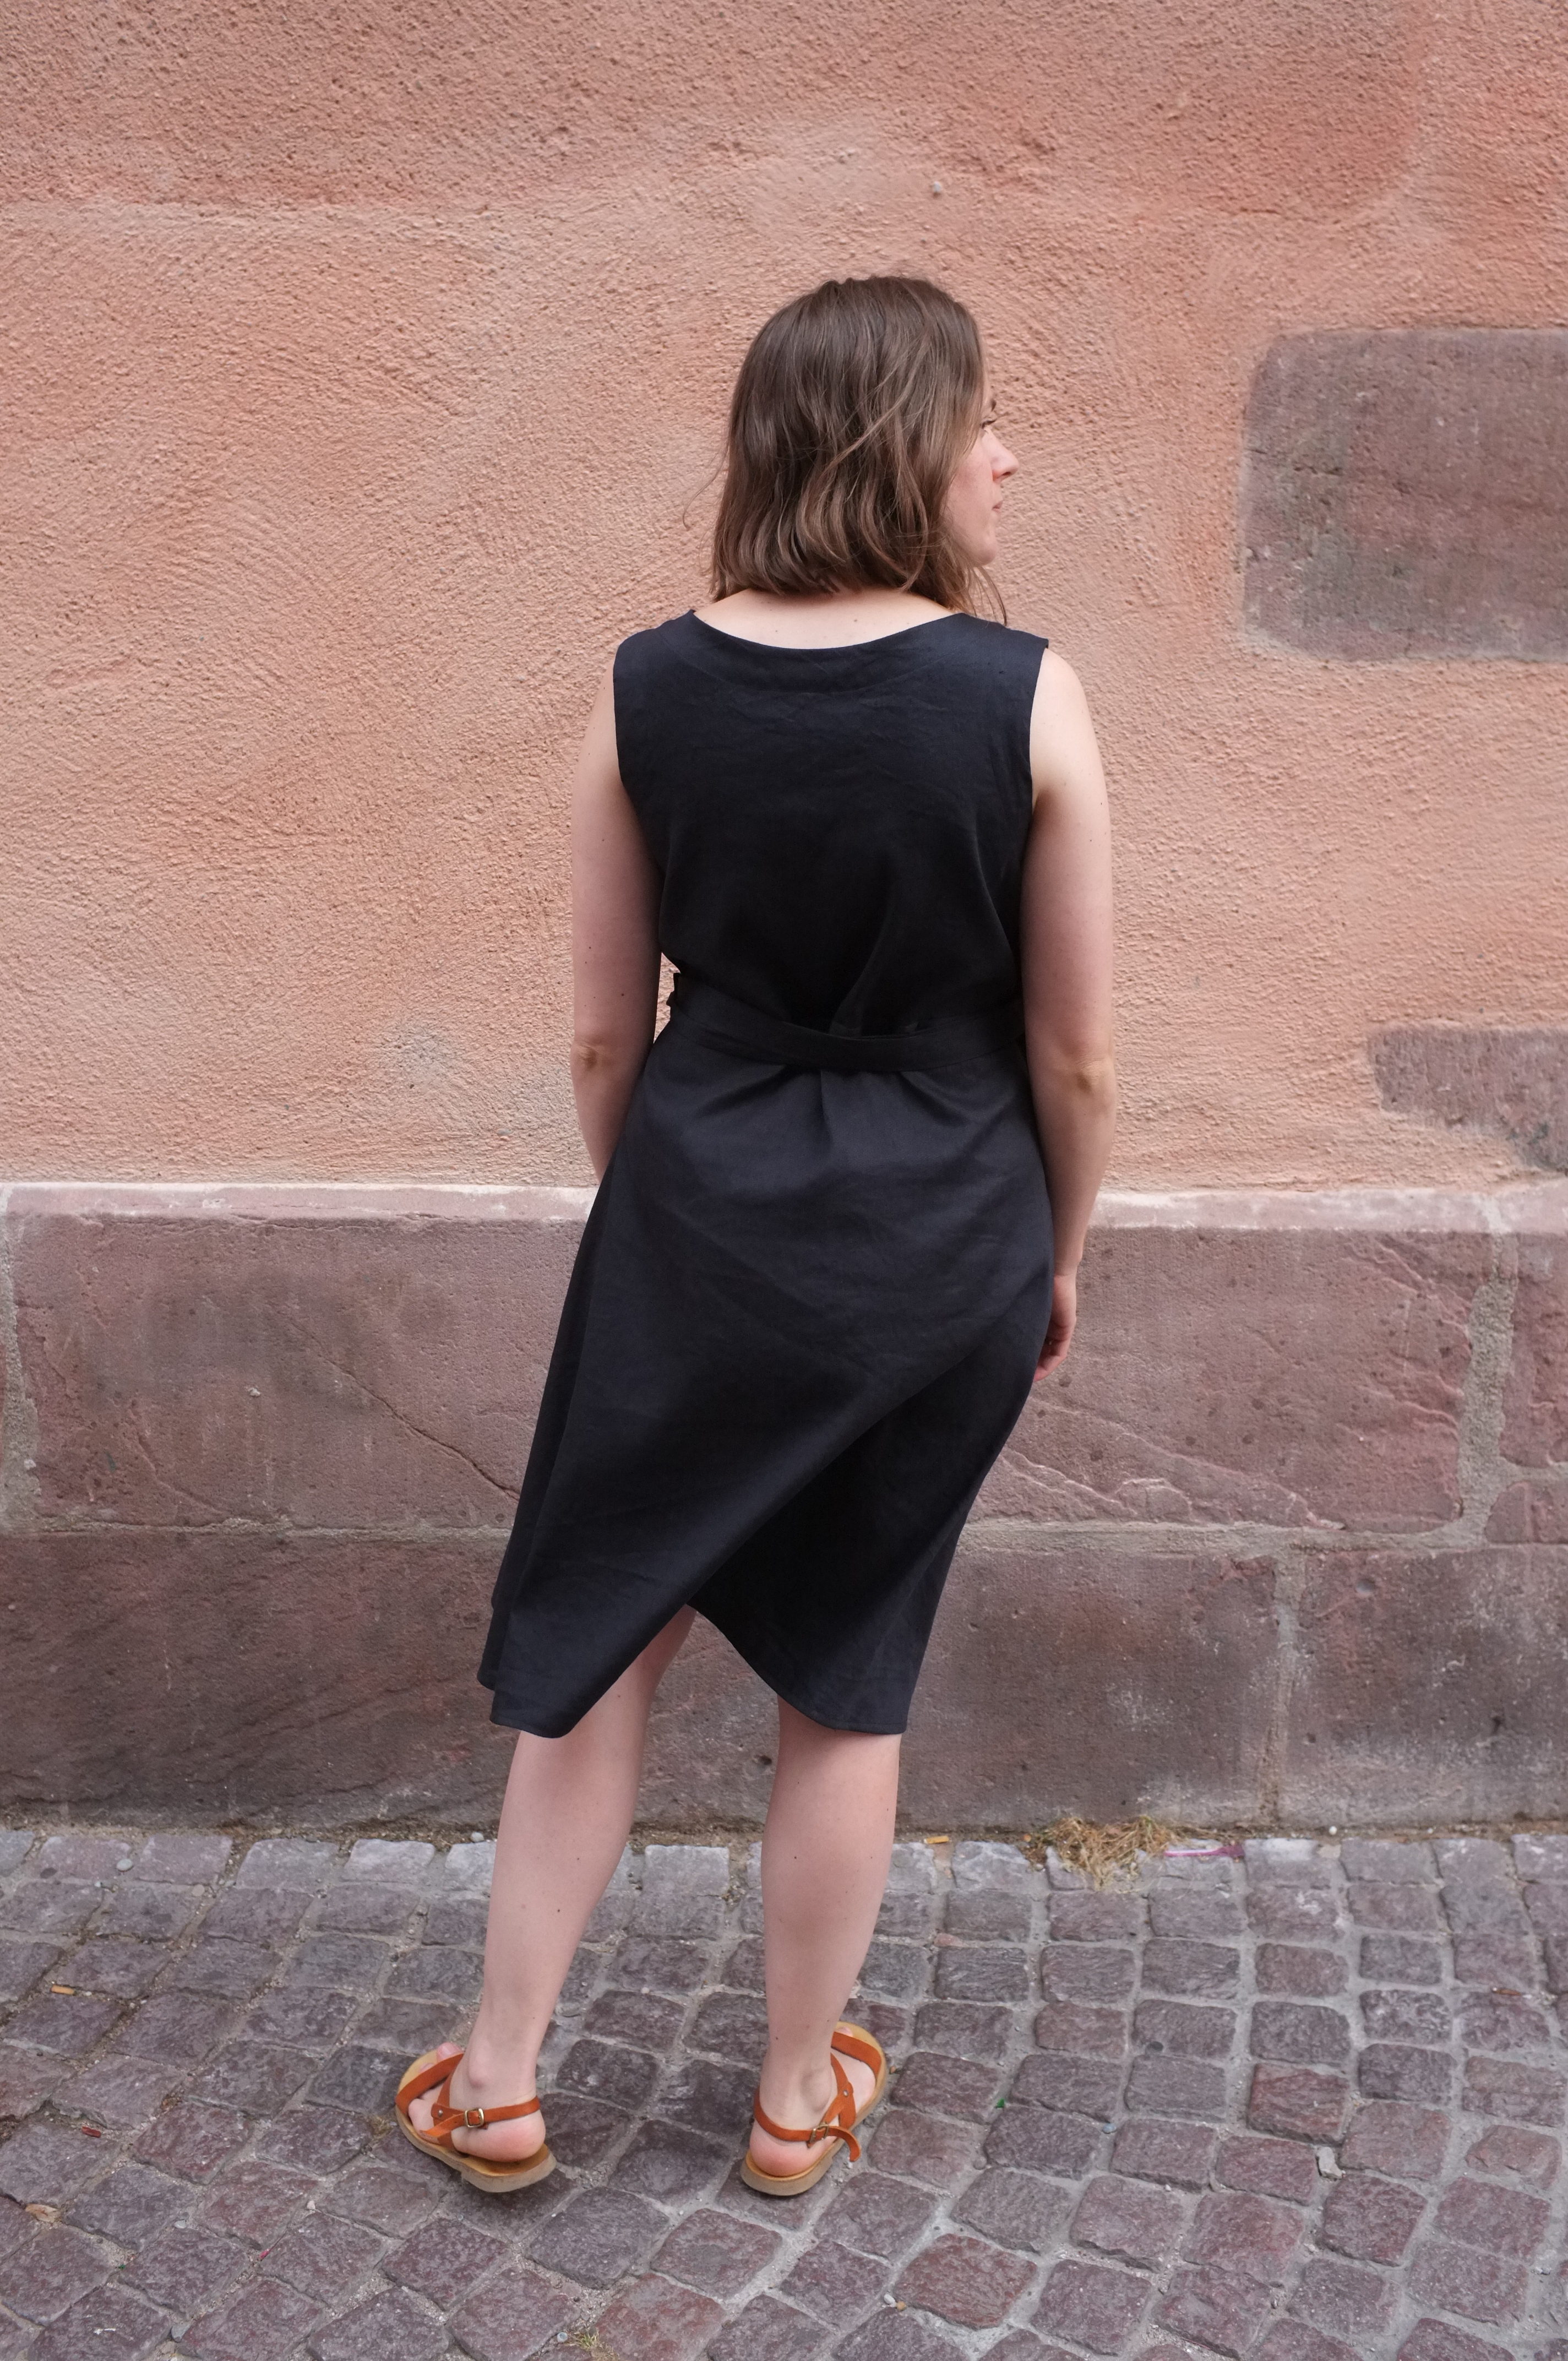
When my husband and I were planning our wedding (which was in spring 2017) I set out to find some shoes to go with my hand-made dress (here is the blog post about the dress if you are interested). I was willing to splurge on a nice pair of shoes but after days of searching the internet I just couldn’t find anything that I was excited by. The only shoes that I found inspiring were Bryr Clogs. And while I think the prices are justified for such stunning clogs, I wasn’t ready to pay that much for a pair of shoes, in particular because I didn’t know if they would really go with my existing wardrobe. I’m very keen on getting a lot of wear out of my shoes, investment pieces especially. So in the end I decided to not buy them and instead got a pair of comfortable berry coloured heels from Clarks, which did the job perfectly. Nevertheless, the idea of a pair of wooden clogs didn’t leave my mind and I began researching whether I could make my own. There are a few sewing bloggers that have ventured into shoe making and I love following along with their adventures (for example Jasika, Carolyn, Marilla). First I researched whether it was possible to buy wooden soles to make my own pair. I struggled finding any good sellers, so I decided to make my own (inspired by Carolyn). I was especially encouraged by a video of a British clog maker who made it look so easy. Even if you are not interested in making your own clogs, this video series is very interesting to watch. Then I called my parents to see if we had the wood and tools to make a pair. My father immediately was super supportive and so last summer we started the adventure of clog making.
Disclaimer: I am not a clog making or shoe making expert or an orthopaedist, so this is not so much a “how-to” rather than a description of my experiences and the lessons learned.
The wooden soles
 In the video the clog maker is using green i.e. freshly cut wood, so that’s what we decided to work with. First step, get a branch of suitable wood. Conveniently we have a big ash tree, so we climbed up there and sawed off a branch that looked large enough. I did do some of the sawing (I wish I had photos) but my dad definitely helped with the biggest piece. The branch we then cut into two pieces to accommodate a sole each. Unfortunately three dimensional soles use up a lot of space so we only just managed to squeeze them out, having to slightly go though the centre of the branch, a wood working faux pas, as my sister (a trained wood carver) pointed out. Still we forged ahead expecting that the wood might split in some places when drying up.
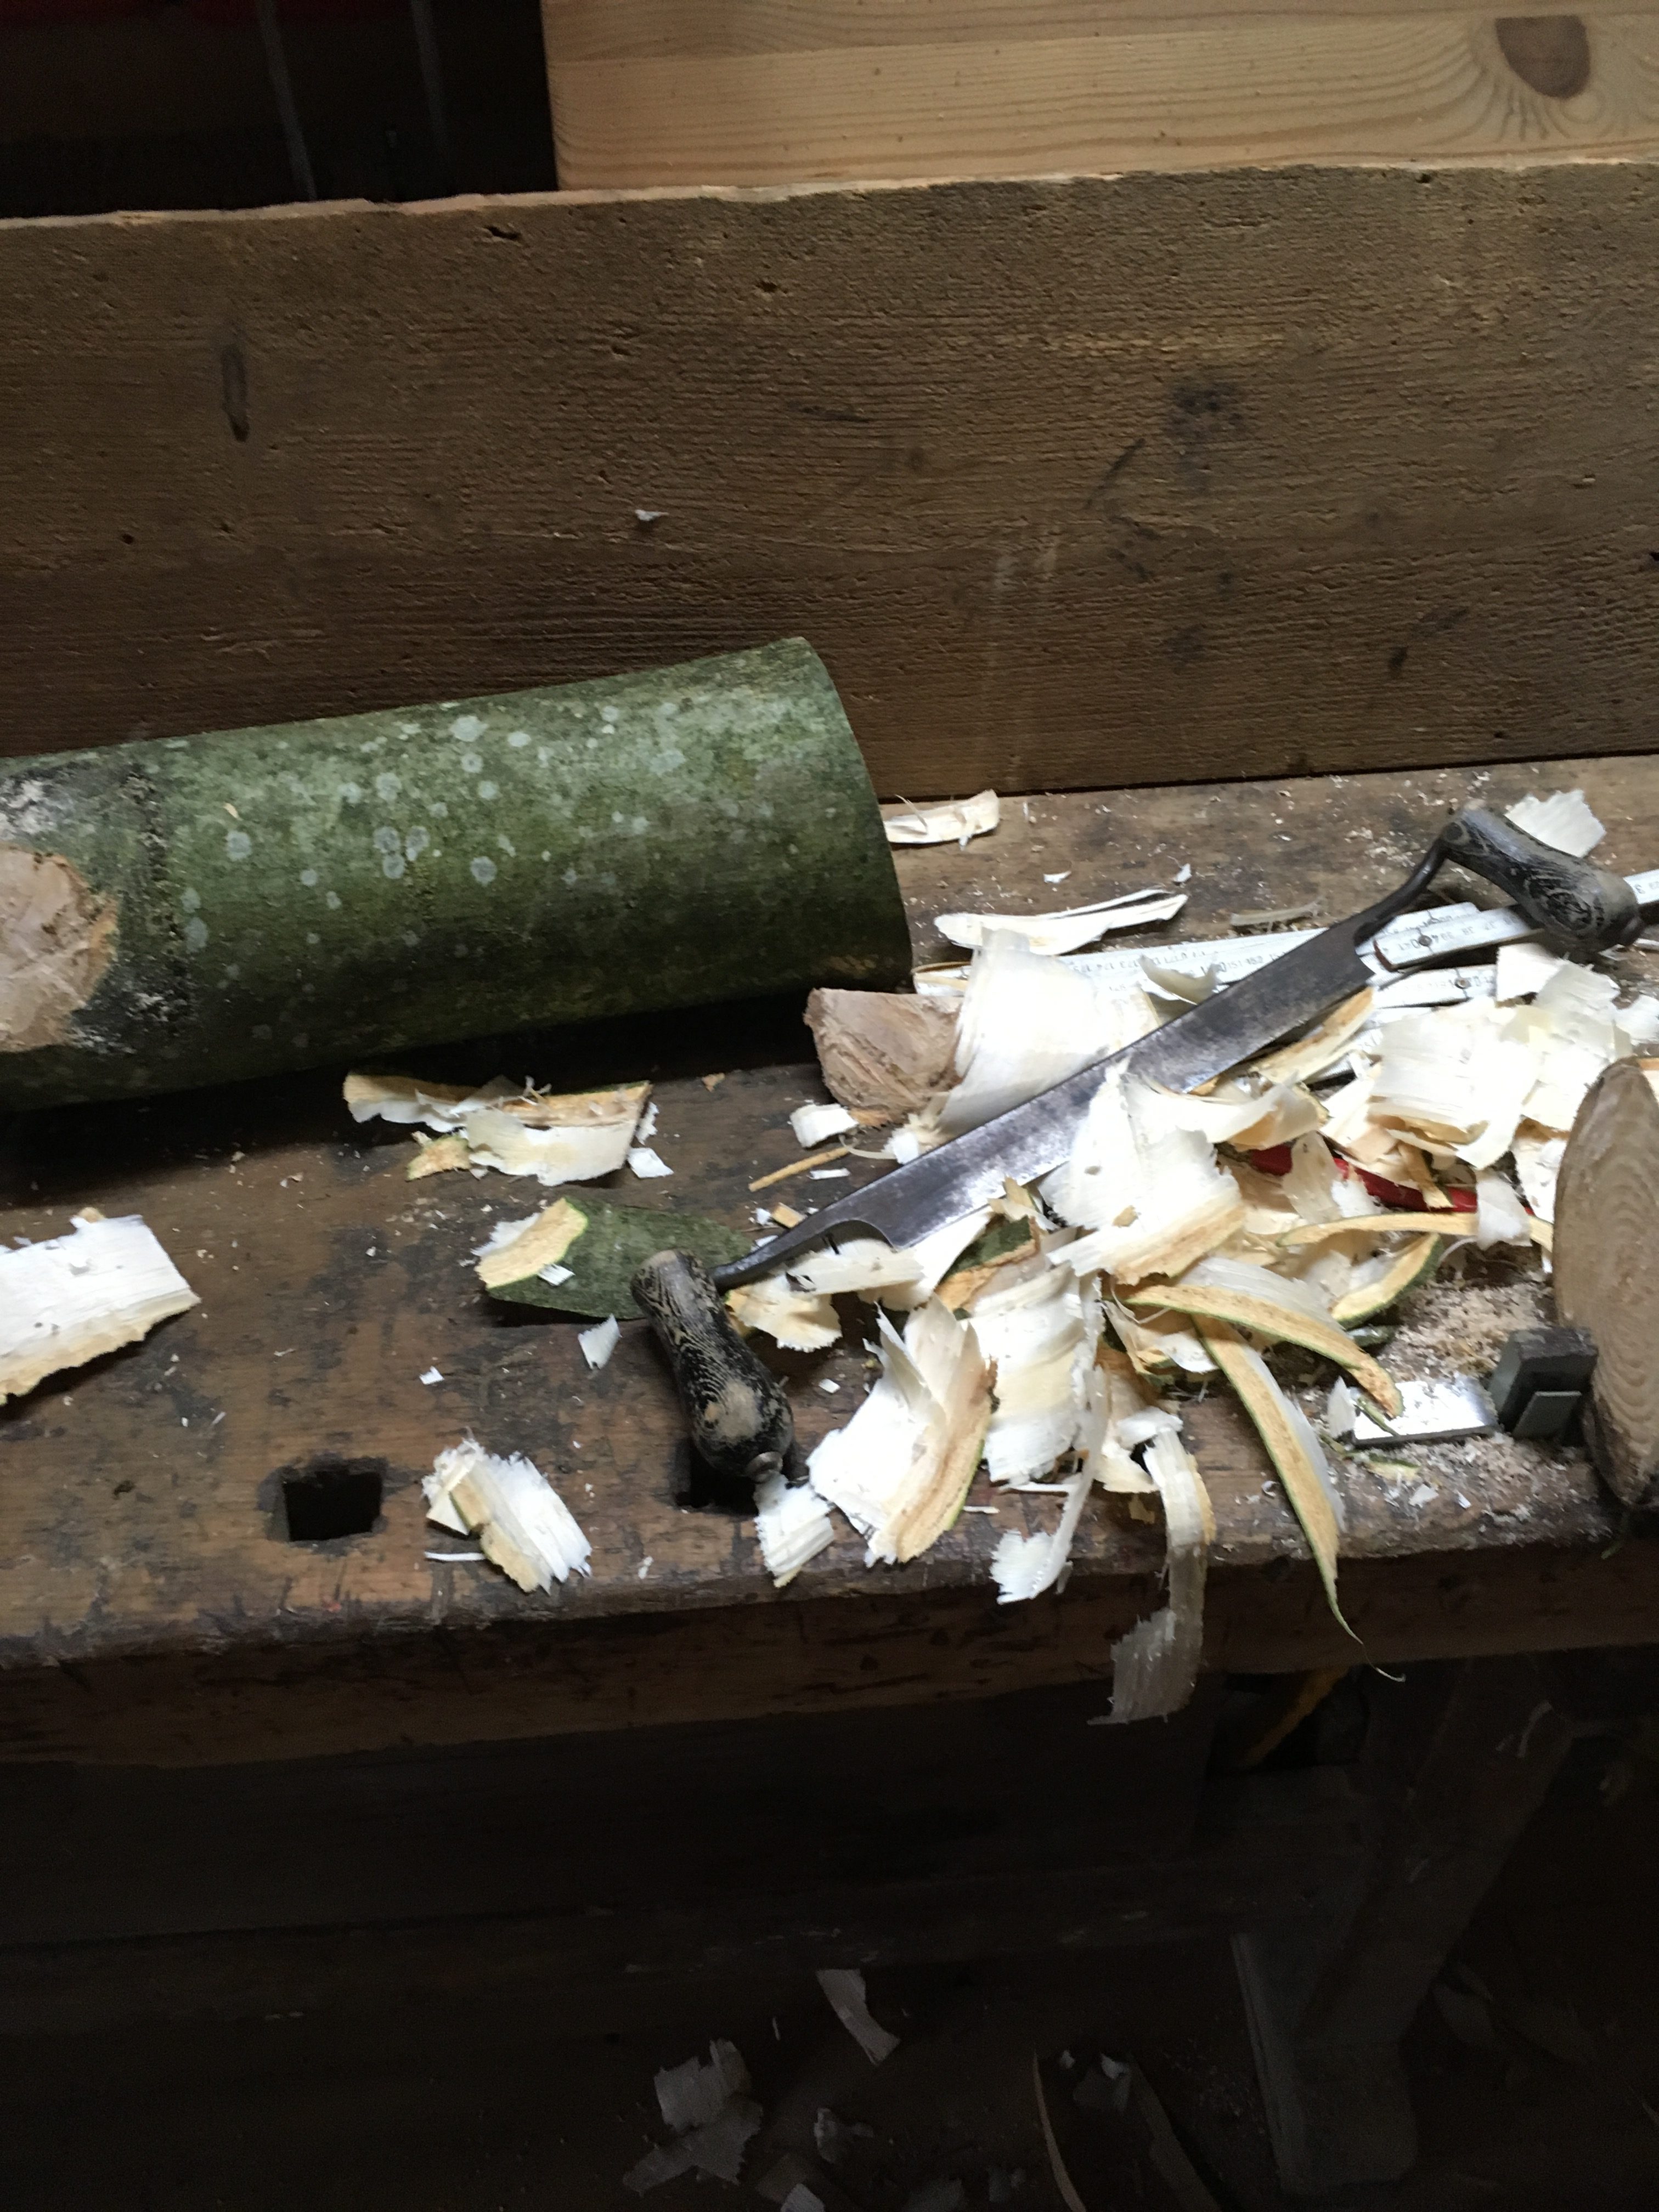
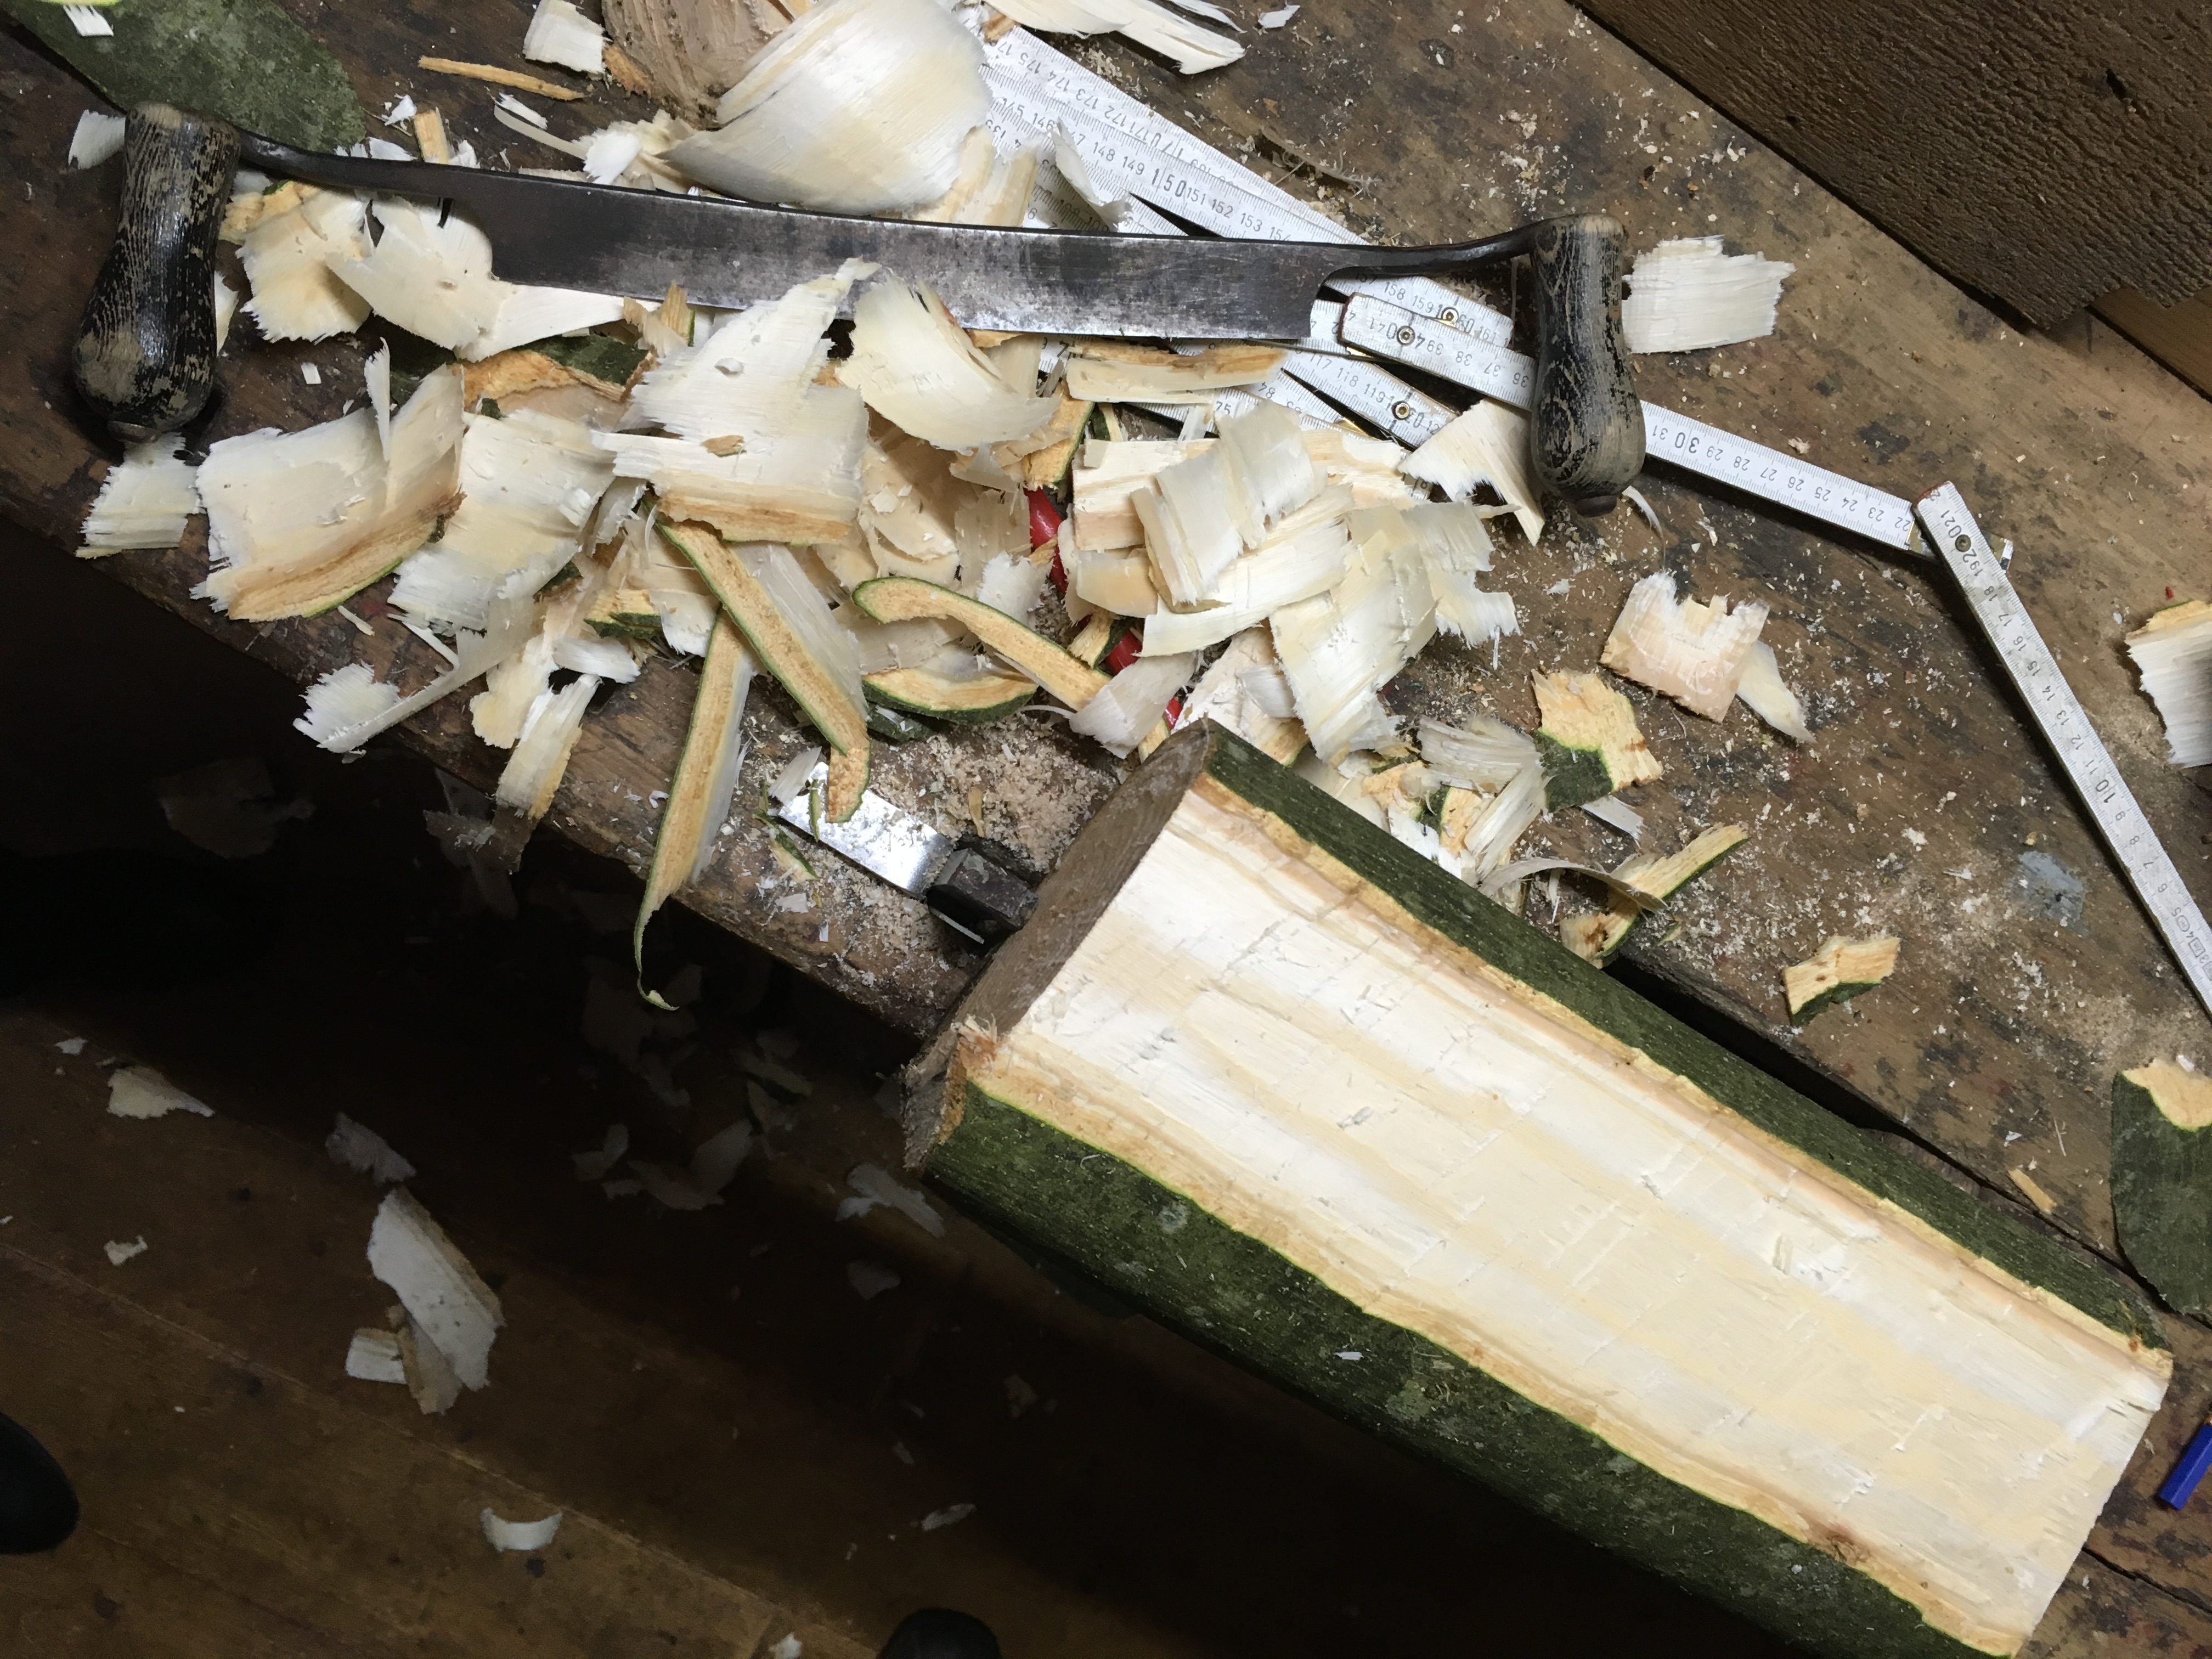
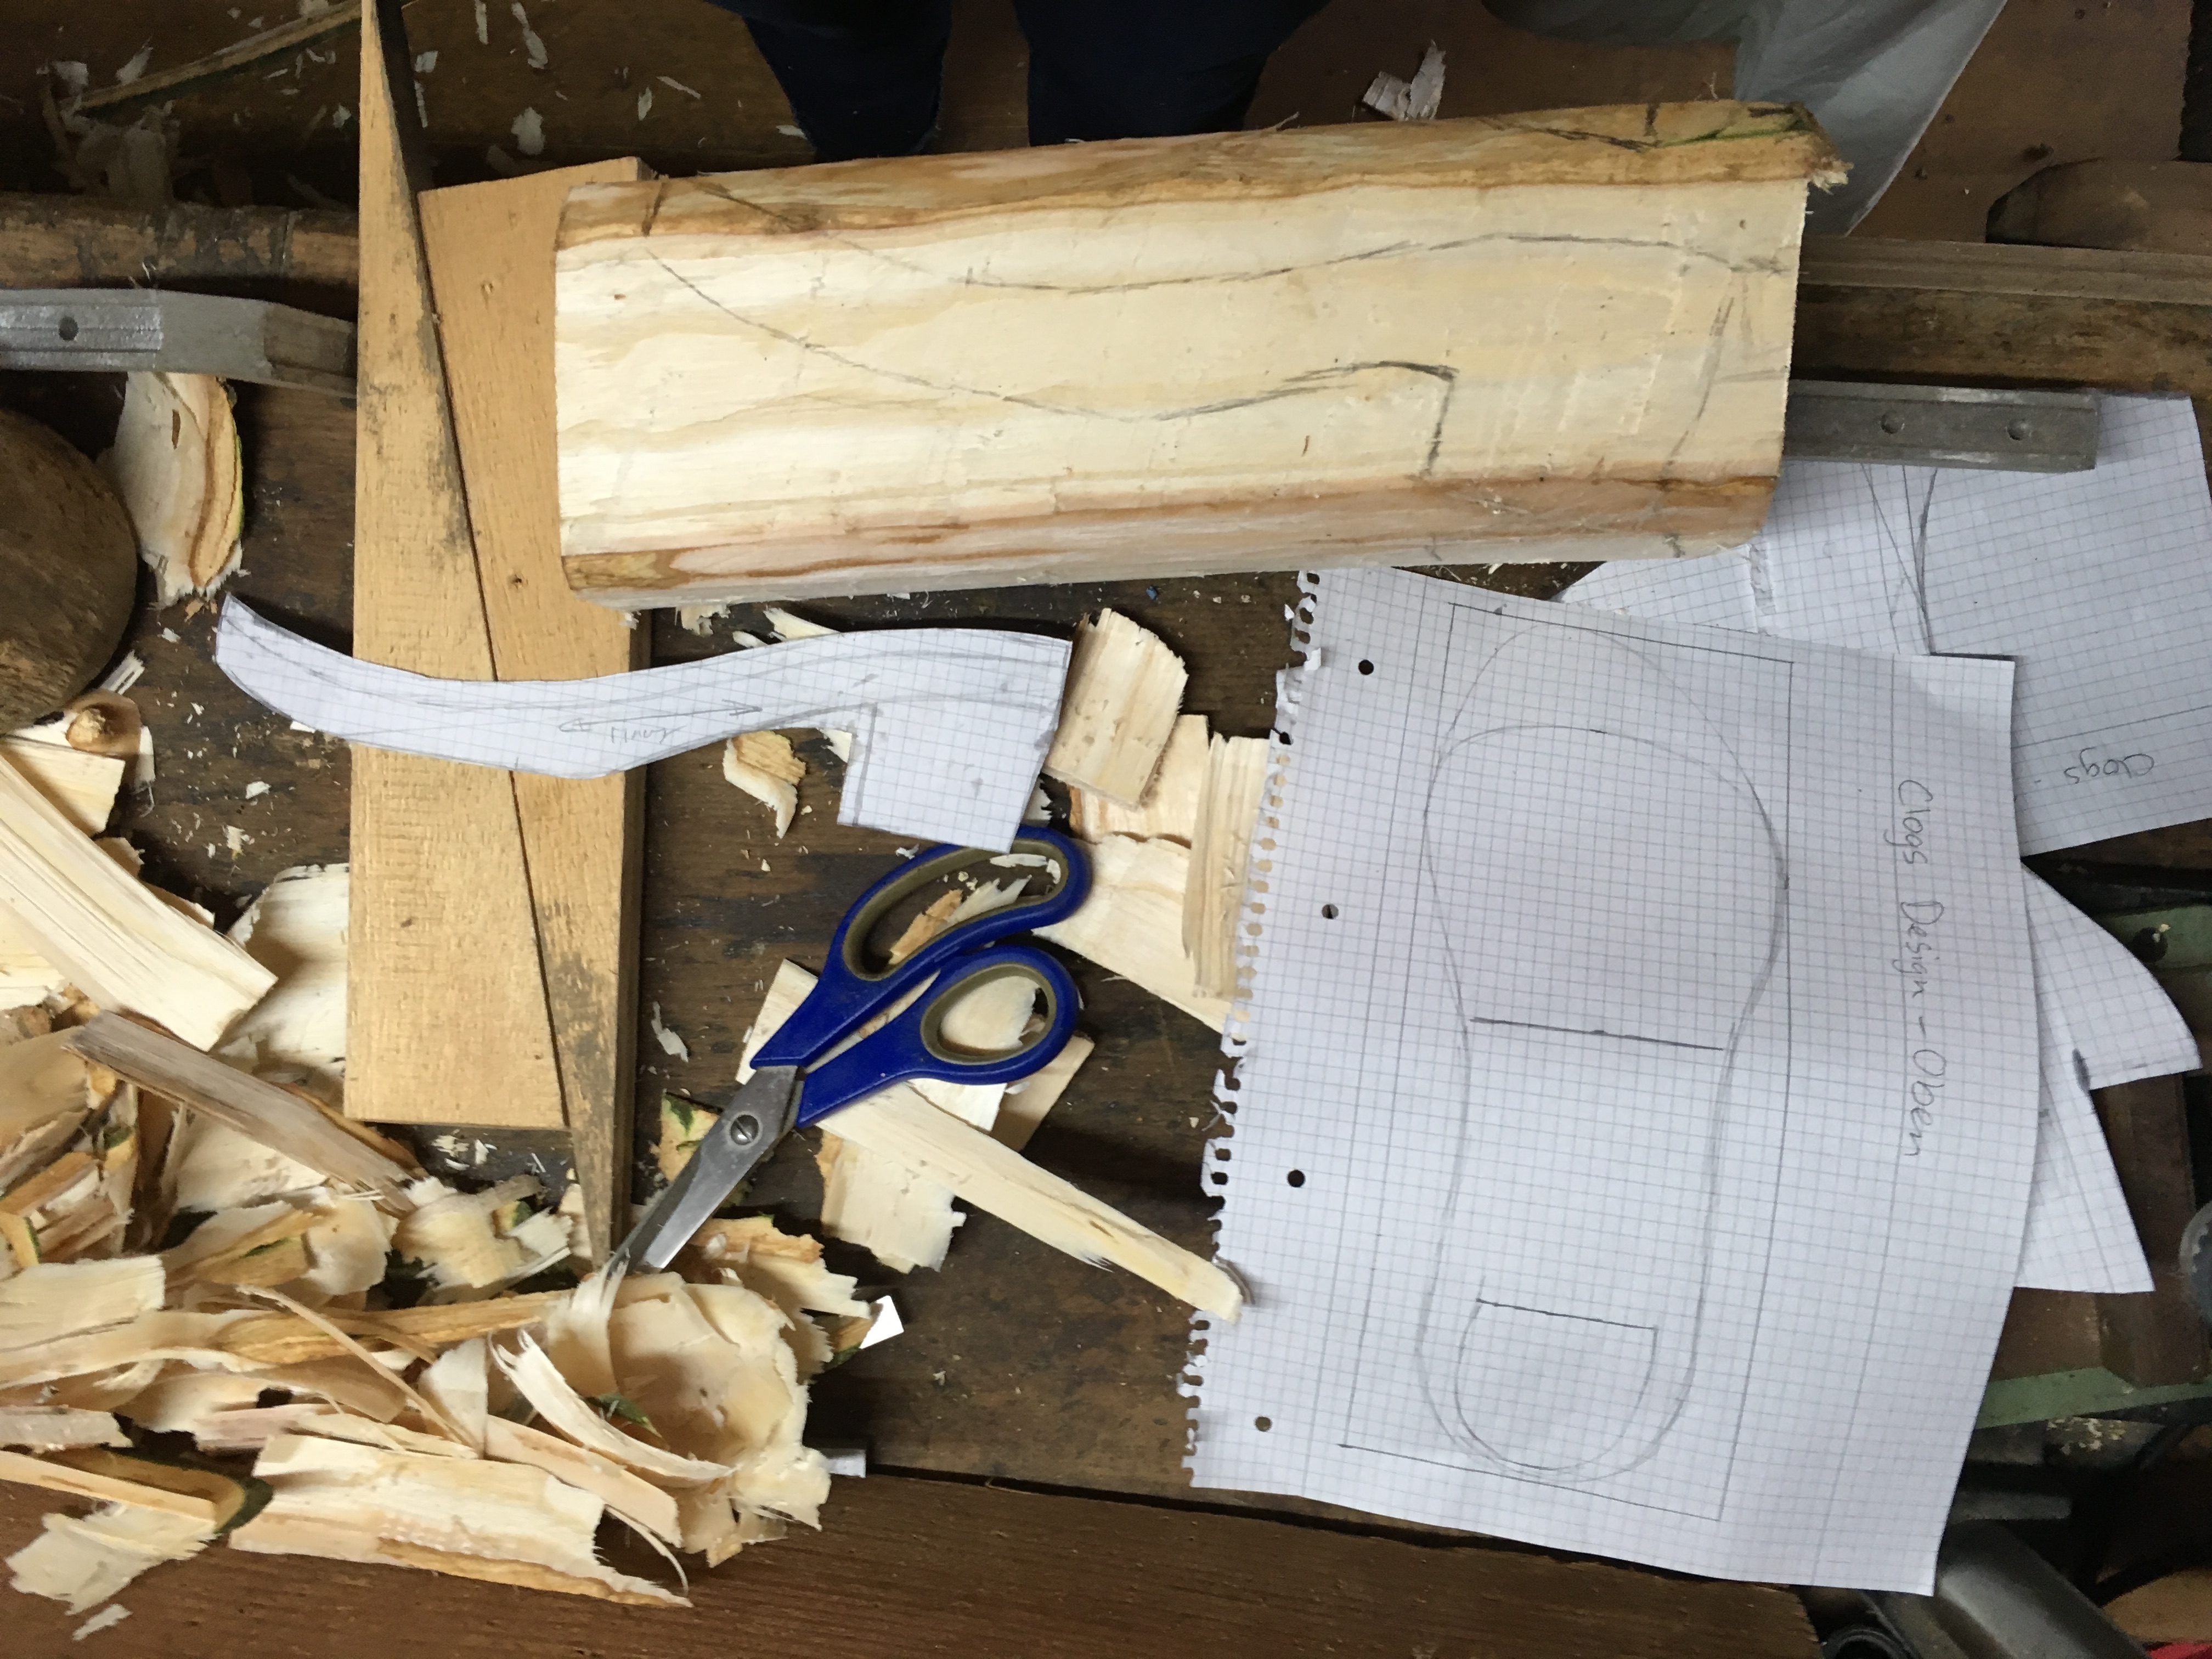 First we peeled off the tree bark (the most satisfying step) and then cut the piece into a rough cuboid shape. Then I transferred the design of the soles onto the different sides (i.e. top and side view). The foot bed shape was based on an existing pair of flat sandals, which I transferred over taking the distortion through the heel into account. The heel height was mainly determined by the size of the wood block.
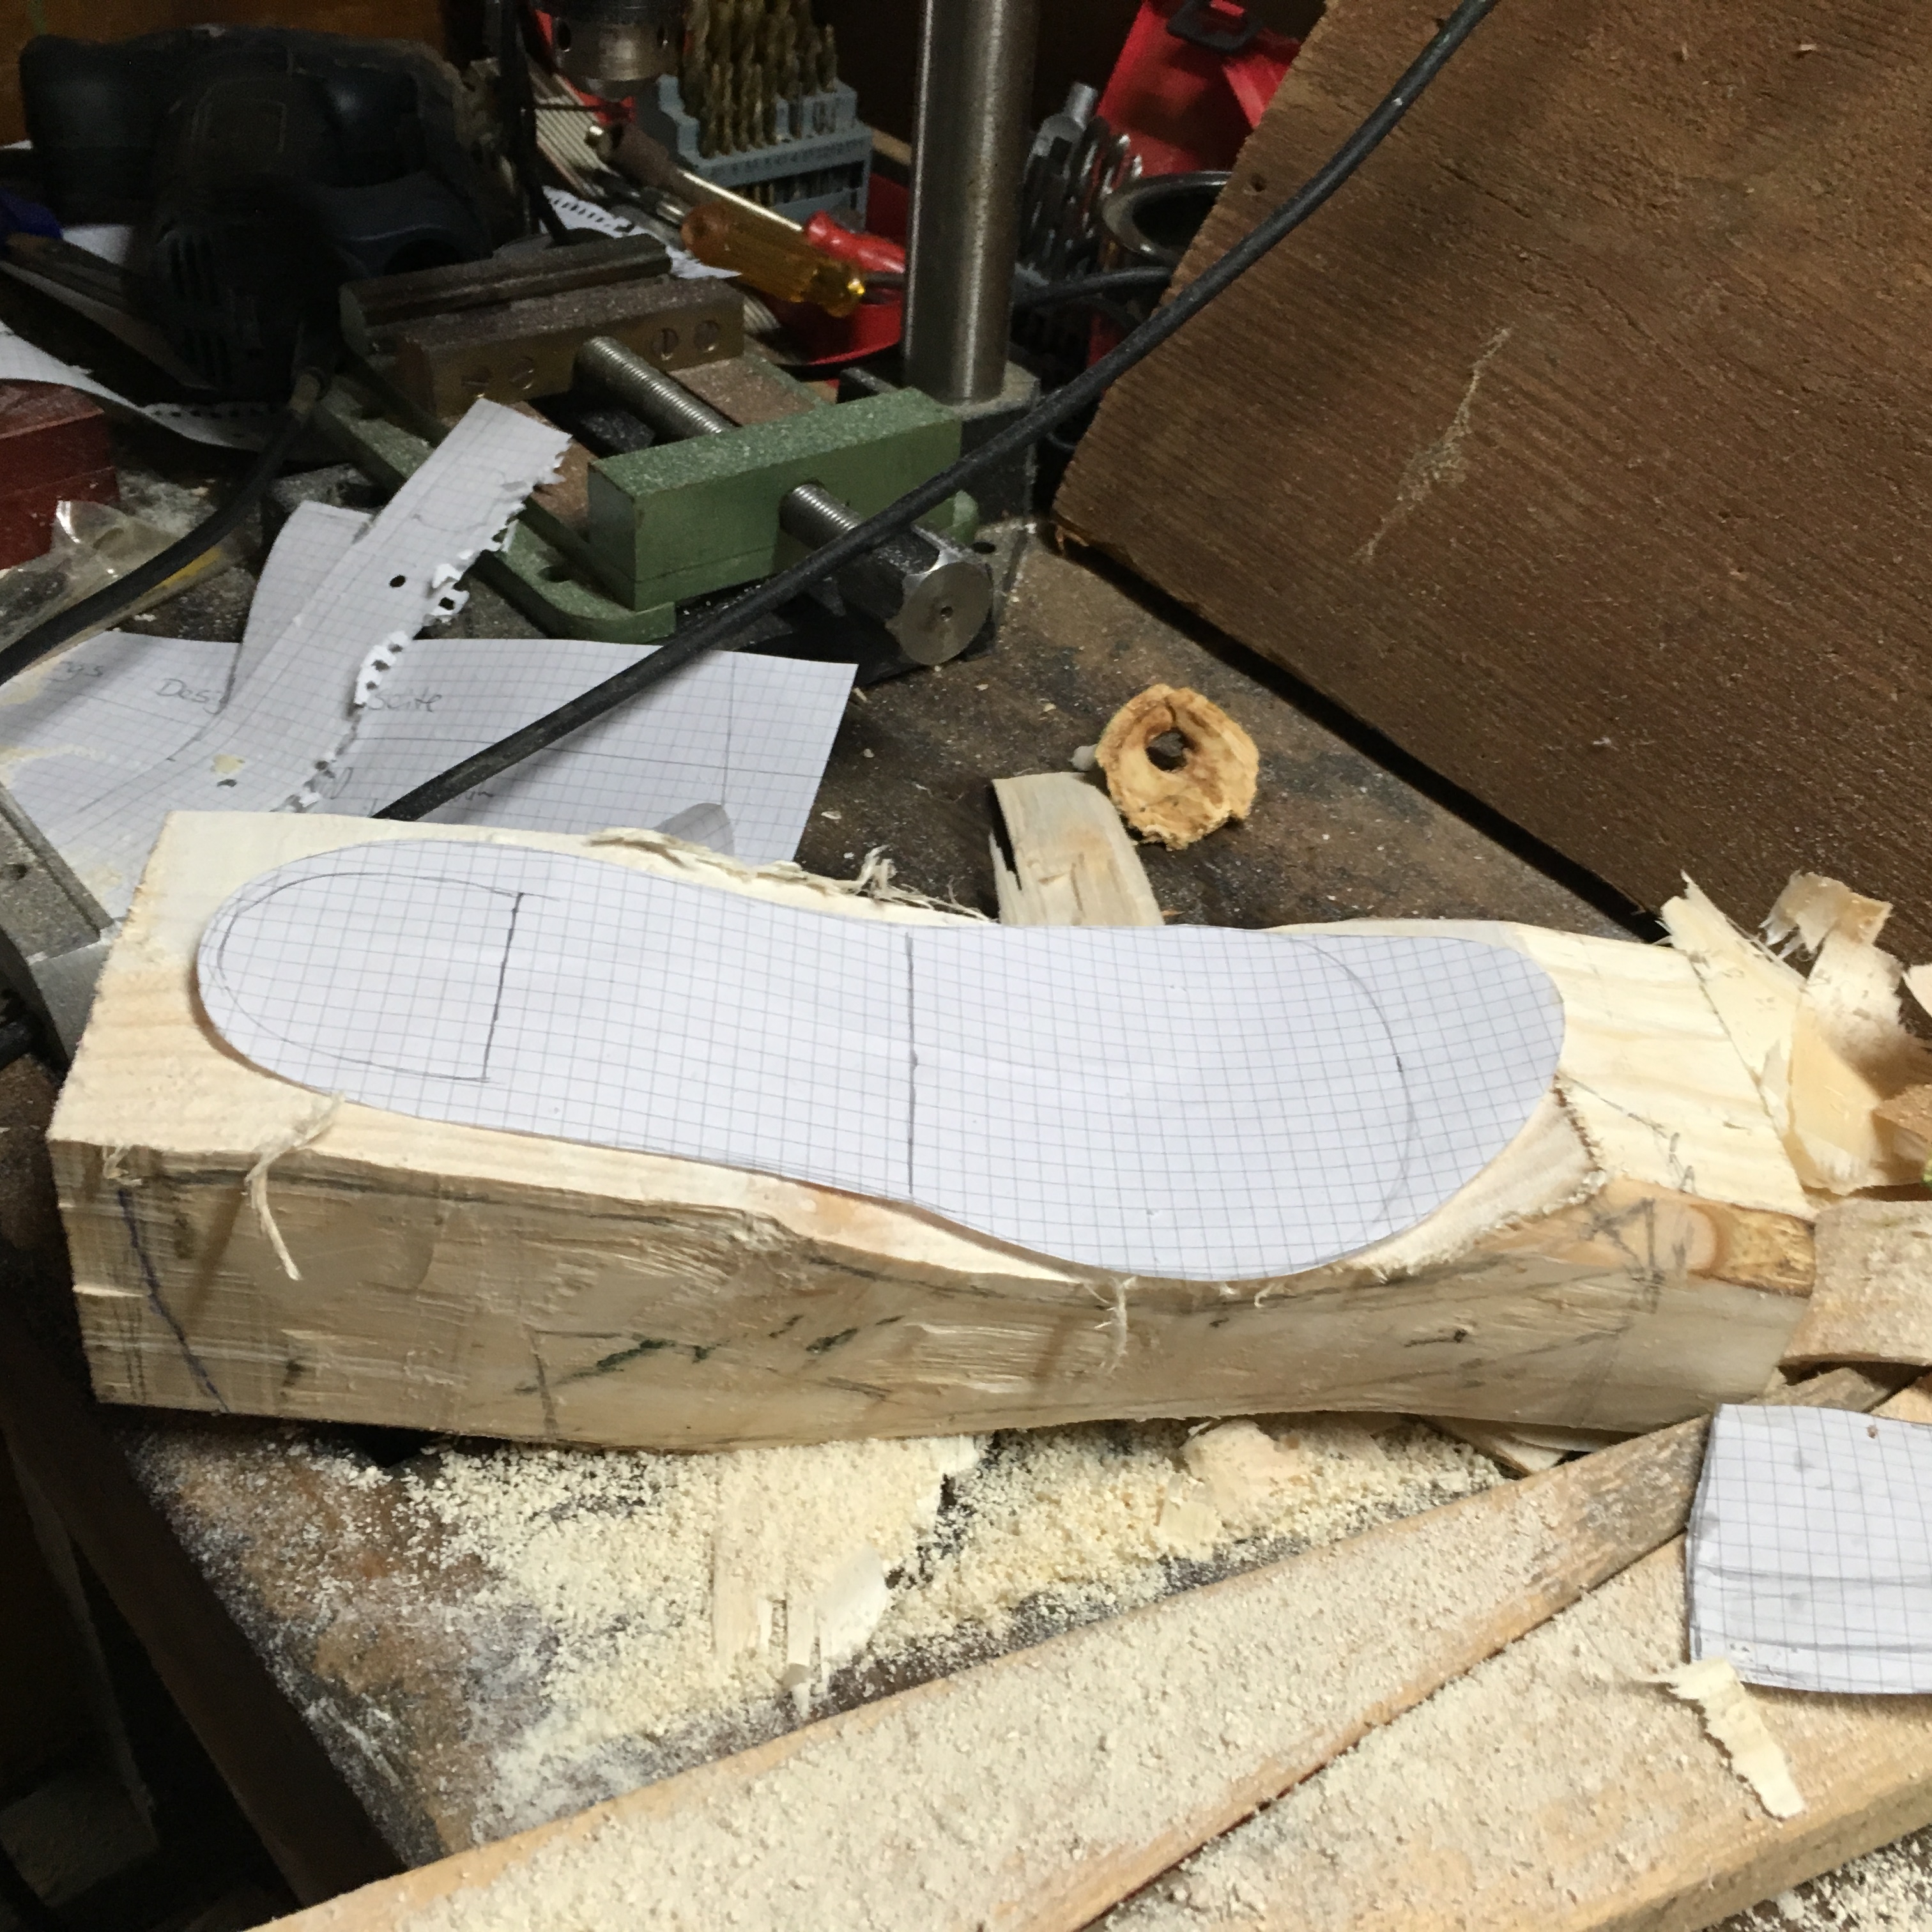


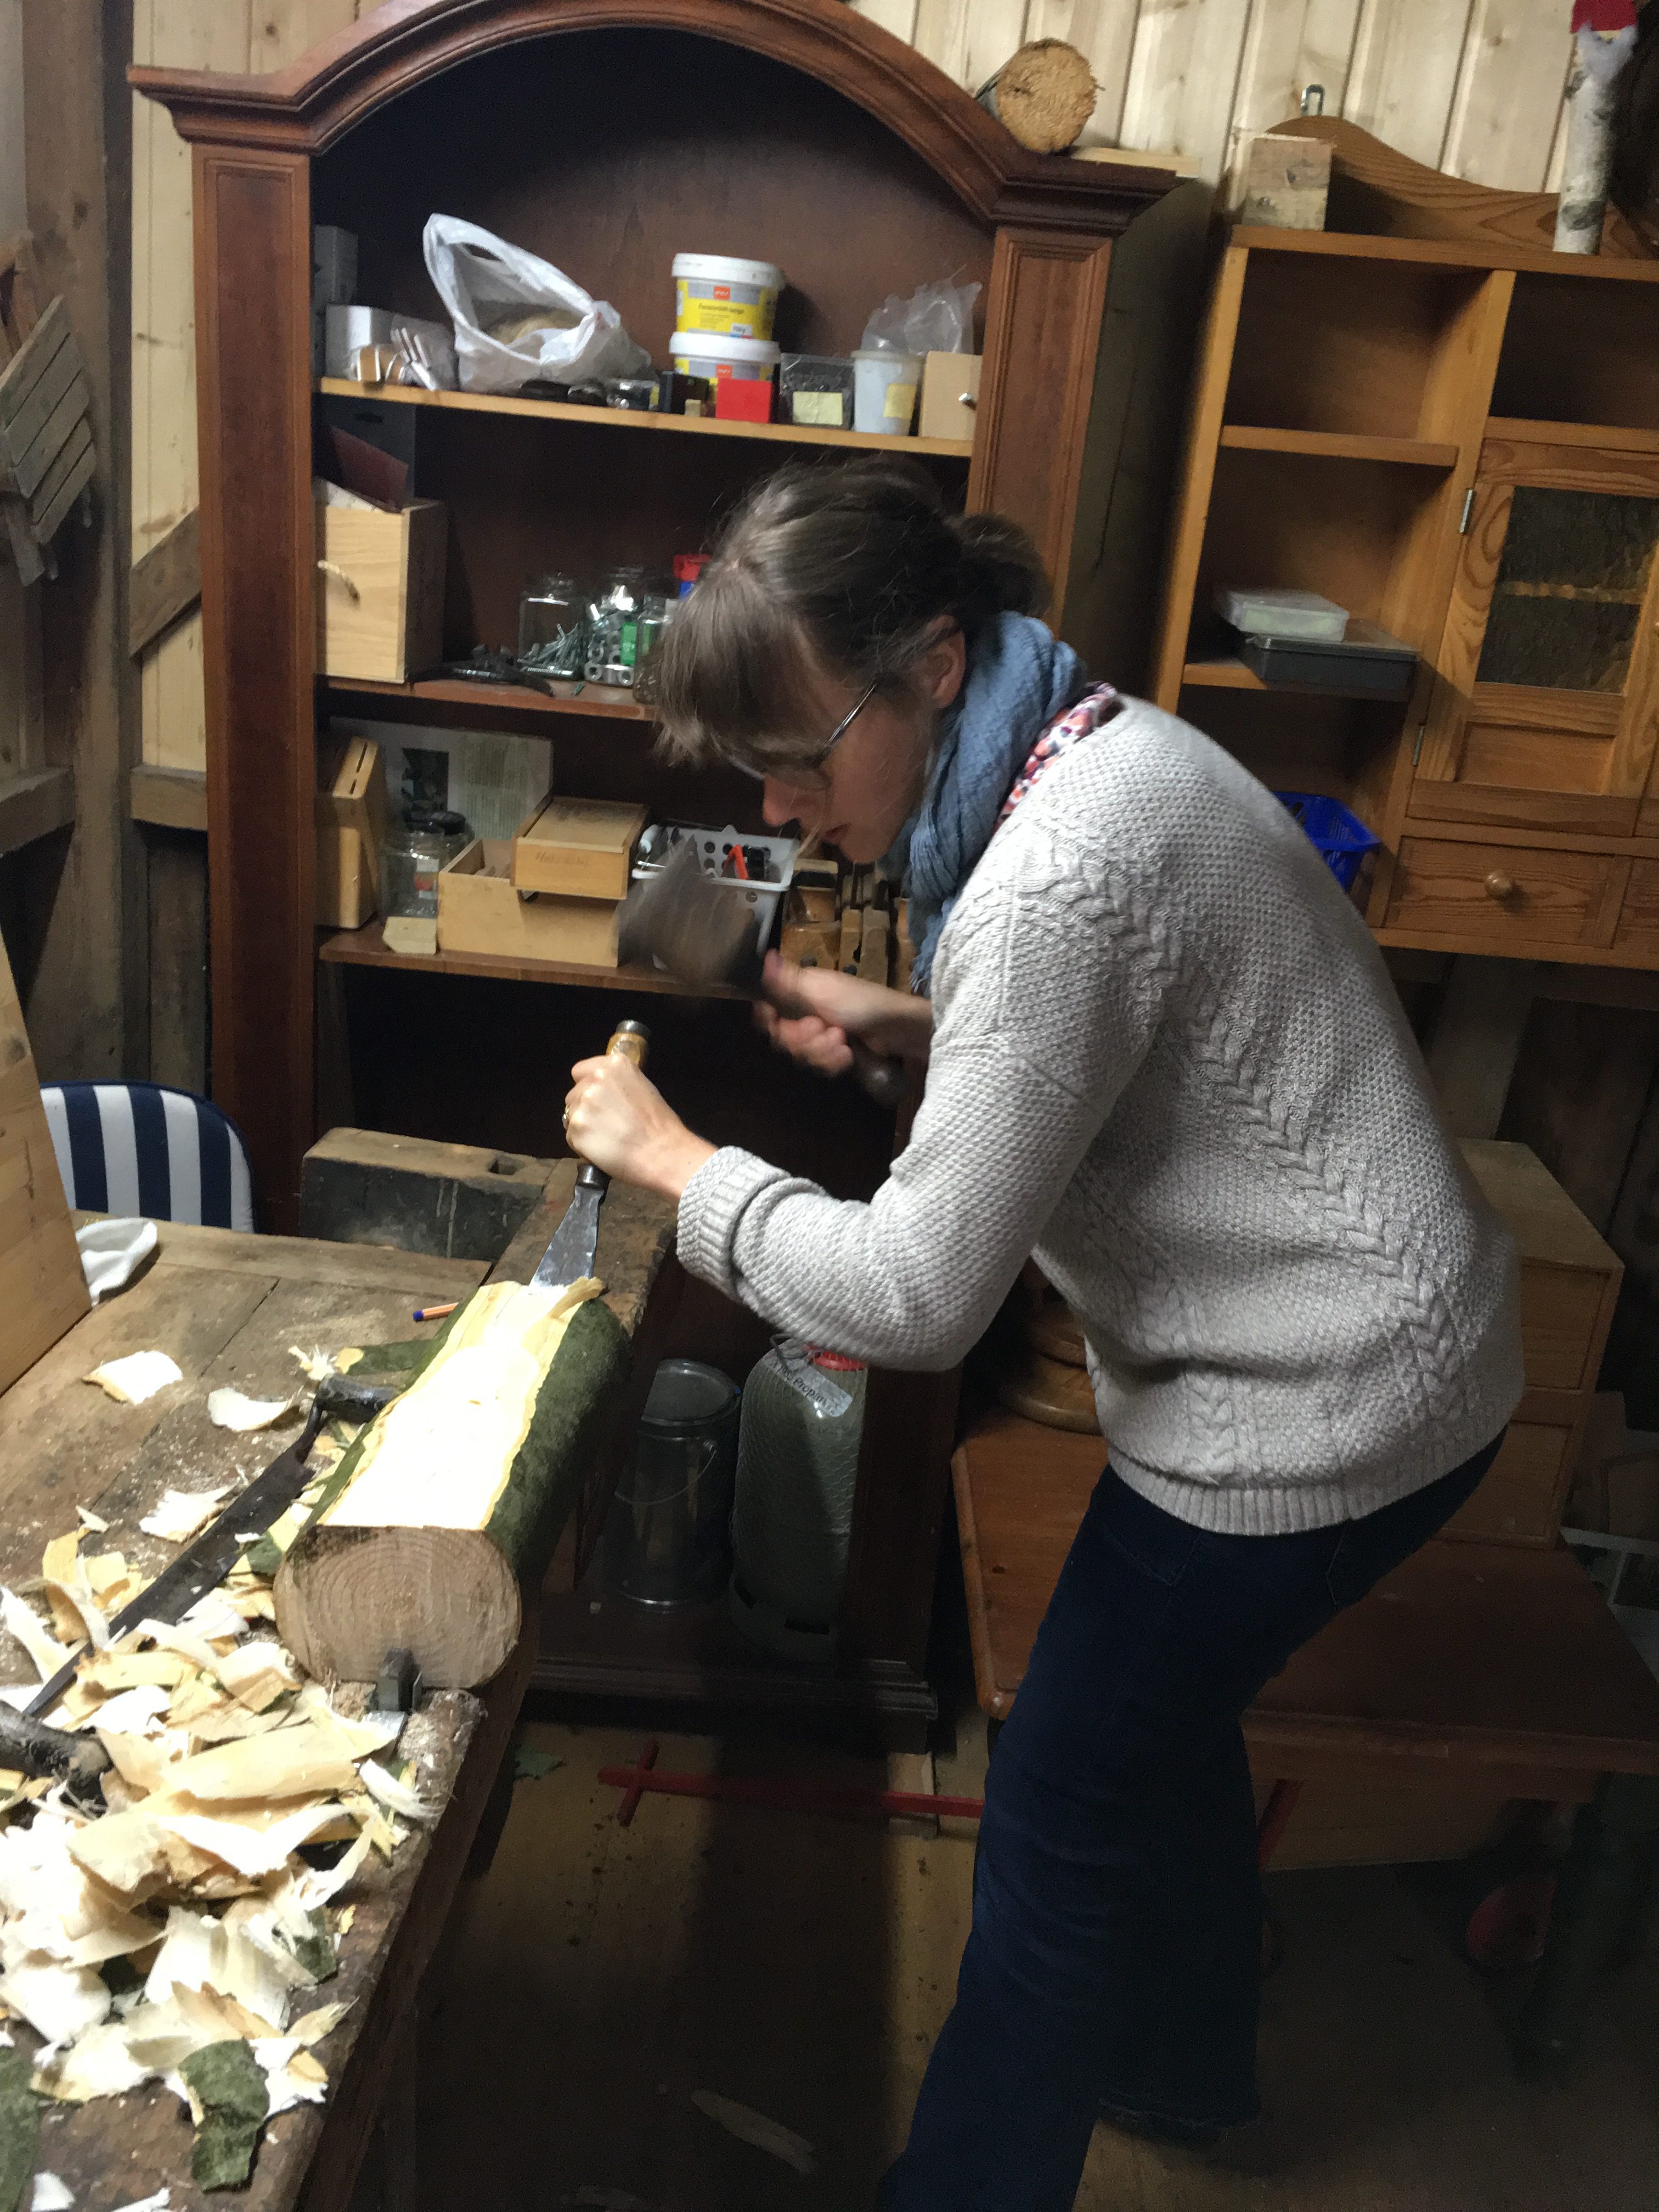
 Then we shaped the soles mainly using chisels and a jigsaw, which was a good amount of work, but I learned so much about working with wood. The biggest challenge of it all was to make the two soles back-to-front symmetrical to each other, which is quite a task with free-hand wood working. For better comfort I also chiselled a slight foot bed into the sole.
 Once the soles had their rough shape I moved on to the sanding. The rough sanding was done on a grinding wheel attached to our water wheel (one of my fathers projects from a few years ago). This process was a lot of fun and helped getting the round shapes at the toe, heel and helped even out the bottom of the soles. Then I let the soles sit for a few days and as expected they both split slightly at the heel. Since I had started the project at the end of the summer I thus decided to let them dry out over the winter and finish them the following year.


 This summer came around and I knew I needed a deadline to finally finish them, so I decided to put them on my Summer of Basics list. I’m so glad I did as it gave me the push to finish all the hand-sanding they still needed. The splits that appeared through the drying process were filled with some epoxy glue, which actually gives a very cool effect (I’m all about embracing the flaws instead of covering them up). I also took them to my brother’s work to get the bottom of the soles evened out on a belt grinder to make sure I could stand and walk securely in them without tilting. Finally I treated the wood with some hardwax oil. For grip and to avoid walking directly on the wood I glued some Vibram rubber soles onto the bottom in a fun teal colour.
The leather uppers
I had already ordered some 3 mm natural veg tan leather off ebay last year to use for these clogs. Conveniently, my husband and I have taken up leather working over the last year, so we now have all the tools and knowledge to properly process leather.
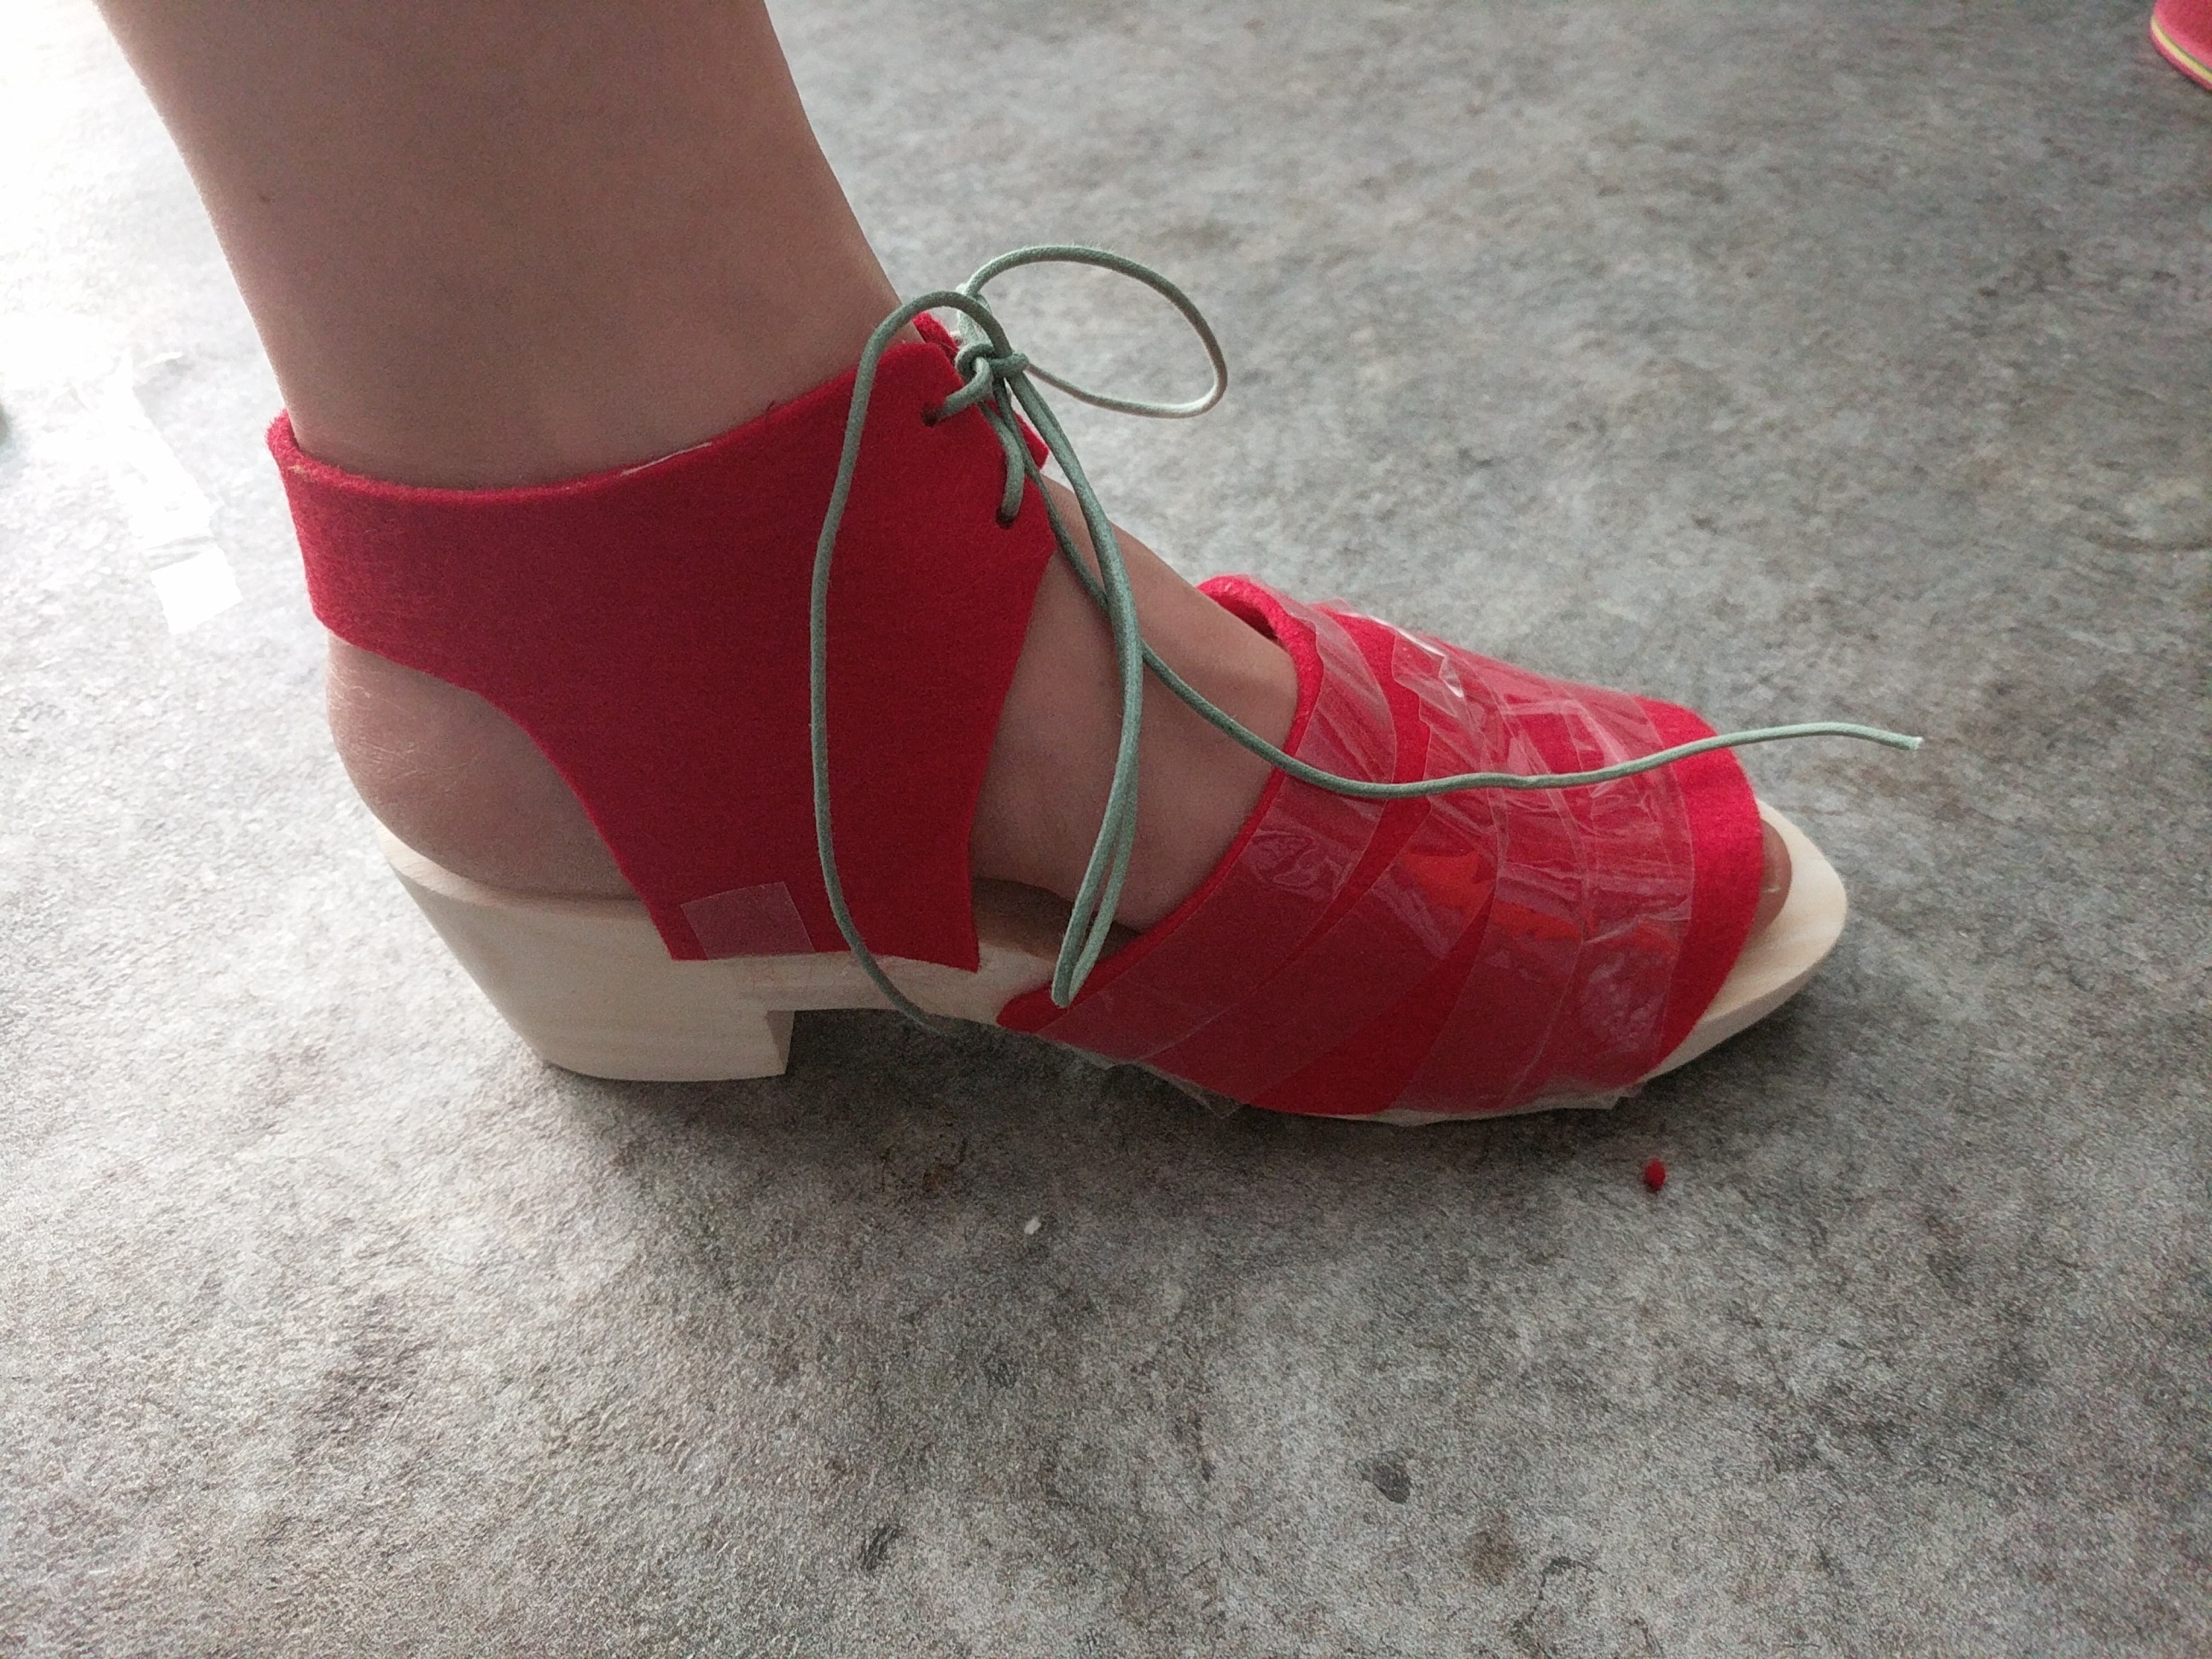


 Design-wise I was of course heavily inspired by the Bryr’s clogs and decided to go for a simple design that wouldn’t require a shoe last. I made prototypes of the shapes first from felt and then some cheap chrome tanned leather and played around until I way happy with the fit. Then I cut the pieces from the natural veg tan leather, thinned them out in the places where the leather would be attached to the wood and finished the edges by burnishing them with water.


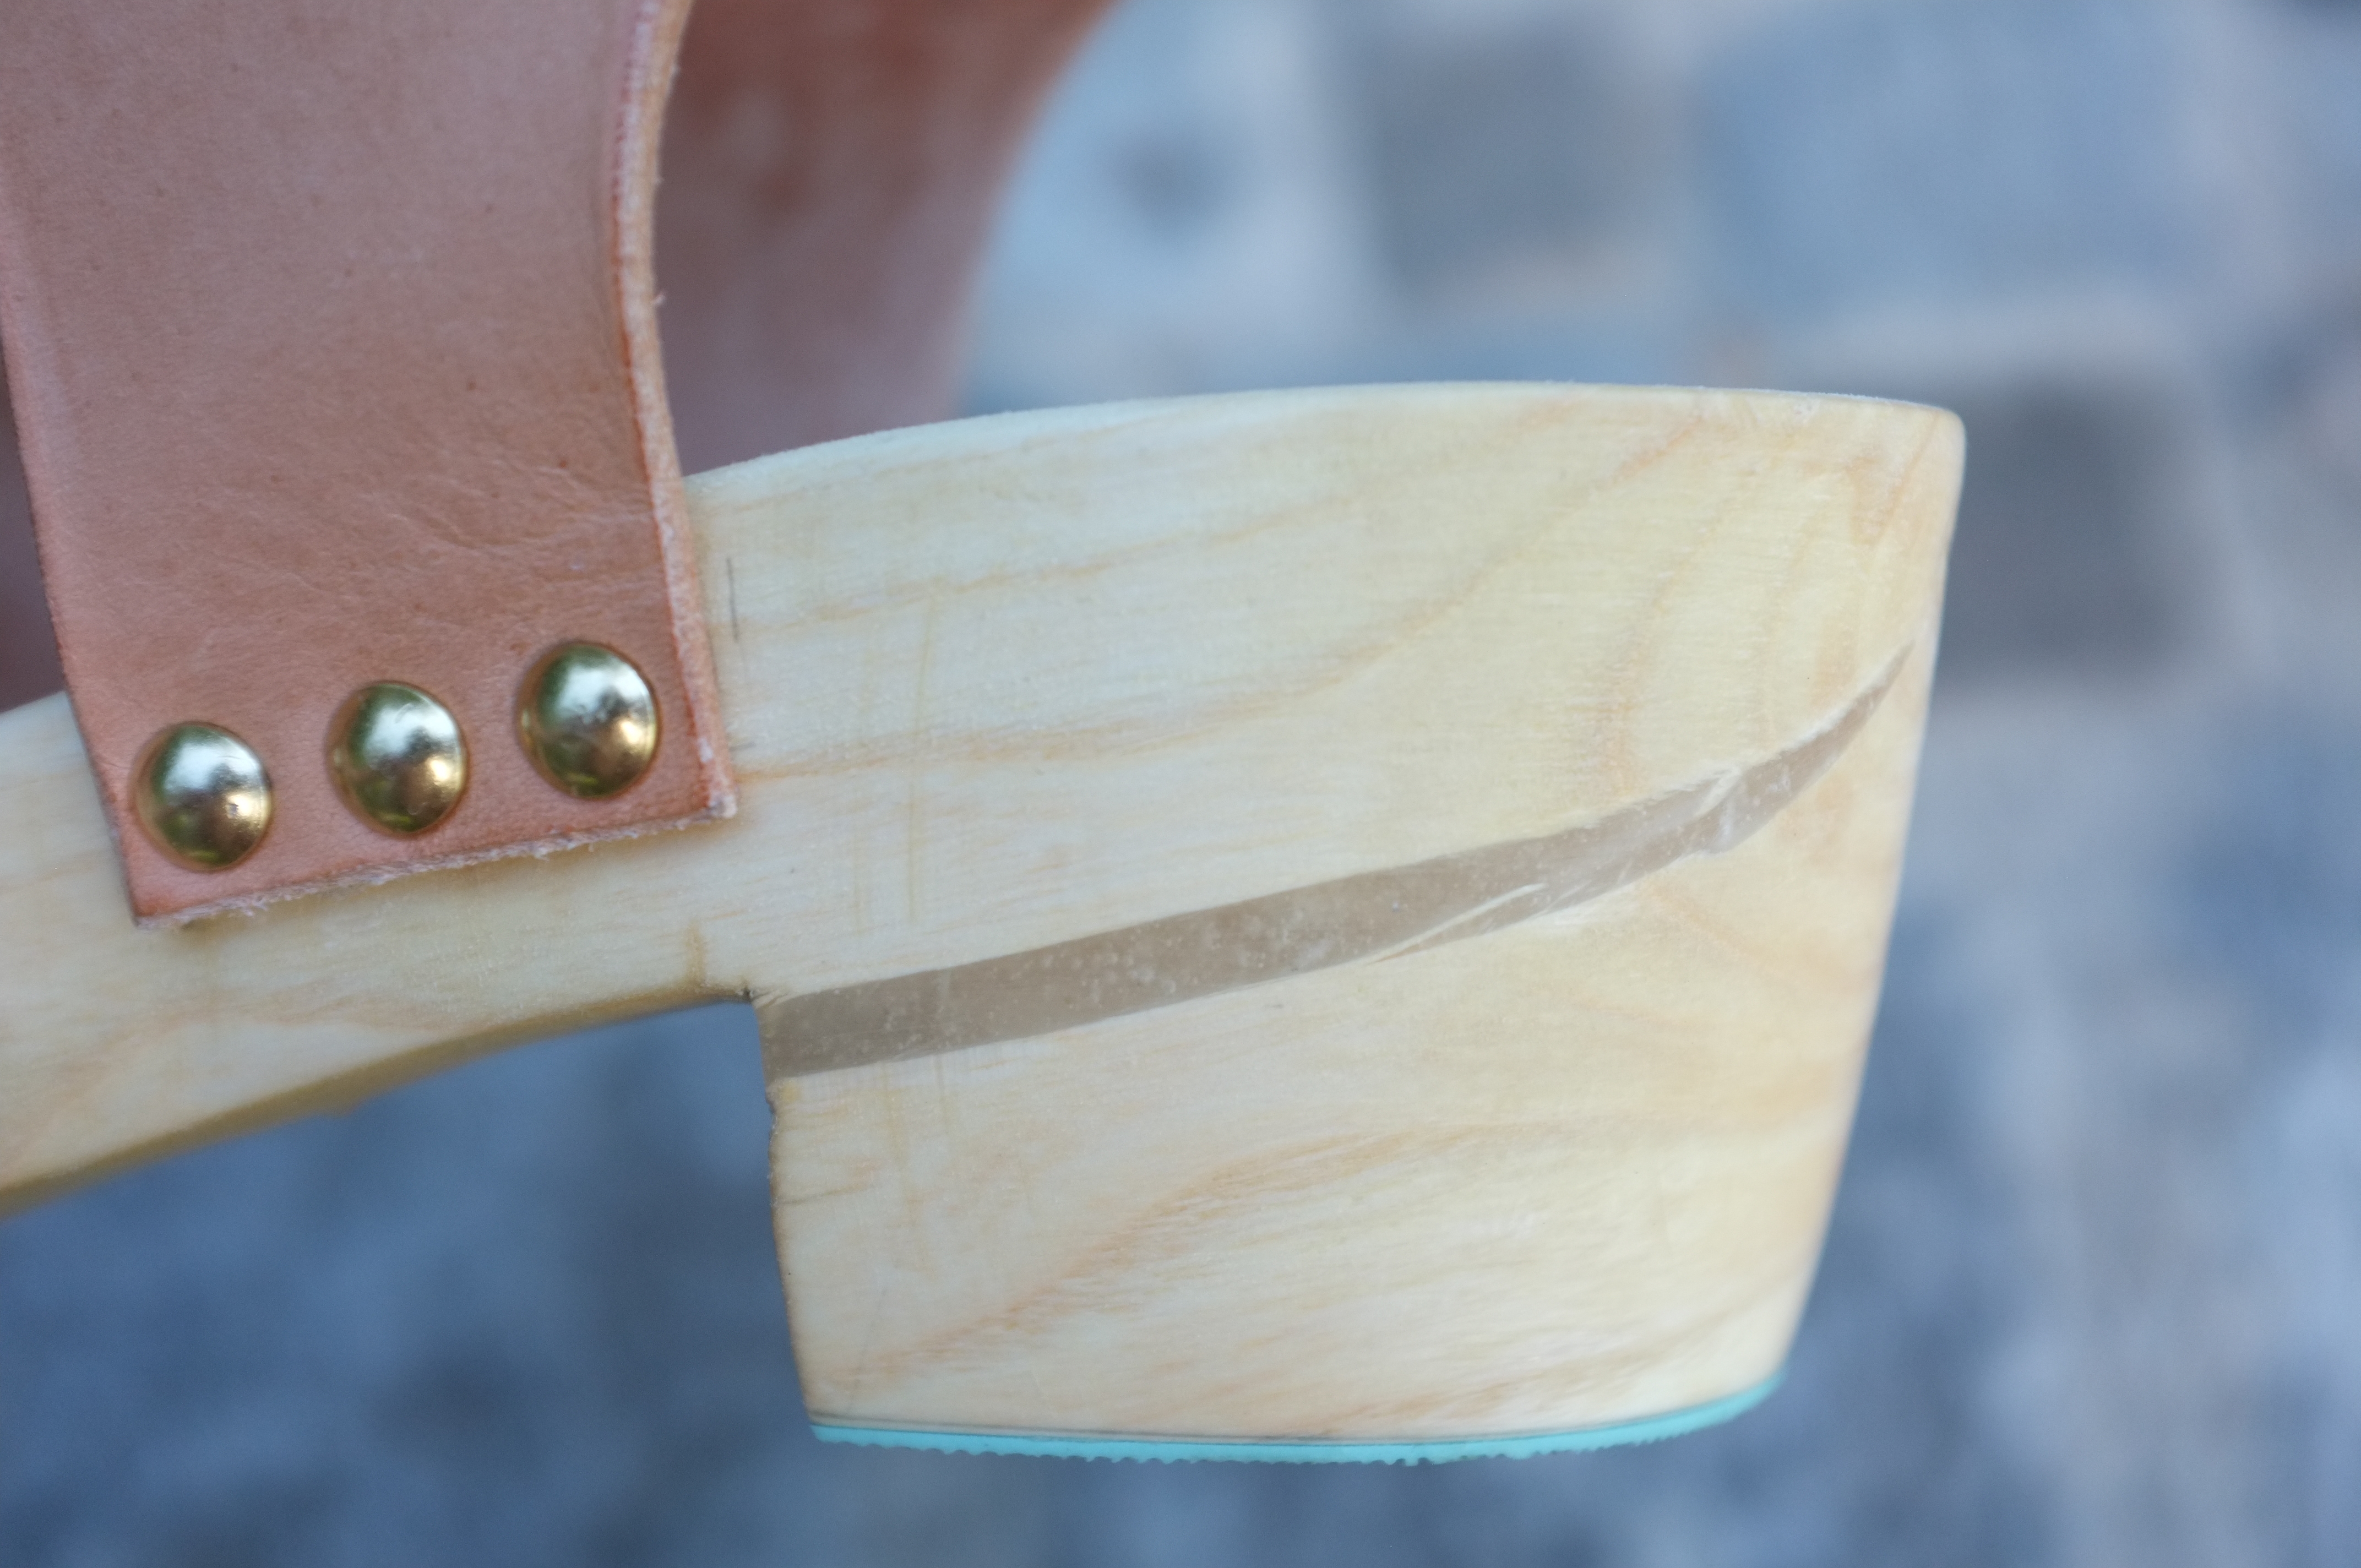
 Finally it came to attaching the leather to the wooden soles with simple furniture nails (8mm). Unfortunately the wood was too hard to just hammer them in, so we first had to drill some holes. I attached the leather first with some glue to keep everything in place and then hammered the nails in with a little hammer covered in duct tape to avoid damaging the nails. This was such a satisfying task and I love the gold nails against the light wood and the leather. For the closure I went the easy route and just punched some holes to thread a piece of cotton cord through, in the same colour as the soles. Since the leather is natural it is very sensitive to any fat or water. I did treat it with some oil and leather soap to avoid it getting stains too easily but overall I want to embrace the natural nature of the leather and am looking forward to seeing how it will naturally darken over time.
Since natural veg tan leather is malleable when wet, I dipped the final sandals in warm water and wore them half a day letting them dry out. That way they are now formed to my foot which makes them more comfortable to wear.
The final clogs
So what about the final clogs? Of course they are not perfect. I mean this was my very first time making wooden soles or using leather for shoes. The soles are not 100% symmetrical and from an orthopaedic perspective potentially not to recommended for long walks. Then again I am surprised that they actually work and when wearing them I don’t feel any differences between left and right.


 I will need to learn to walk on clogs as they behave completely differently to other shoes due to the stiffness of the soles. I read online that it can take 2 days to 2 weeks practice to learn how to walk on clogs properly. I’m only half-way there and am still stomping more loudly than I would want to :). Overall though I can imagine wearing them quite a bit. And even if I don’t wear them to death, this was such a fun adventure and I learned so much! It’s such a satisfying experience to see a piece of clothing form from the origin (a tree!) to the final product. Also it was really lovely to work on this little summer project together with my father.
Summer of Basics – Completed
As I said, these clogs were the final piece of my 3-piece Summer of Basics outfit. They go great with the Persephone Pants and the Tello Jacket. All in all, an outfit I can see myself wearing a lot. This year again I had a lot of fun joining this challenge and I loved seeing what everyone else came up with!

 This? Just trying to float in my new clogs…